To Connect the SBC SWe Lite to Teams Direct Routing the following needs to be done:
- Add the domain that will contain the SBC to Microsoft 365 (for example, add the domain example.com if your SBC name will be SBC1.example.com)
- Enable a user in that domain (for example enable the user user1@example.com)
- Finally, you can connect the SBC to Direct Routing: Select a name to the SBC (with the domain part as one of the registered domains on Microsoft 365) and register that name of the SBC (for example, register the SBC with the name SBC1.example.com)
In this part of the series, we will do the first step from the above steps, we will add the domain to Microsoft 365
Adding the domain
On the “Microsoft 365 Admin Center” main page, expand “Settings ”

The “Settings” menu will be expanded. Select “Domain”

This will open Domains’ settings. Click on “Add domain”

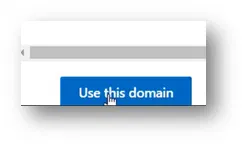
The “Add Domain” wizard will be started. Type the name of your domain

Click on “Use this domain” button
This wizard has the capability to detect some well-known DNS registrars and it can automatically do the configuration by adding the needed DNS records.
Note:
If your DNS registrar is not one of the DNS registrars that the wizard can detect and configure, you will need to add the DNS records manually to your domain.
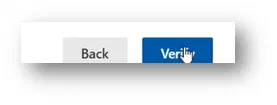
For me, my DNS registrar is GoDaddy (the wizard has detected it) as the image below shows

I clicked on the “Verify” button
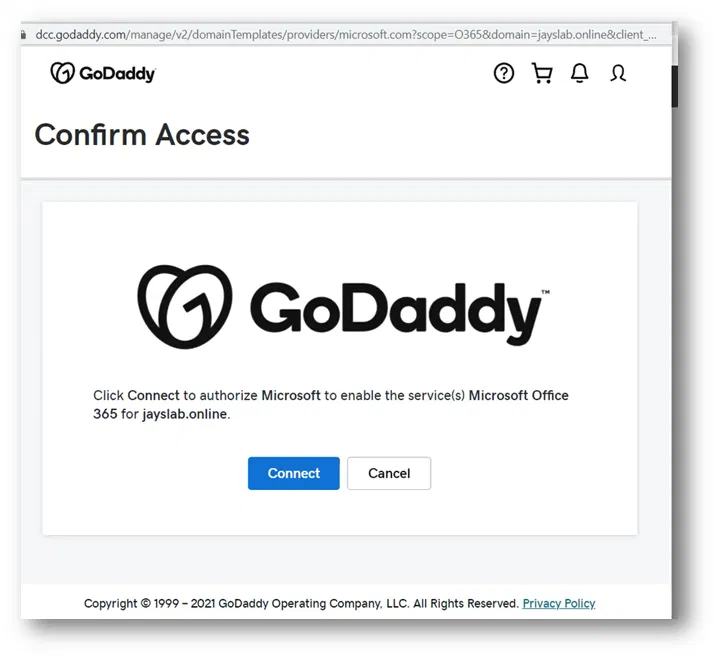
The wizard popped up a mini-browser window to “Confirm Access” and to get connected to GoDaddy

I clicked on the “Connect” button


The Wizard will ask you if you want to let to add the needed DNS records
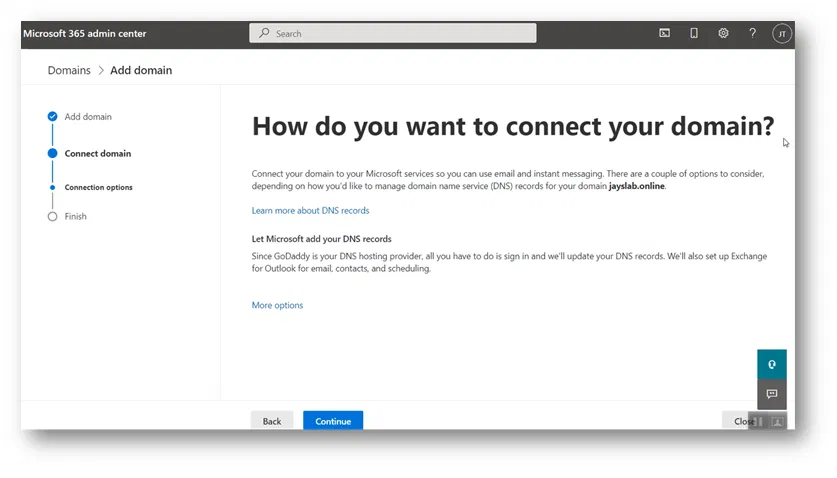
Click on “Continue”


On the “Add DNS records” page, it will explain to you the records needed
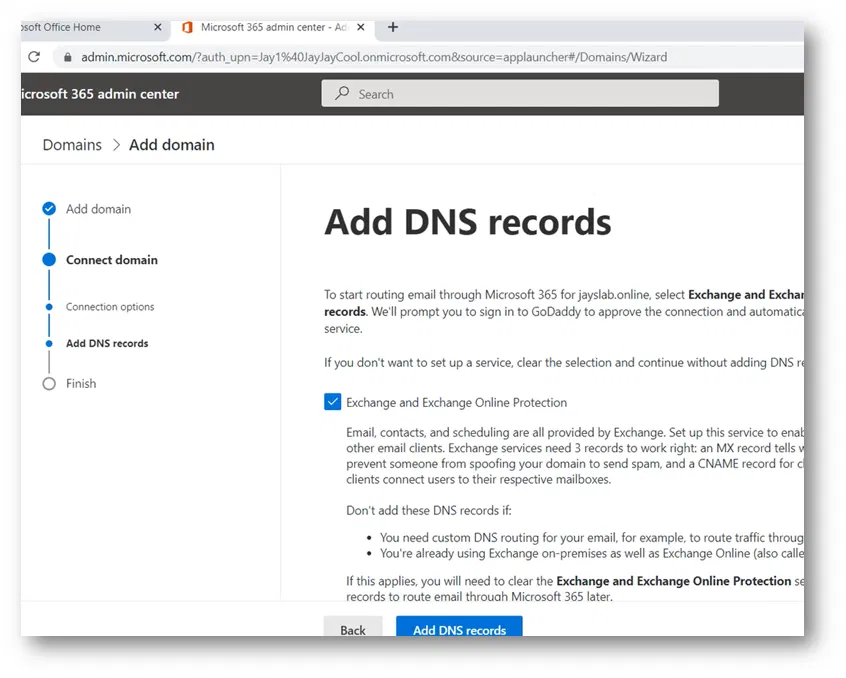
For me, I had to scroll down to view all the needed records

I have clicked on “Advanced Options” to view all the records that the wizard is going to add

Below images shows all the records


At the end of the page, click on “Add DNS records”

For me, it showed me the GoDaddy “Confirm Access” mini page again
‘
I clicked on Connect

The wizard started “Configuring domain”

The final page indicates that “Domain setup is complete”

Click on “View all domains” to go back to the “Domains” page

Under the “Domains” page in the admin center, the newly added domain is shown

Viewing The Details of the Added Domain
On the Domains page, click on the domain to view its details

Click on DNS records

This will show the DNS records. The images below show the DNS records of my domain


Viewing DNS records on DNS domain provider
The images below show what the Add domain wizard has added to my DNS on GoDaddy


