Part 7: Installing Certificates on the SBC
Accessing Certificates page
On the Web Interface of the SBC, go to the “Tasks” tab

On the “Tasks” tab and expand “SBC Easy Setup”
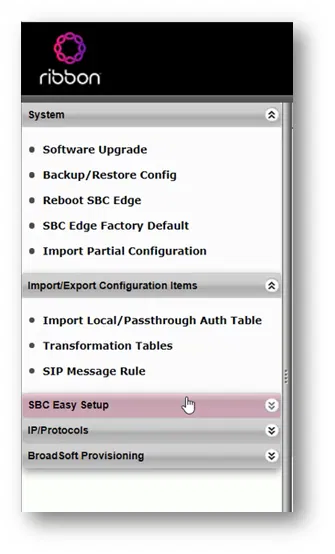
Click on “Certificates”

This will take you to the “Certificates” page where you can manage the certificates of the SBC

Importing Root CA, Issuing CA, and Baltimore CA
On the Trusted CAs tab (which is the first tab on this page)
Click on the import button 

The “Import Trusted CA Certificate” box will be shown
On the Mode, select “File Upload” (you can use Copy and Paste mode if you want to import the certificate as a Base64 text)

Click on Choose File

Select the file of the Root Certificate and click on Open

The filename of the certificate will be shown. Click on the “OK” button

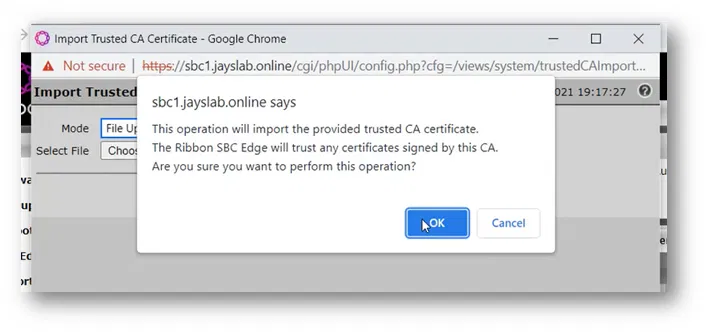
The Web Interface will show you a message that says it will trust a CA. Click on the “OK” button
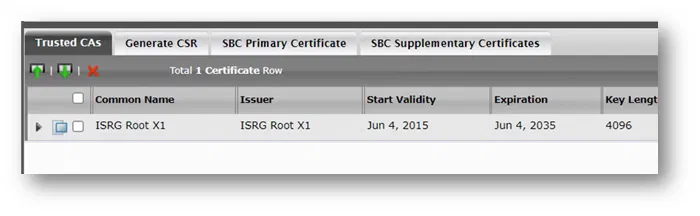
The newly imported certificate will be listed under the “Trusted CAs” list
Do the same thing to import the issuing CA (both the root and the issue CAs are on the same table and managed in the same way). The only difference is that you need to import the root CA first then the issue CA
Use the same thing to import the “Baltimore” CA certificate (which is required to communicate with Teams Direct Routing servers on Microsoft 365)
The below image shows the root, the issuing CA and “Baltimore” certificates under “Trusted CAs”

Importing SBC Primary Certificate with Its Private Key
Because I have a certificate with its private key with me (already requested and generated on some other system), I am using the option to import it. It is usually with the (*.pfx file) extension
(If you don’t have a certificate, you can generate it using the “Generate CSR” tab)
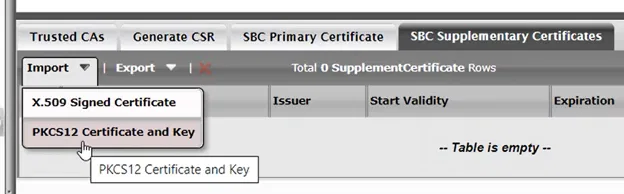
To import the certificate with its private key, go to the “SBC Primary Certificate” tab
Click on “Import” and select “PKCS12 Certificate and Key” (to import the *.pfx file)
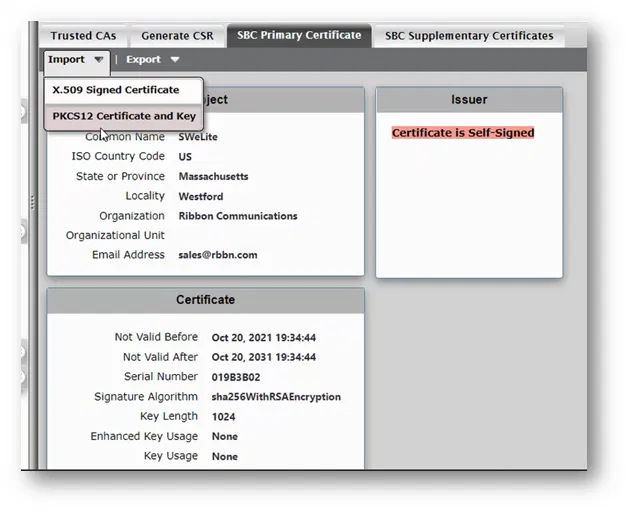
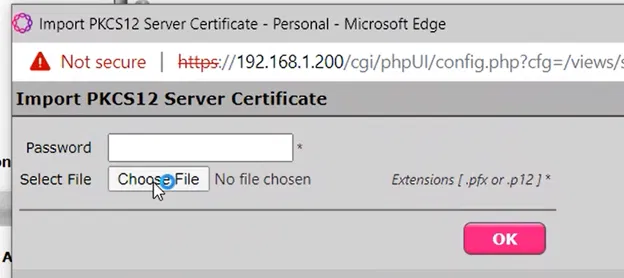
The “Import PKCS12 Server Certificate” will be shown

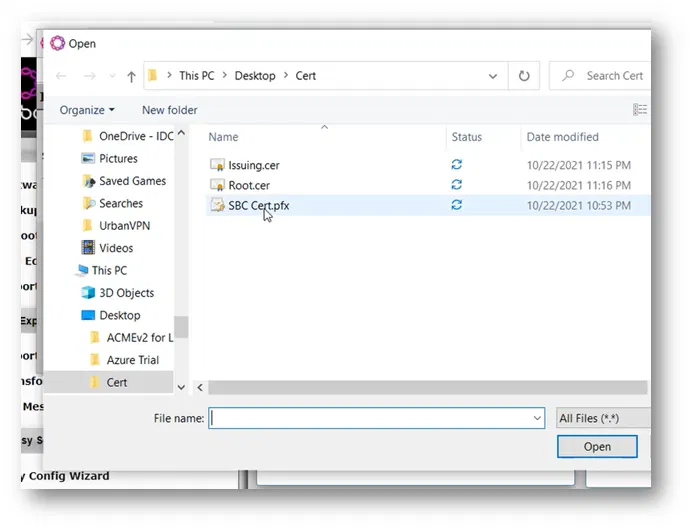
Click on “Choose File”

Select the file that contains the certificate with its private key and click on Open
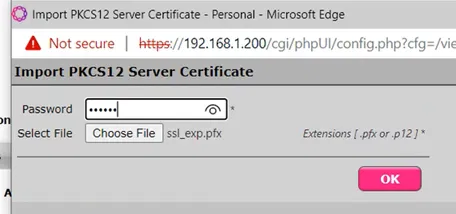
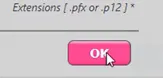
Type the “Password” that is used to protect the content of the *.pfx file and then click on the “OK” button

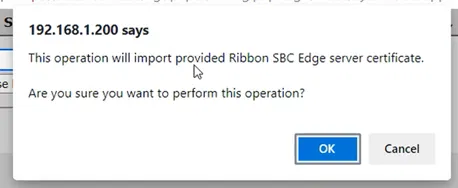
A message will be shown to inform you that you are going to import the certificate. Click on the “OK” button

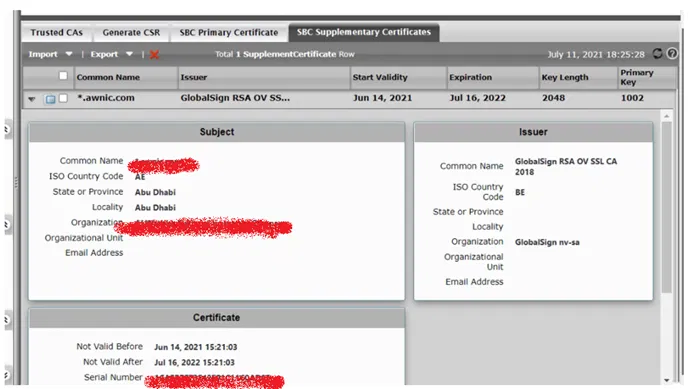
The certificate will be imported, and its details will be shown