Microsoft Teams’ calls are secured and encrypted by default. But using End-to-end encryption (E2EE) makes the media of the call (voice/video) getting encrypted by the client before it is sent to the other client. This would give extra security and, theoretically, even Microsoft cannot decrypt this media traffic.
Both parties of the call must enable E2EE on their Teams client. But before they can do that, an E2EE policy must be assigned to them to allow them to enable encryption.
E2EE is based on a 20-digit security code for each call that is agreed upon between the two clients, and you can view this code during a call as explained below
To have E2EE for the users, you need to do the following
- Enable E2EE on Global Policy or create a custom policy and assign it to users
- The users themselves enable E2EE on their Teams client
To enable End-to-end encryption (E2EE) using the admin center using the Global Policy
Usually, the Global Policy is assigned to all users by default. So, when enabling E2EE using the global Policy, it will be enabled for all users
On Teams admin center, on the left pane, click on “Enhanced encryption policies”

Select “Global (Org-wide default)” policy and click on Edit

This will show you the details of the Global policy
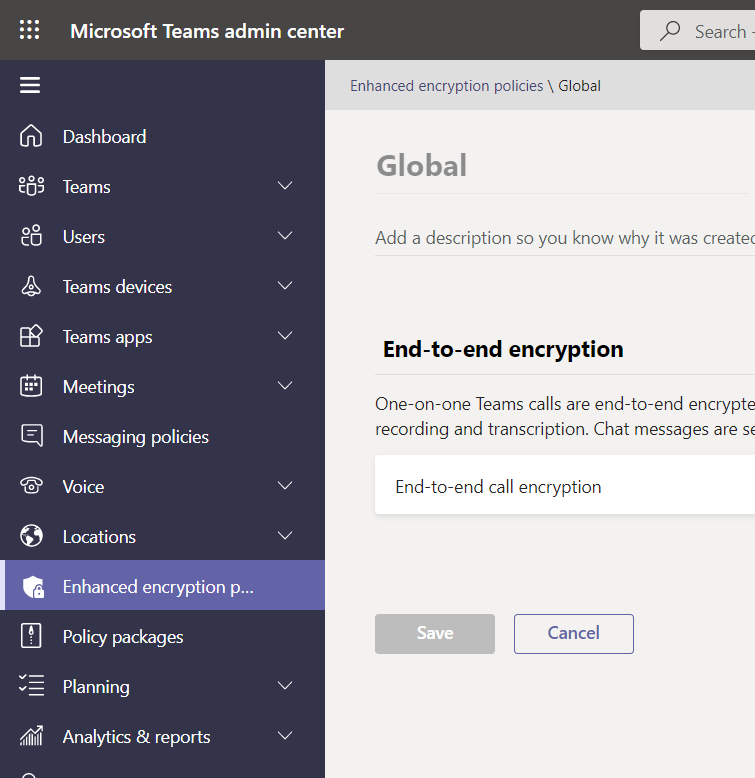
Under End-to-end encryption, select “Users can turn it on”


Click on “Save”

Creating A Custom E2EE Policy Using Admin Center
Just like any other policy, you can make your custom policy and assign it to a specific set of users

Assigning A E2EE Policy to A User Using Admin Center


Click on Policies

Next to Assigned policies, click on Edit

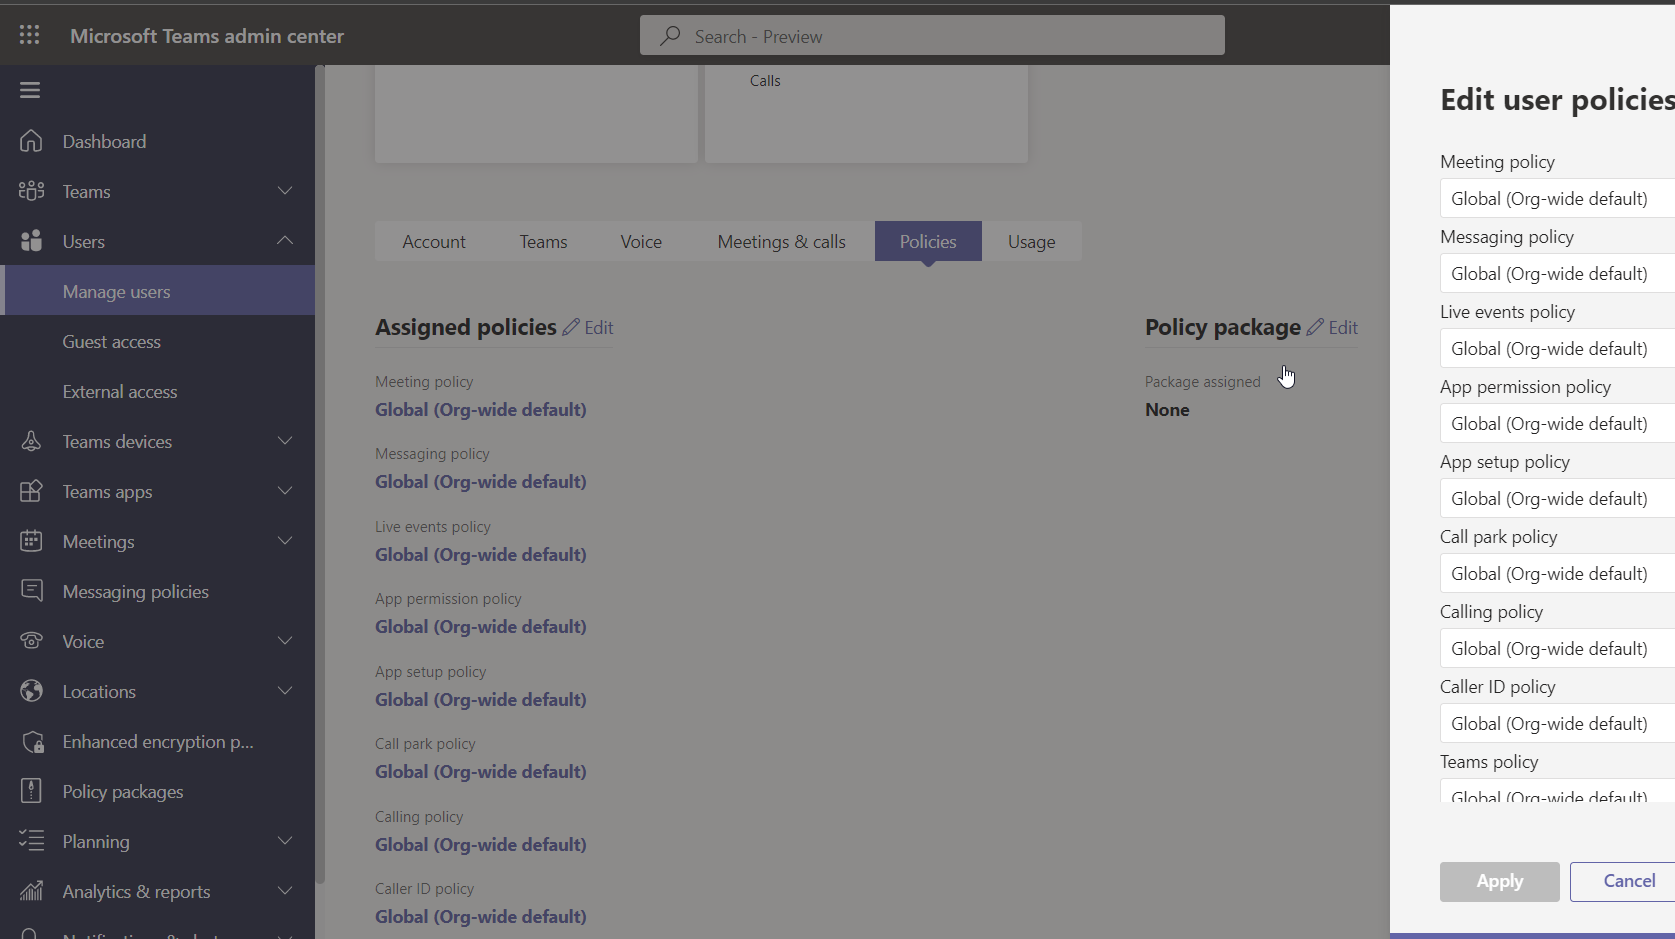
This will show you the list of the policies that are assigned to the user
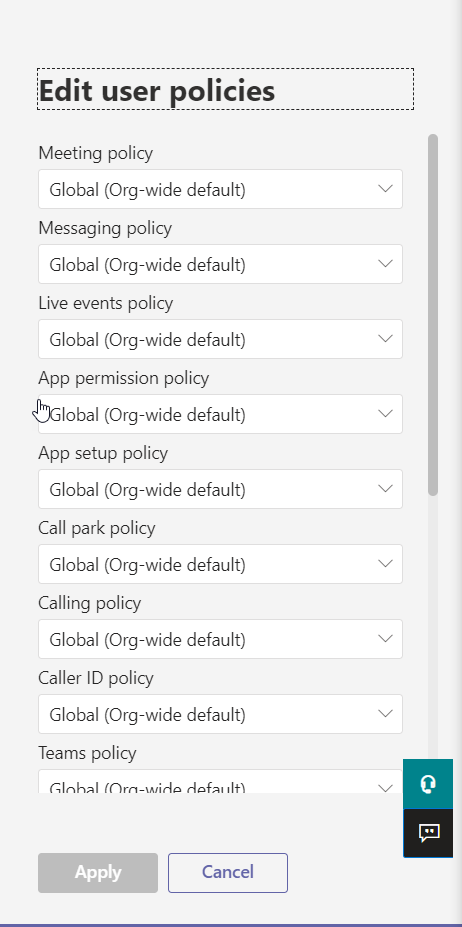
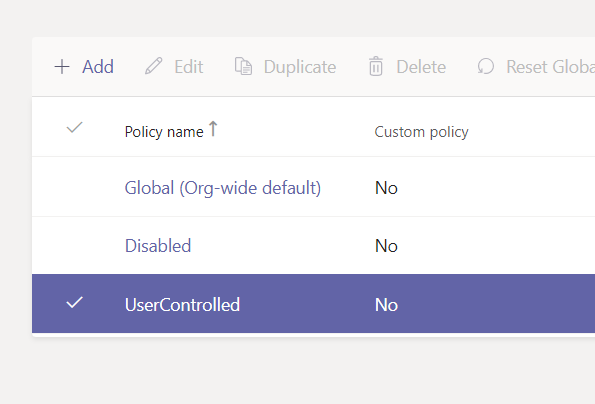
Scroll down “Enhanced encryption policy” and then, select the newly created policy

The following image is showing the newly created policy is selected
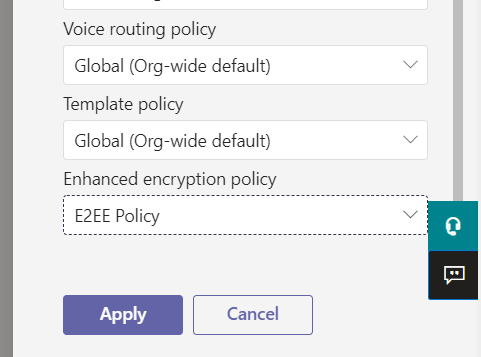
Click on the “Apply” button
Creating A Custom E2EE Policy Using PowerShell
Updating Teams PowerShell Module
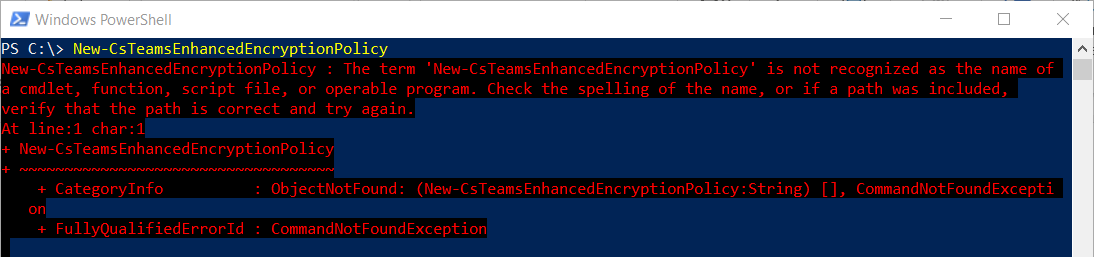
I tried to create the commandlet New-CsTeamsEnhancedEncryptionPolicy for creating a new policy using PowerShell, but the Teams PowerShell Module installed on my PC is old. I had to update my Teams PowerShell Model
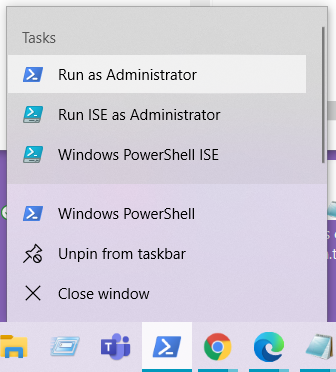
To update Teams PowerShell Model, first I started Windows PowerShell as an Administrator
I run the commandlet Update-Module MicrosoftTeams


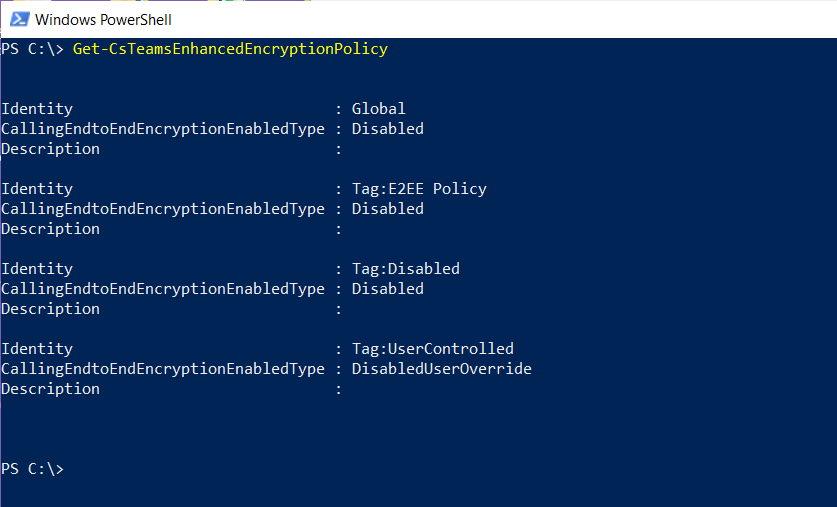
Then, I tried the command Get-CsTeamsEnhancedEncryptionPolicy to verify that the new module supports Enhanced Encryption Policy
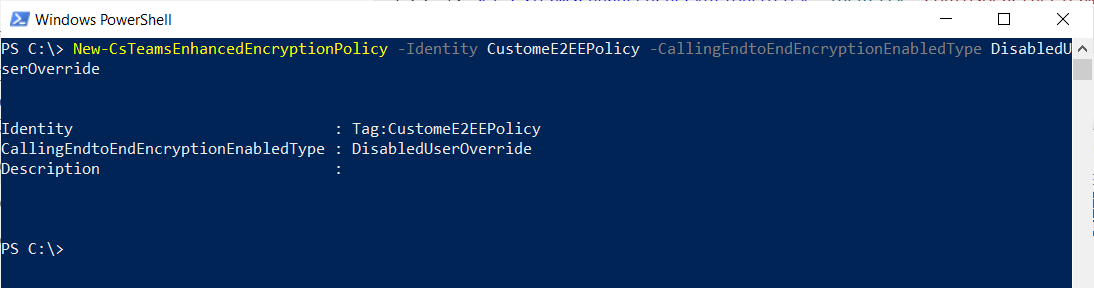
Creating The Policy
I have used the following commandlet to create the customer policy
New-CsTeamsEnhancedEncryptionPolicy -Identity CustomeE2EEPolicy -CallingEndtoEndEncryptionEnabledType DisabledUserOverride
Grant-CsTeamsEnhancedEncryptionPolicy -Identity Jay1@JayTheAmazing.onmicrosoft.com -PolicyName CustomeE2EEPolicy
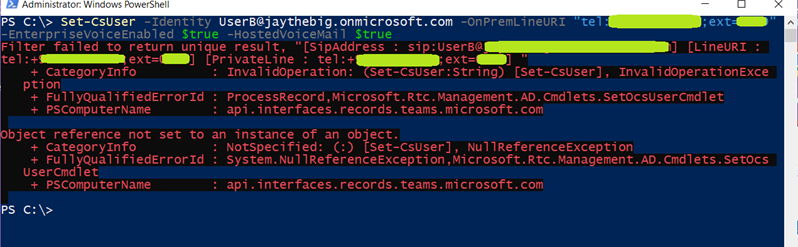
Assigning A E2EE Policy to A User Using PowerShell
I have used the commandlet Grant-CsTeamsEnhancedEncryptionPolicy to assign the policy to the user as follows:
Grant-CsTeamsEnhancedEncryptionPolicy -Identity Jay1@JayTheAmazing.onmicrosoft.com -PolicyName CustomeE2EEPolicy

Configuring Teams Windows Client to Support E2EE
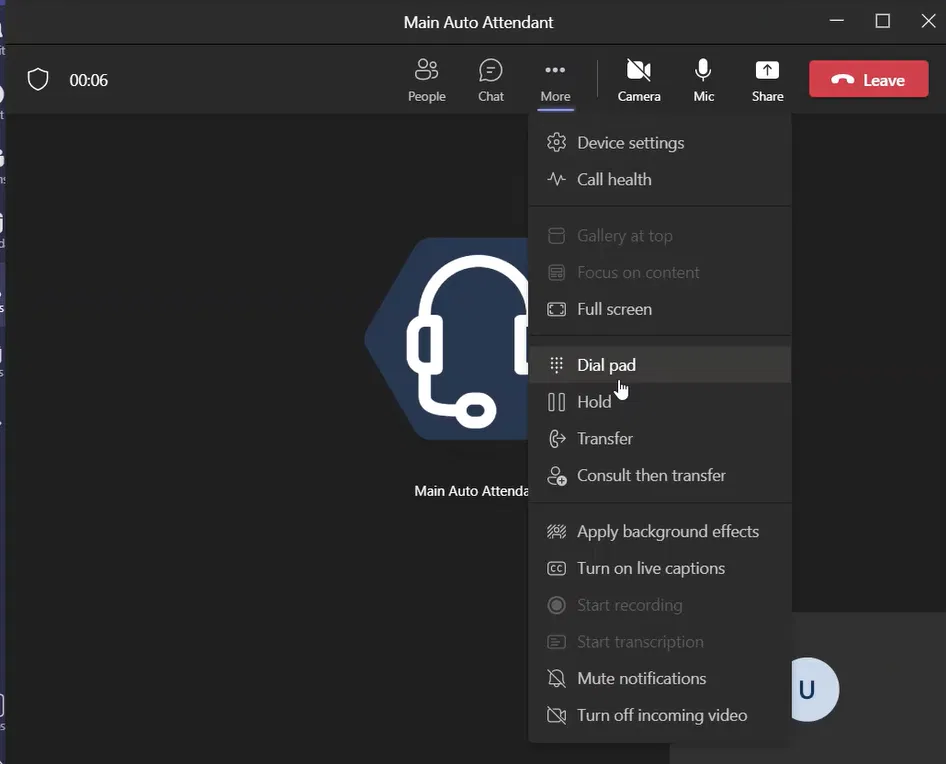
Click on the … on the upper right corner to show the menu and select Settings

The setting page (dialog box) will be shown

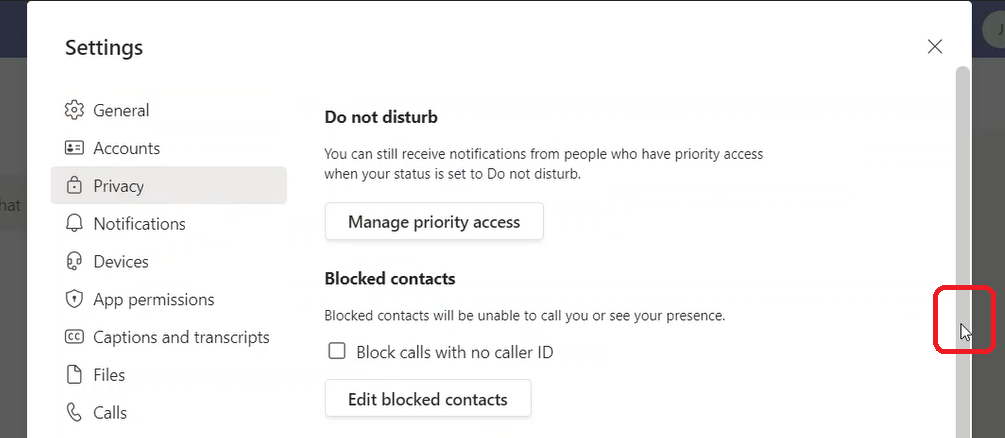
Click on “Privacy”

Scroll down
Until you reach “End-to-end encrypted calls”
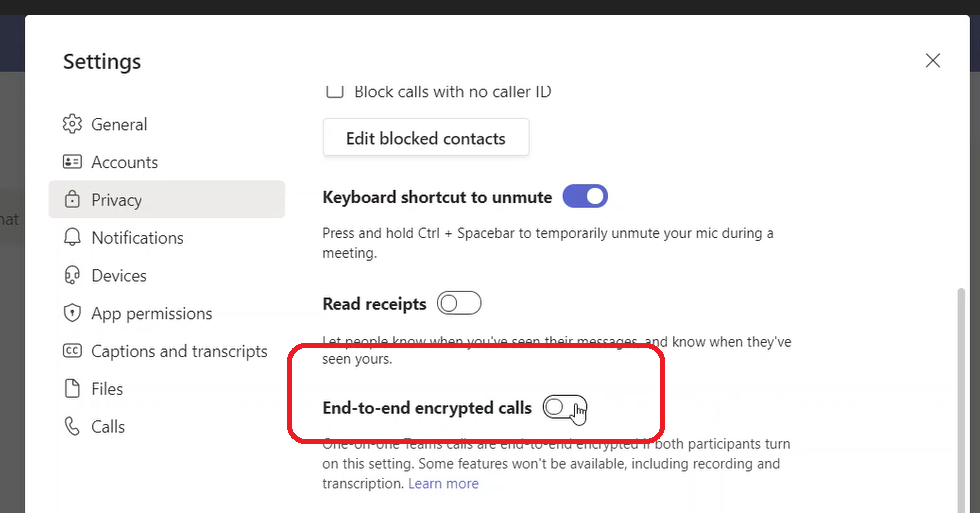
Enable “End-to-end encrypted calls” and exit the page (dialog box)

Configuring Teams Mobile Client to Support E2EE
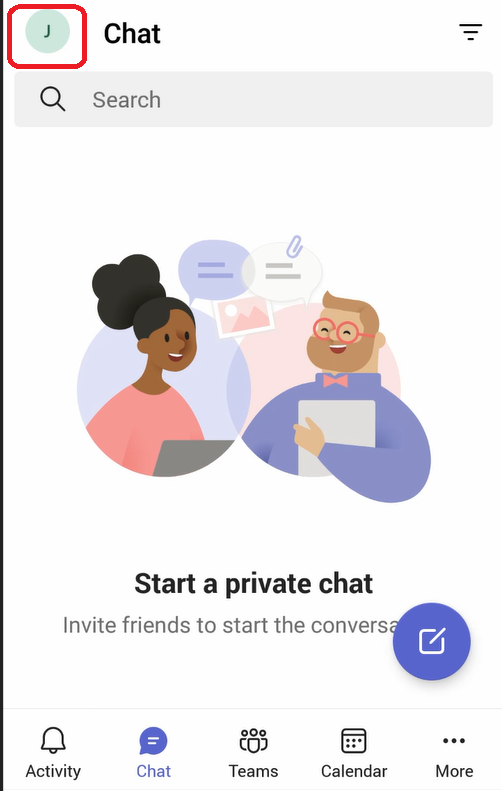
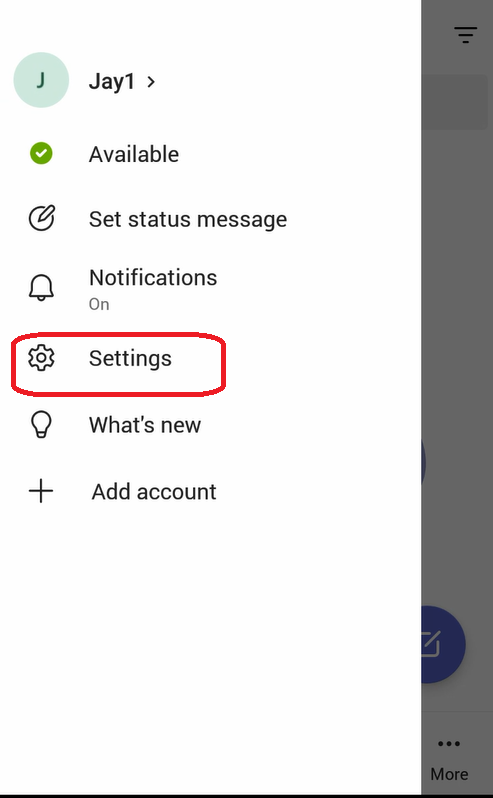
On the client app, click on the upper left corner where it mentions the initials of the name of the user
On the menu that got opened, click on “Settings”
On the “Settings” menu, select “Calling”
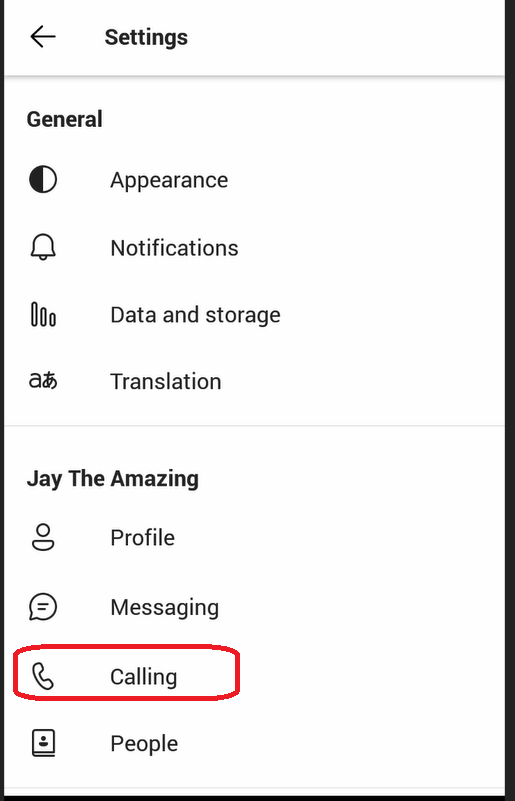
Under the “Calling” menu, you will see the option “End-to-end encrypted calls”
Note:
If the option “End-to-end encrypted calls” doesn’t appear in the “Calling” menu, this means that the user doesn’t have “Enhanced Encryption Policy” assigned to it. You need to assign this policy using Web Interface or PowerShell as explained above

Enable the option “Enhanced Encryption Policy” and exit all the menus

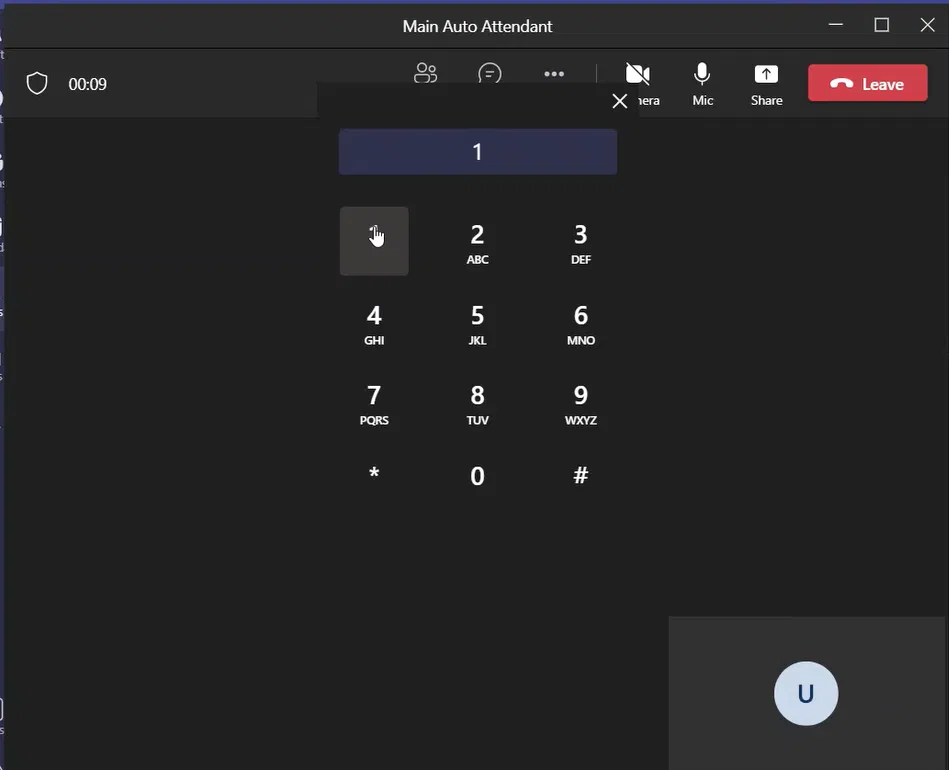
To Verify that the call is using E2EE on Teams Windows Client
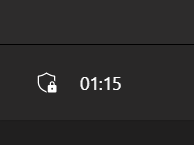
The following image shows that the call is secured
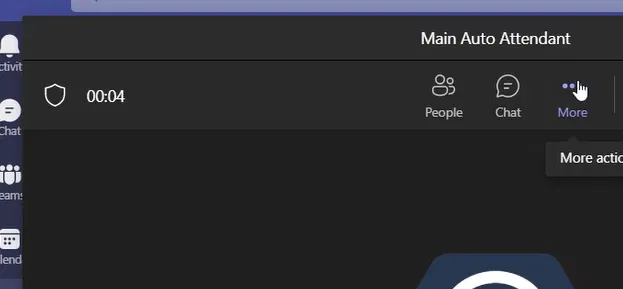
In the upper left corner, you will see an armor image with a lock next to the time spent on the call. The following is a magnified image

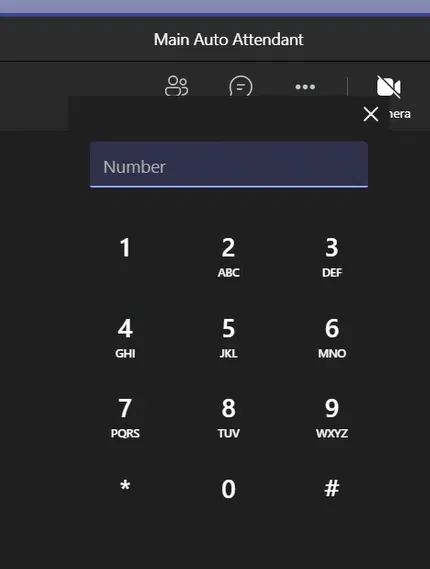
To View The 20-Digit Security Code on Teams Windows Client
If you click on the armor image and it will show you a box saying, “End-to-end encryption enabled for this call” and it will show you the “the 20-digit security code” of this call. Note that this code will be the same in both parties of the call

To Verify that the call is using E2EE on Teams Windows Client
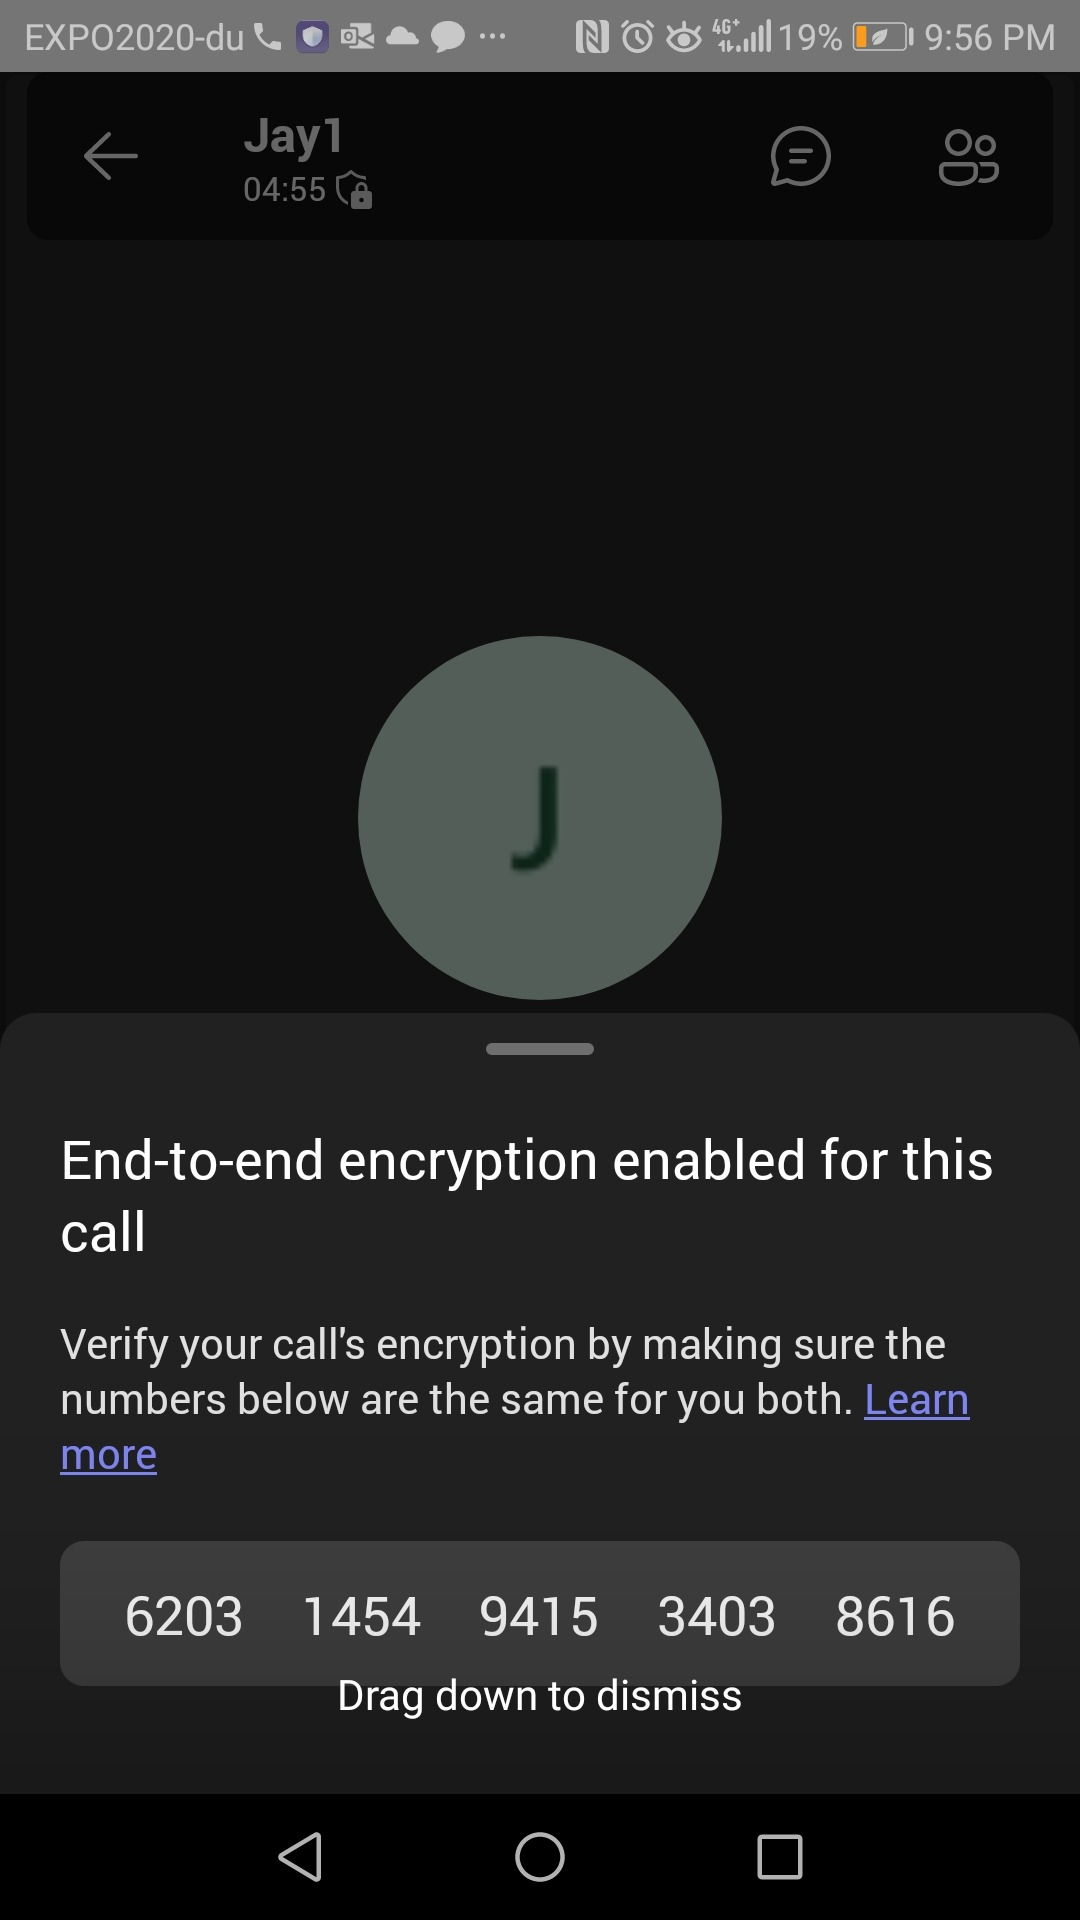
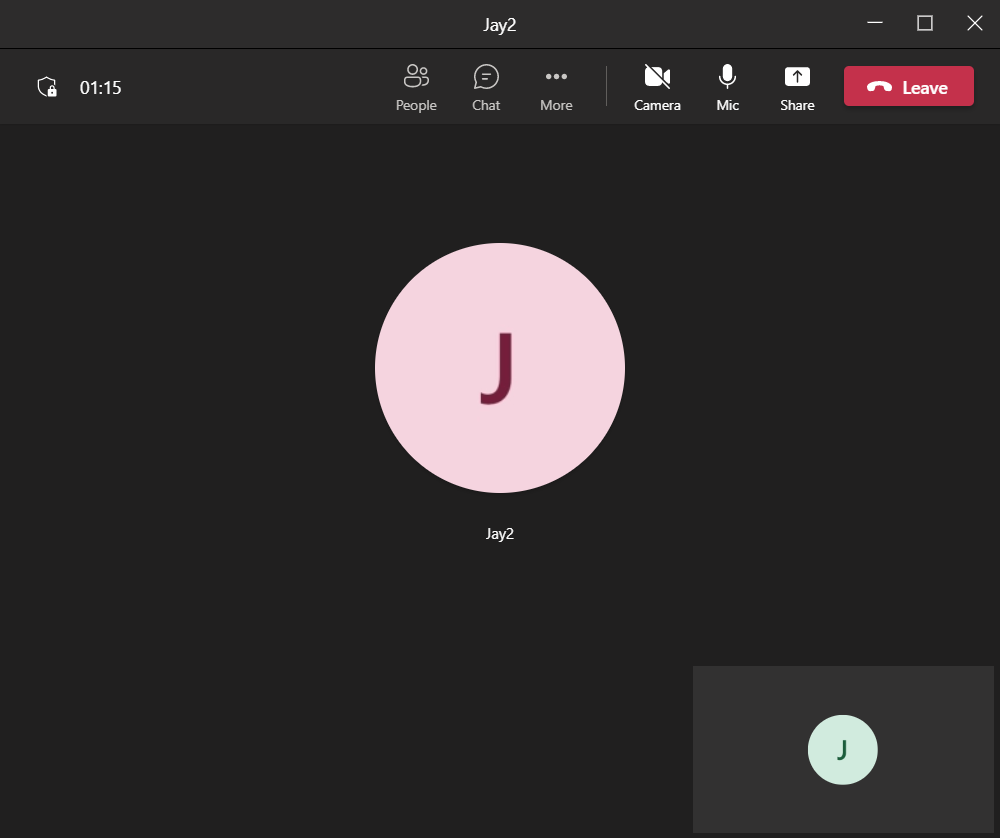
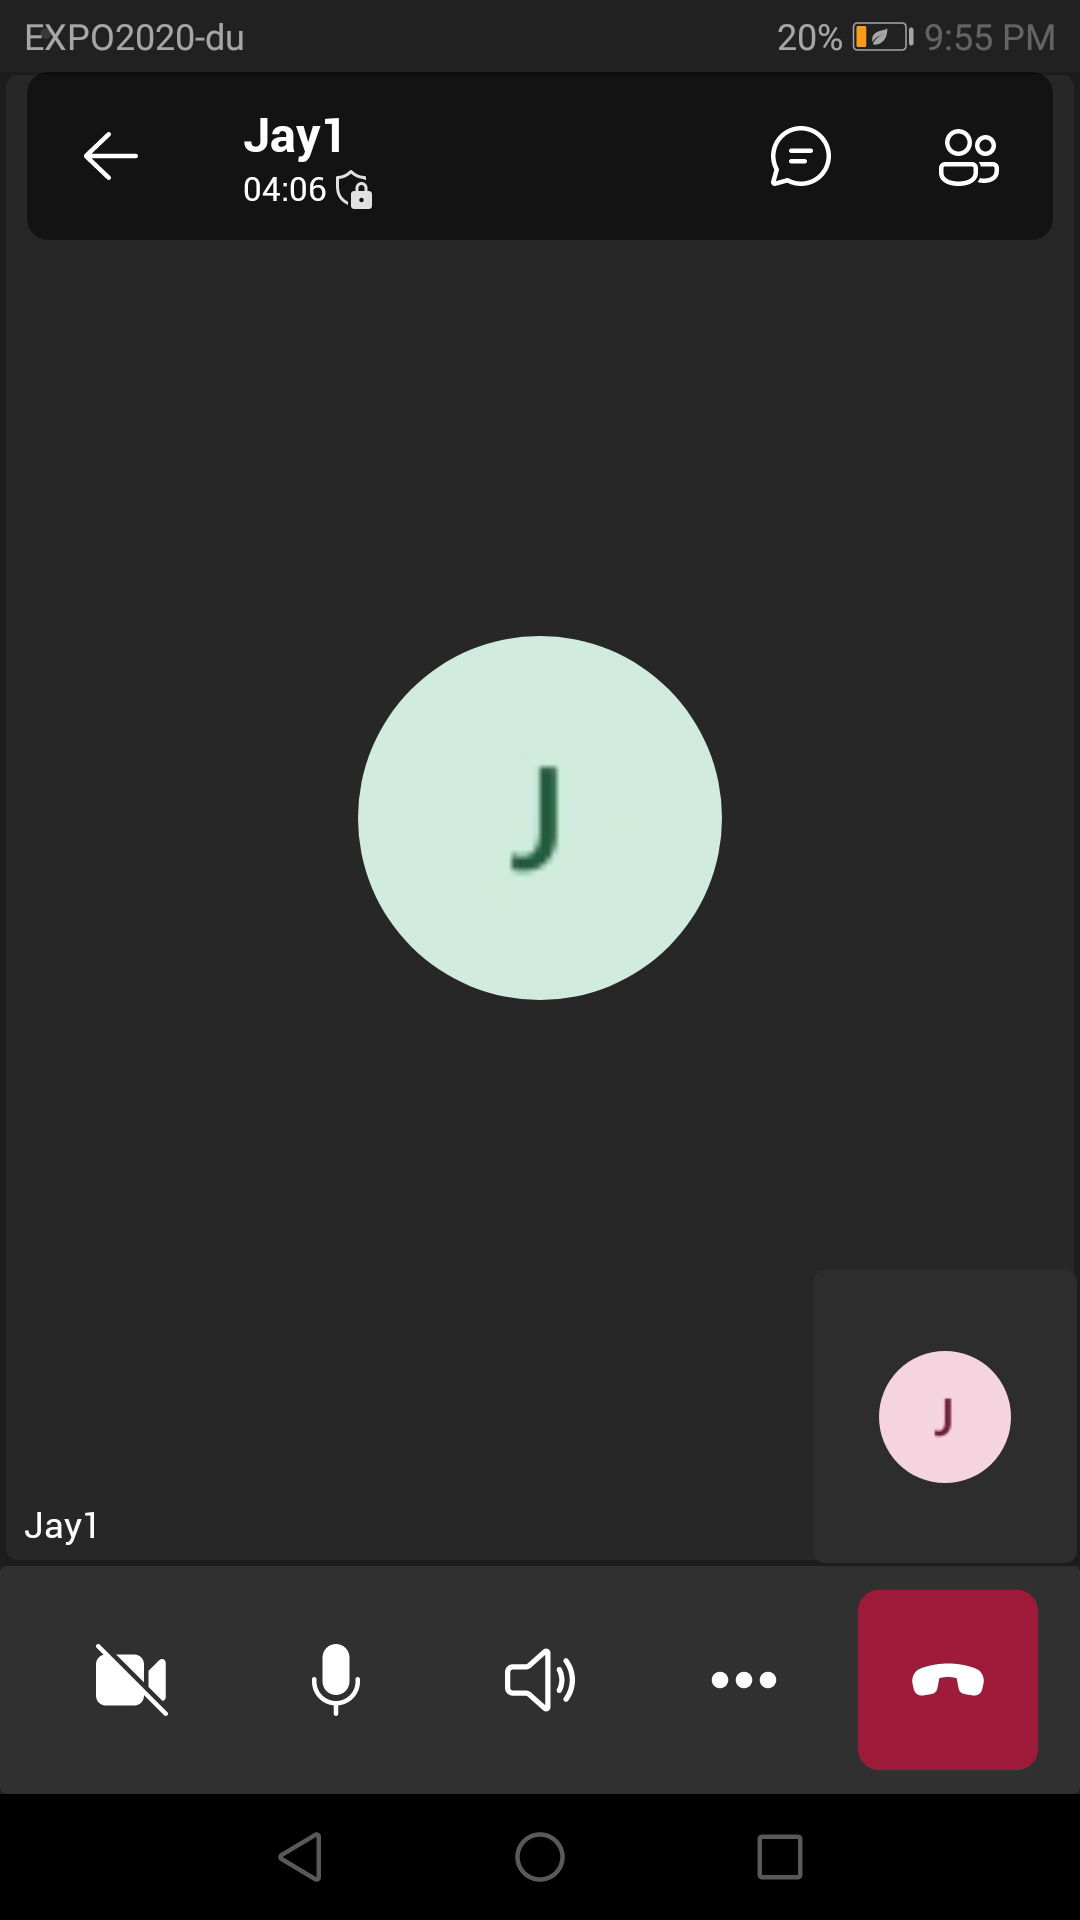
During a call on the mobile app, you will notice the same an armor image with a lock on top of it.
To View The 20-Digit Security Code on Teams Windows Client
Click on this armor image. This will show you the box that says “End-to-end encryption enabled for this call” and it will show you the “20-digit security code” of this call. The following image shows the same security code that is shown above in the Windows client (it is the same call, so both parties will have the same code)