Teams’ Call Queues and Auto Attendants – Adding an operator to the Auto Attendant
In this article, I am improving my Auto Attendant by adding an option to reach the operator. The operator in my case is accessed by clicking on 0 on the dial pad when calling the Auto Attendant.
My operator is a Teams user (Person in organization) named User5. But you have the option to send the call to another Auto Attendant or Call Queue (Voice app). You can also send the call to an external PSTN number.
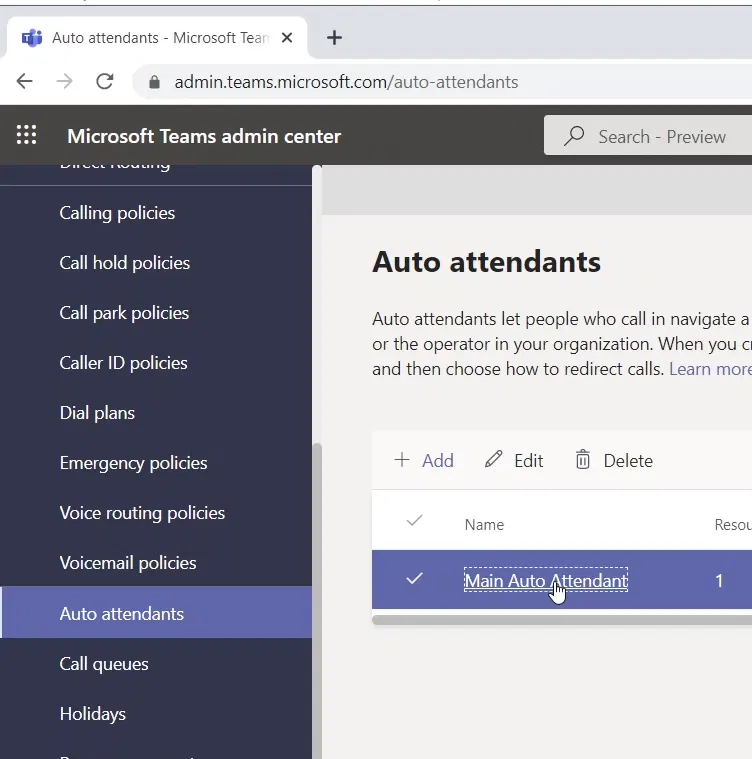
Go to
Teams Admin Center > Auto attendants > Click on the Auto Attendant that you want to modify. This will open the Auto Attendant Wizard
Part 1 – Adding an operator
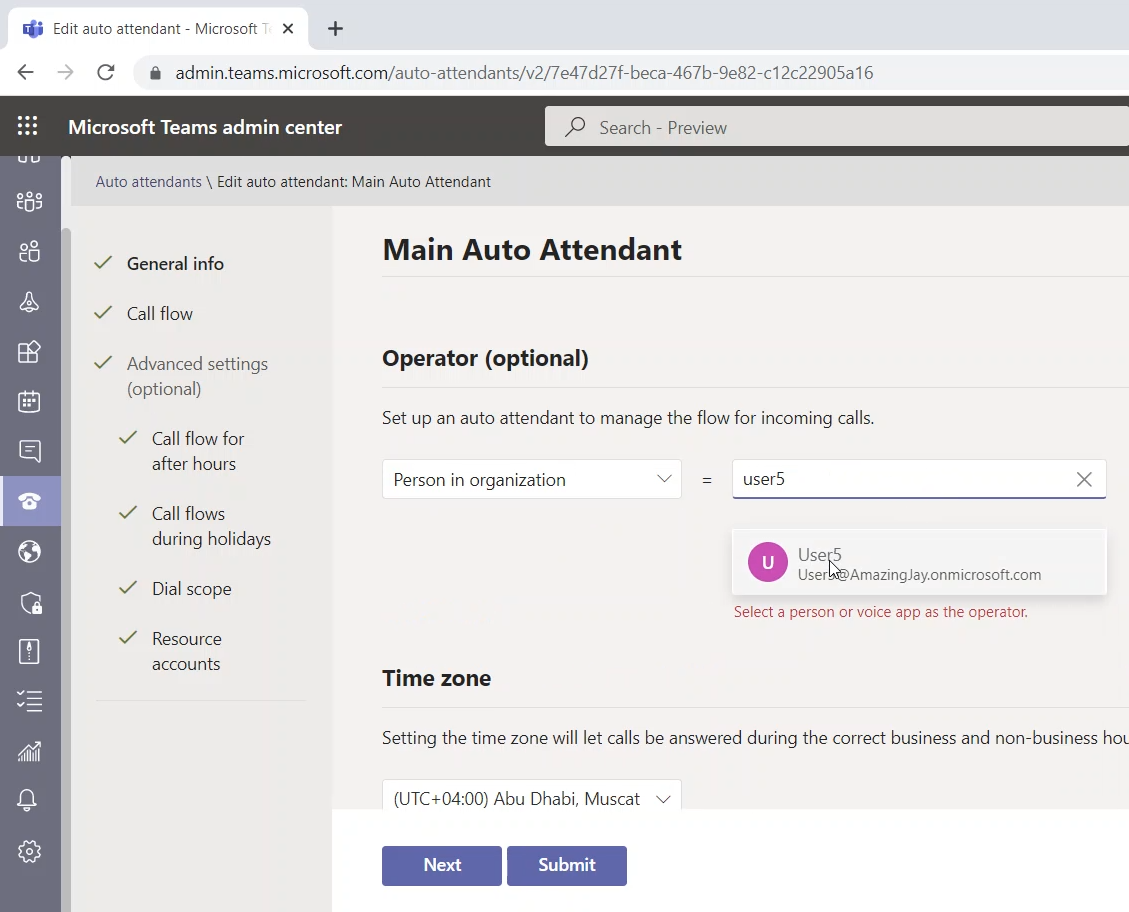
On the “General Info” page, you will see the “Operator (optional)” setting
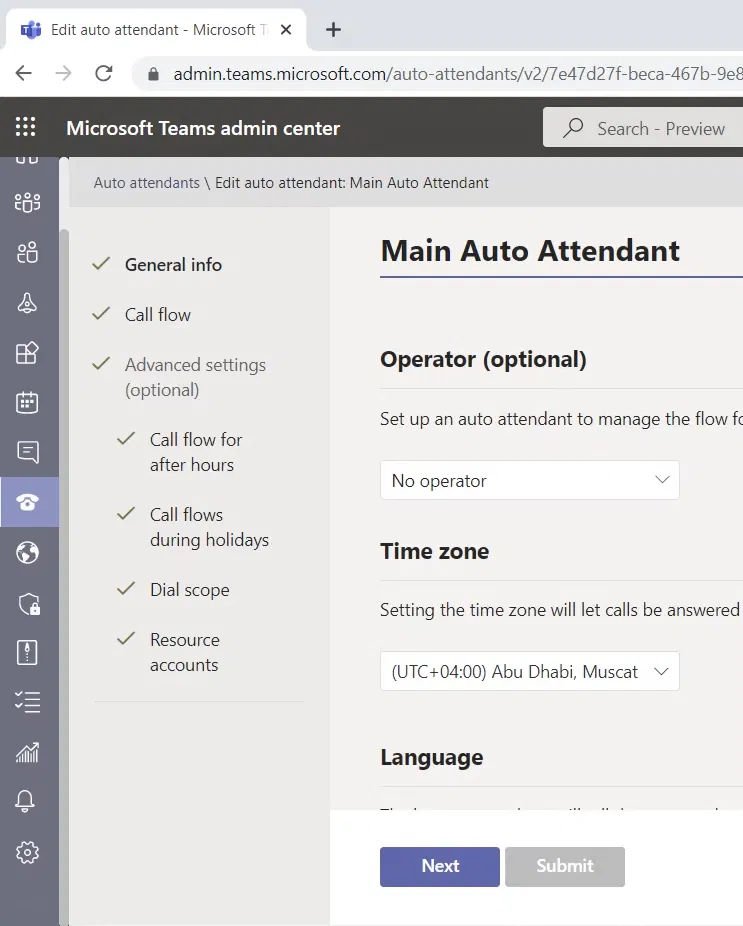
Open the box and select “Person in organization”

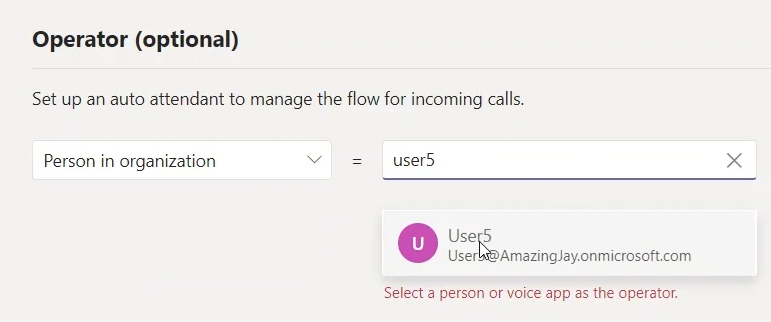
It will give you a place to “Search by display name” filed
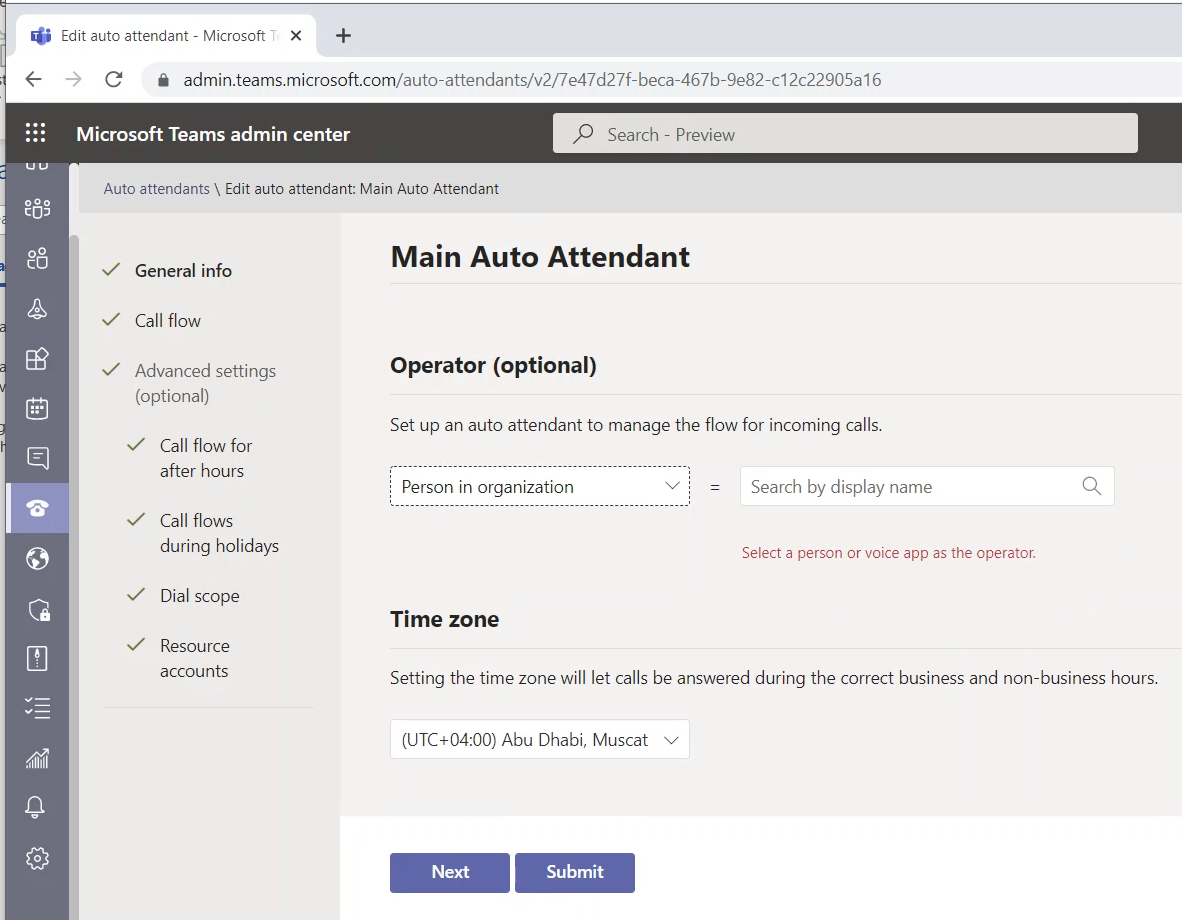
Type the display name or at least the first 3 letters, and select (click) the user name
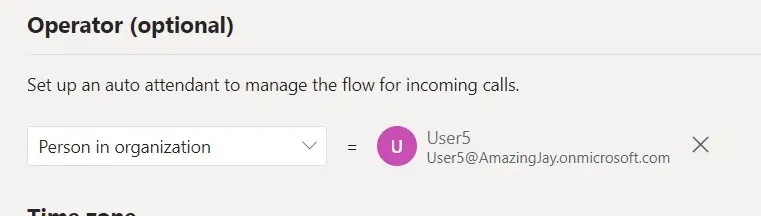
The username will be selected and will be designated as the operator

Now we can use the operator in the Call flow for this Auto Attendant as I am showing in the next part.
Part 2 – Making the operator a Call Flow Destination (reached when clicking)
Go to the “Call flow” page (on the settings of the Auto Attendant you are modifying)
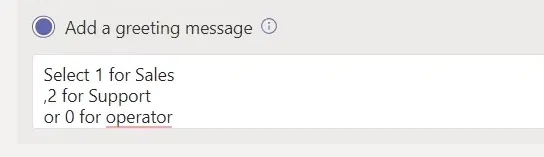
Modify the Greeting Message of the Auto Attendant to let the caller hear the option about the operator
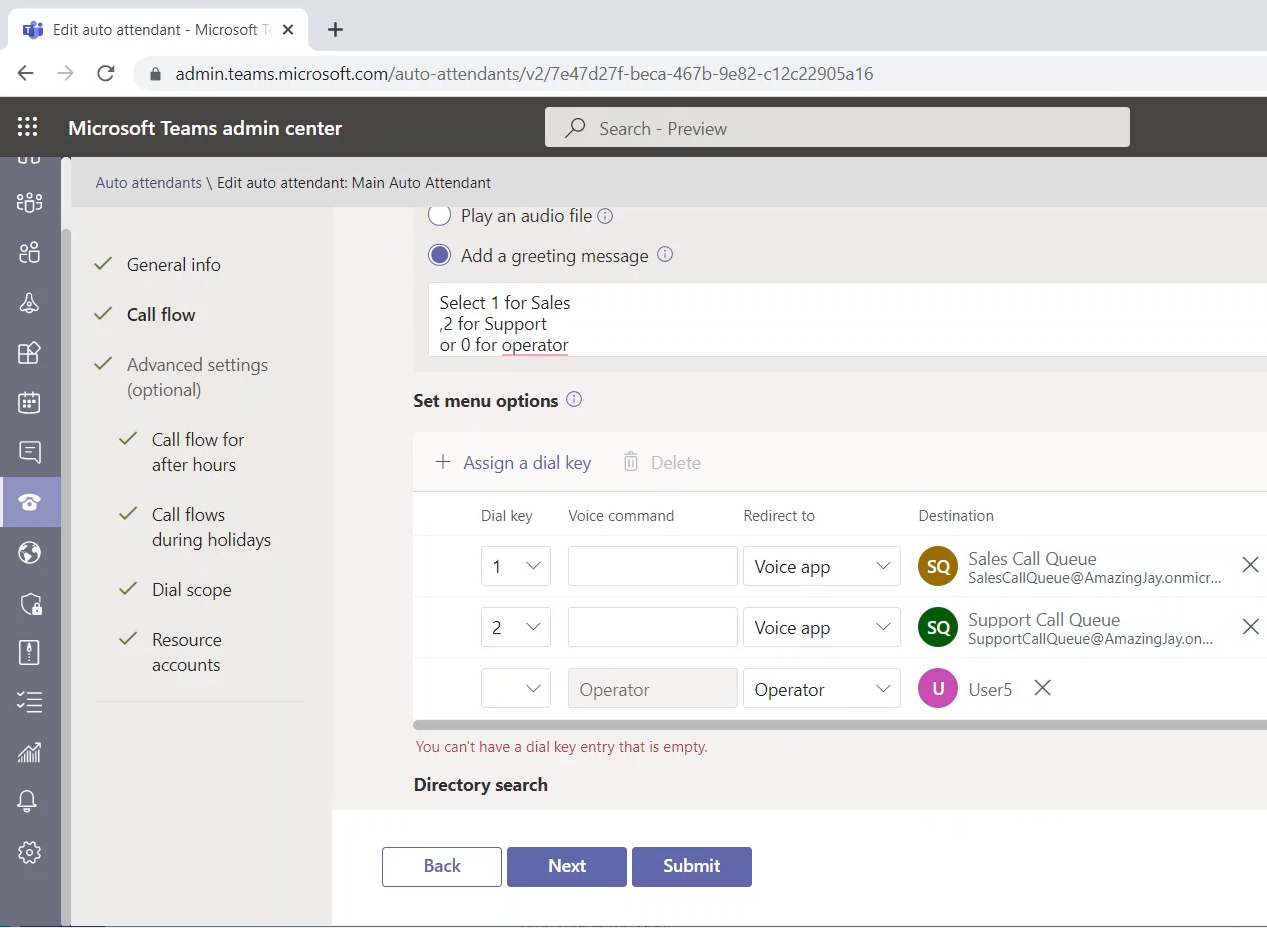
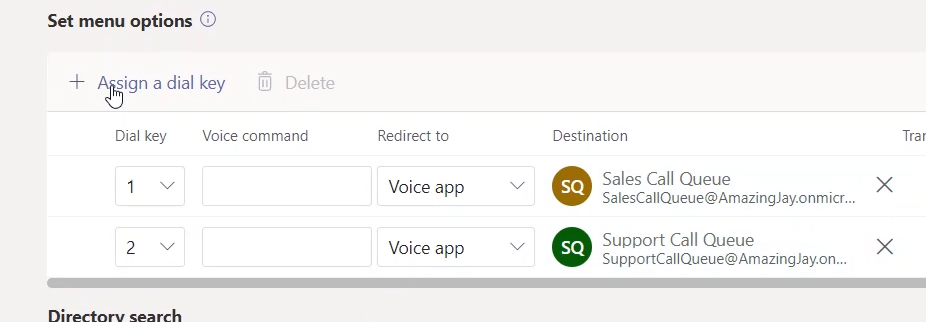
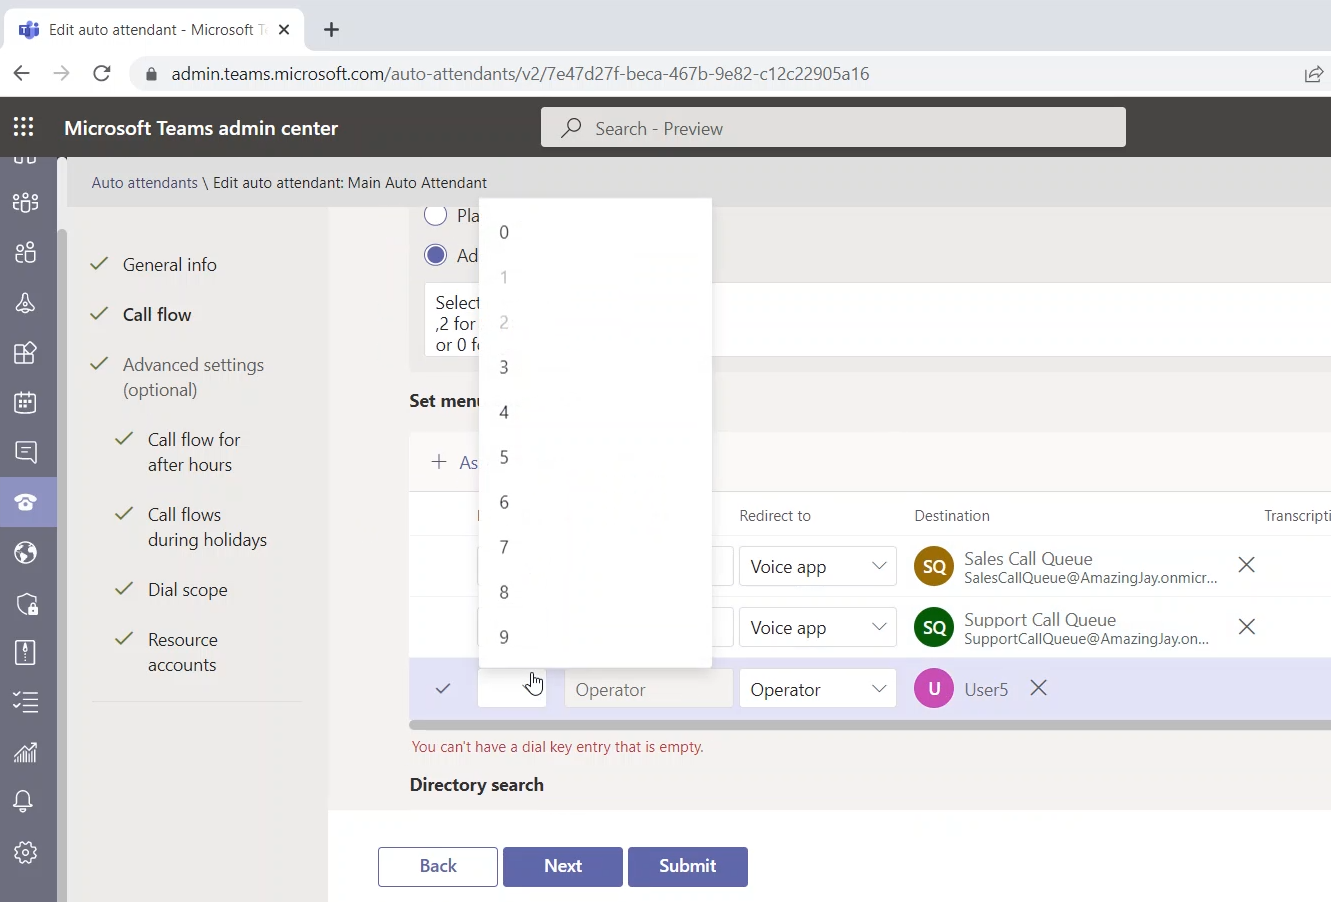
Click on “Assign a dial key”. This will add a new “dial key” option the caller can dial
The default option for the new key is Operator and it will automatically configure the call to be redirected to User5 (which is the operator that we have selected in the previous step)
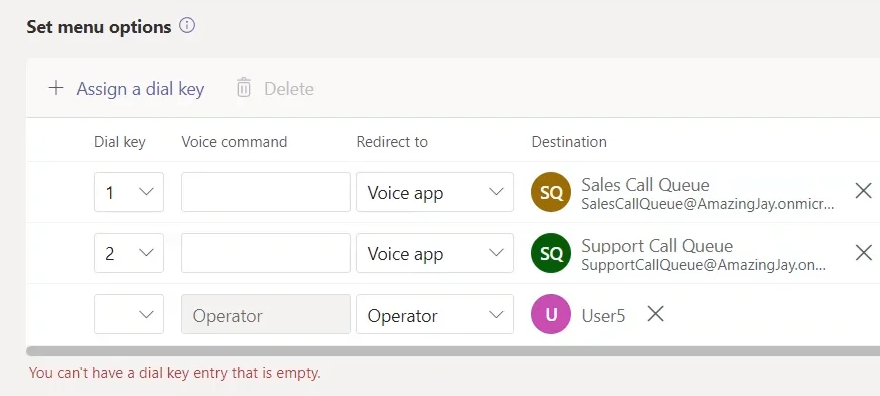
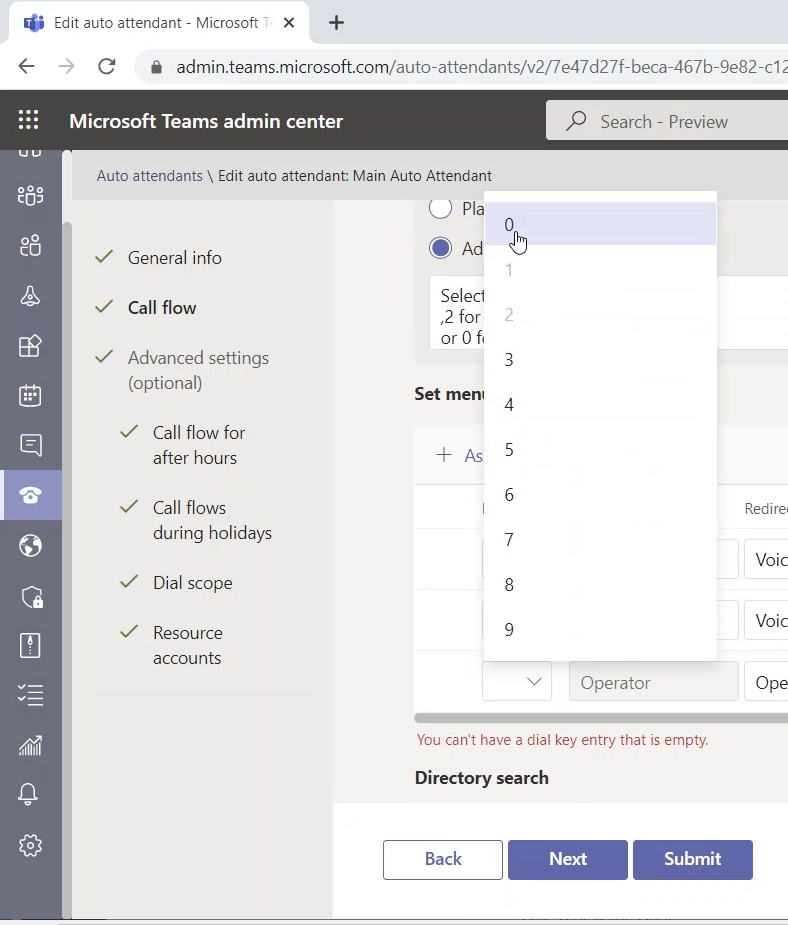
Select the 0 as the dial key
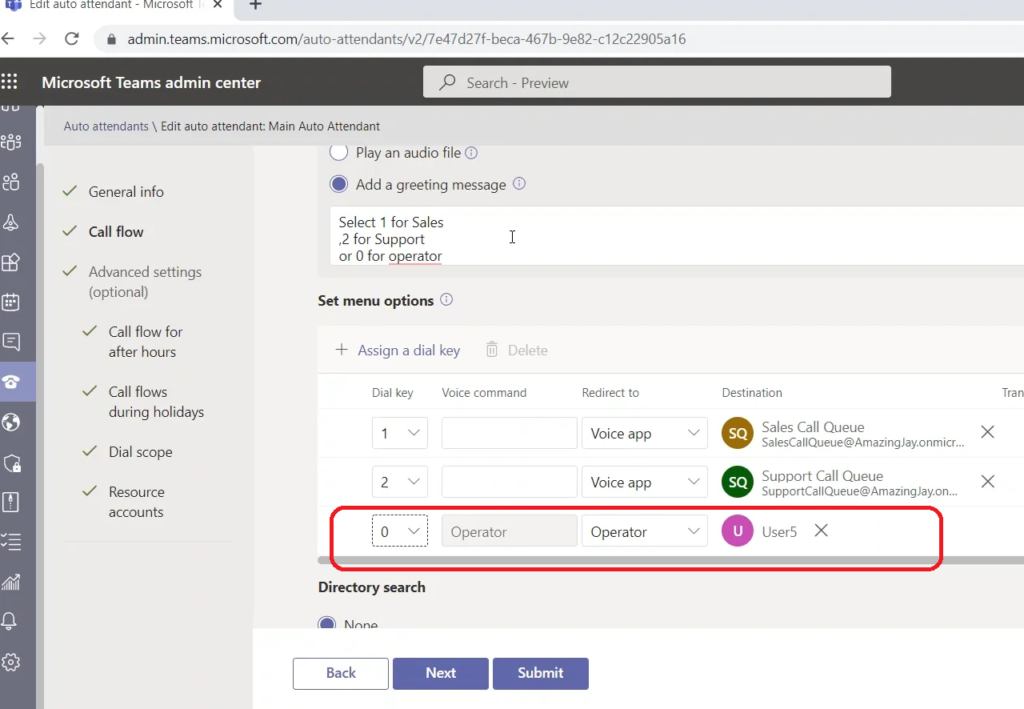
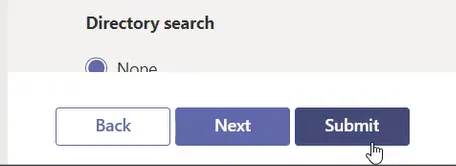
Click on the Submit button to save the changes