In this article, I am showing how to configure Local Media Optimization for Single Site with Single SBC which is good for:
- Simply keeping the media traffic inside the internal network
- To avoid sending the media traffic between the internal network and the public IP address (usual configuration of Media Bypass)
- Avoid the complex configuration of the firewall
Most of the documents available right now are explaining how to configure Local Media Optimization for multiple sites and it might be hard to figure out how to just simply configure LMO for a single site
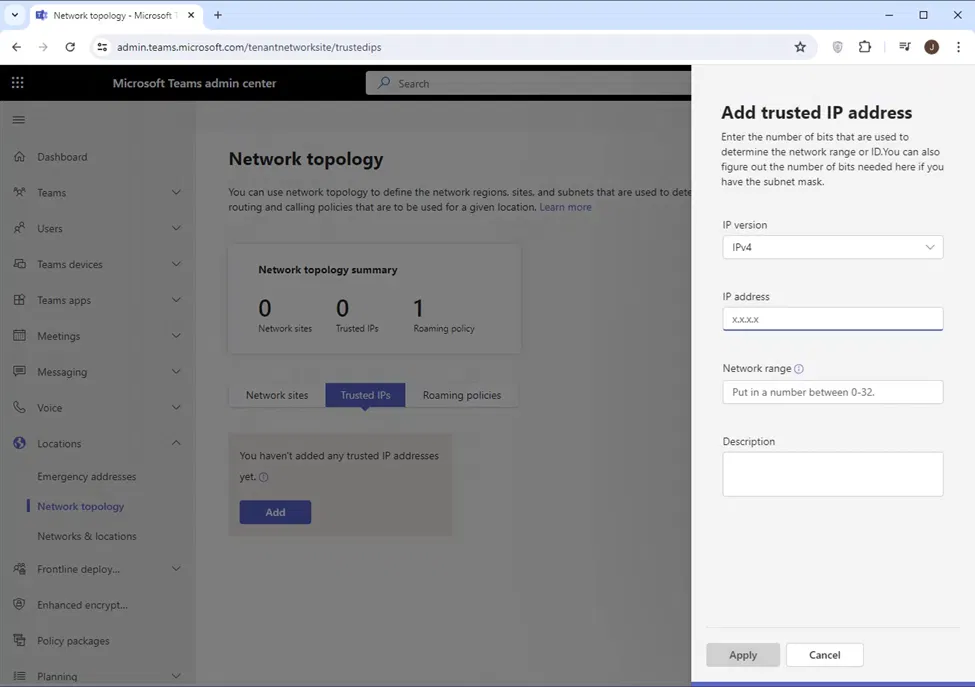
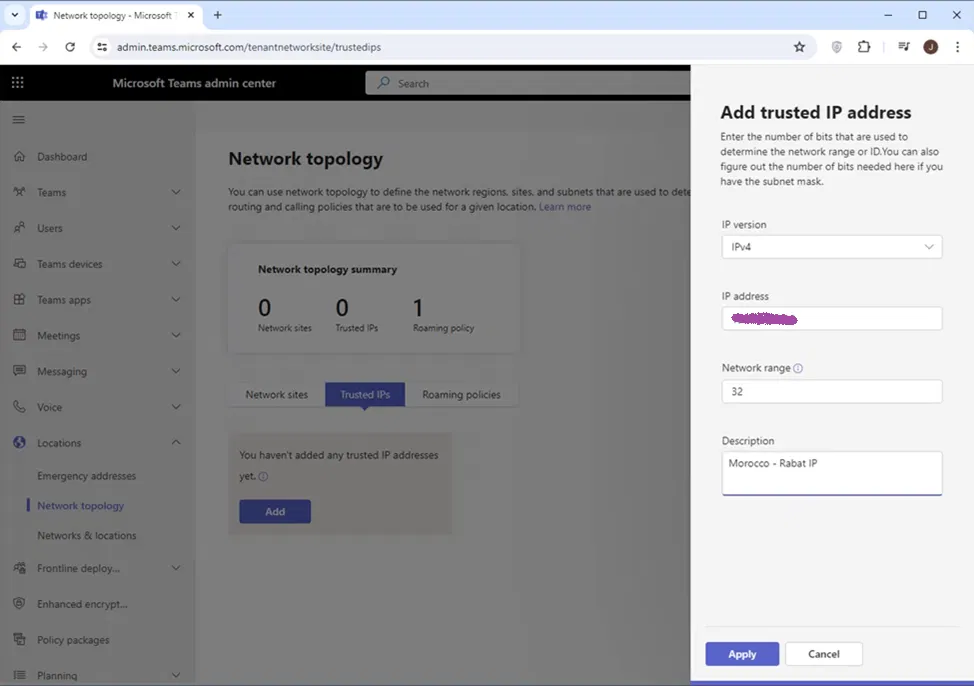
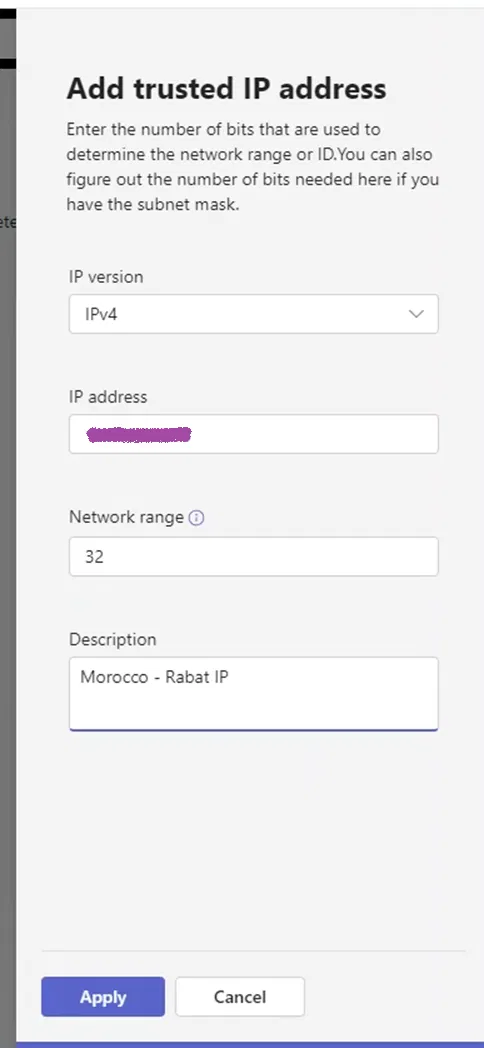
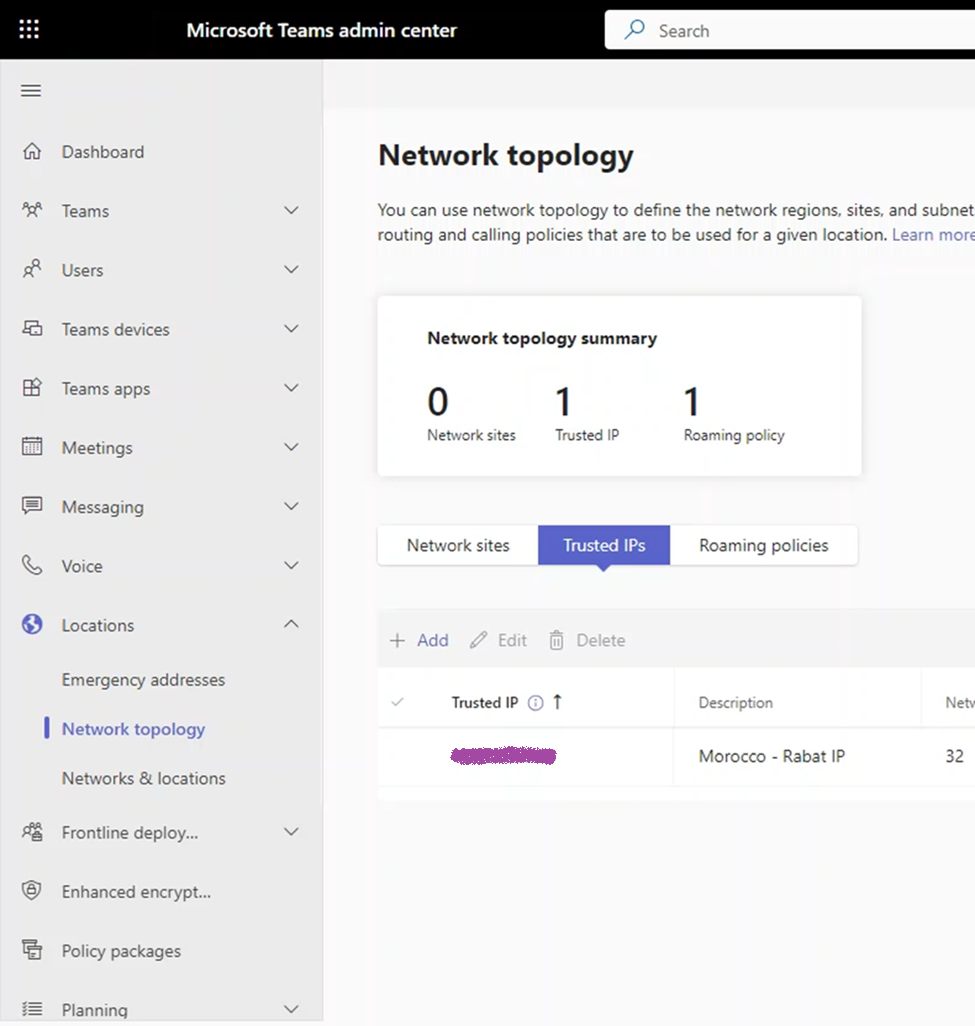
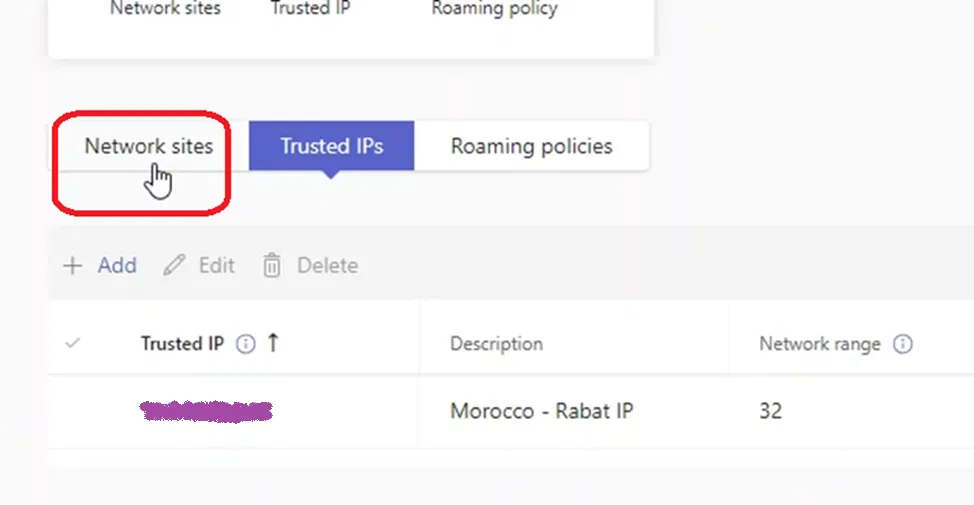
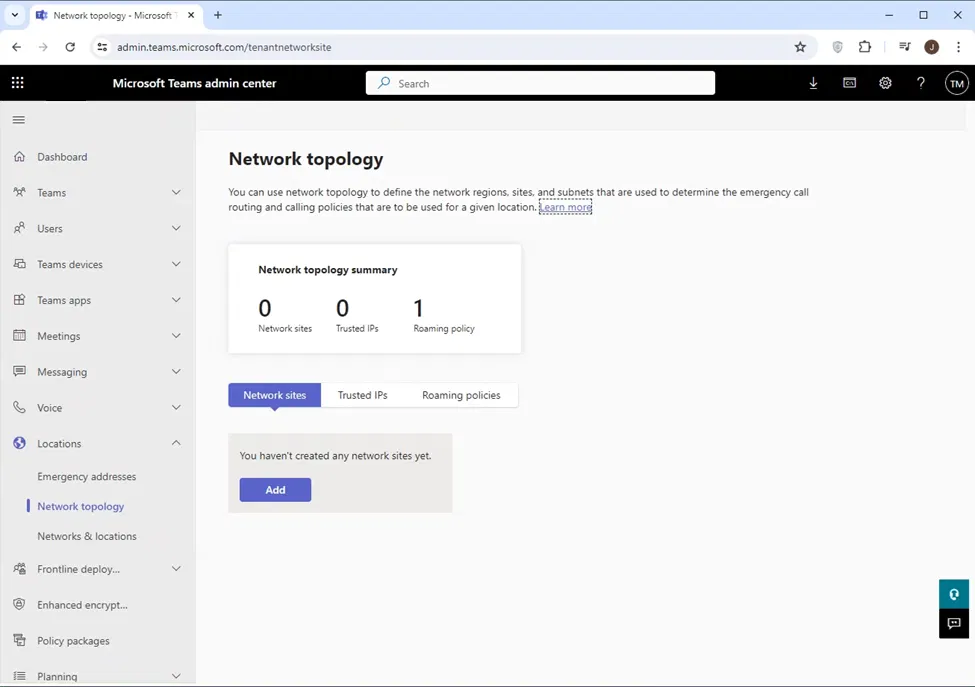
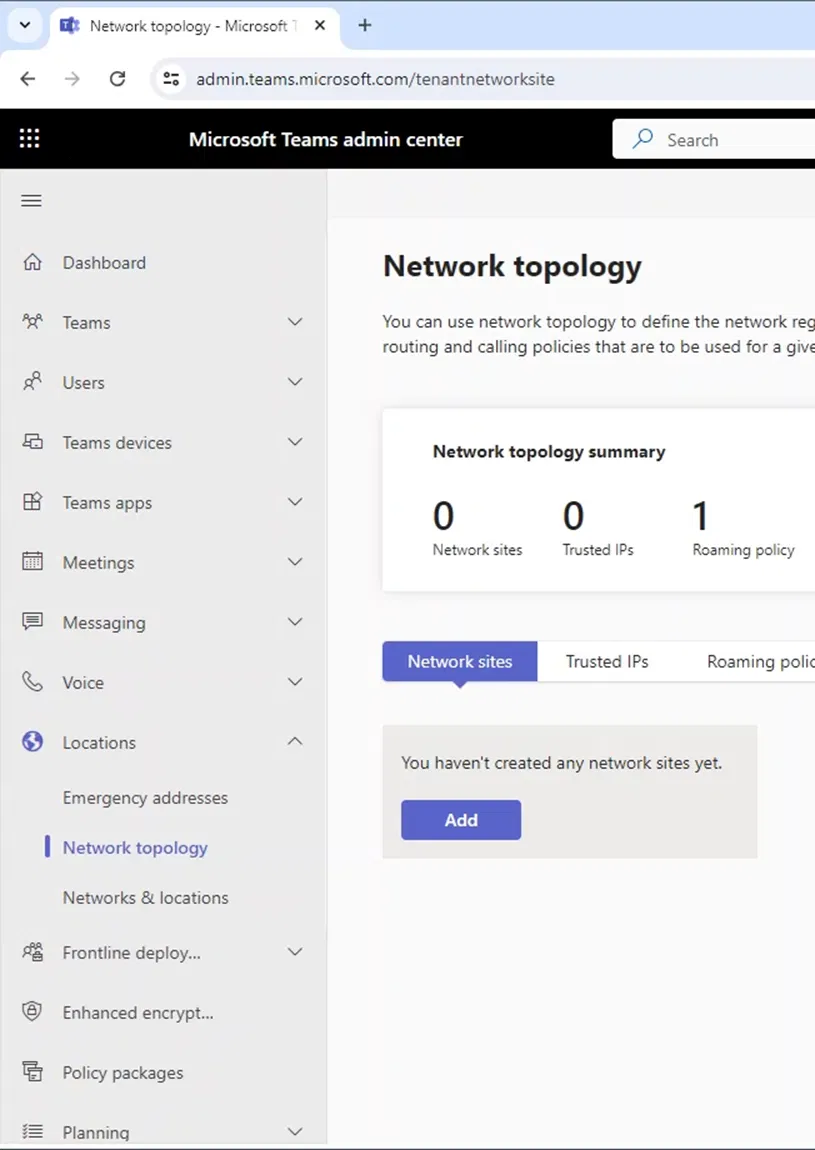
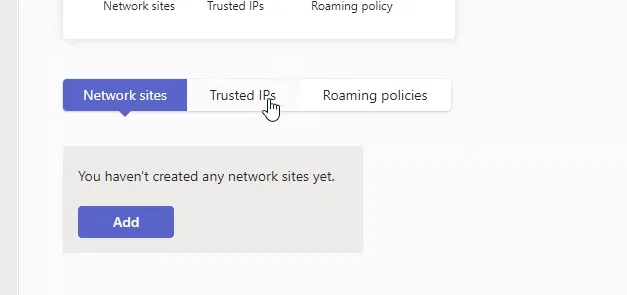
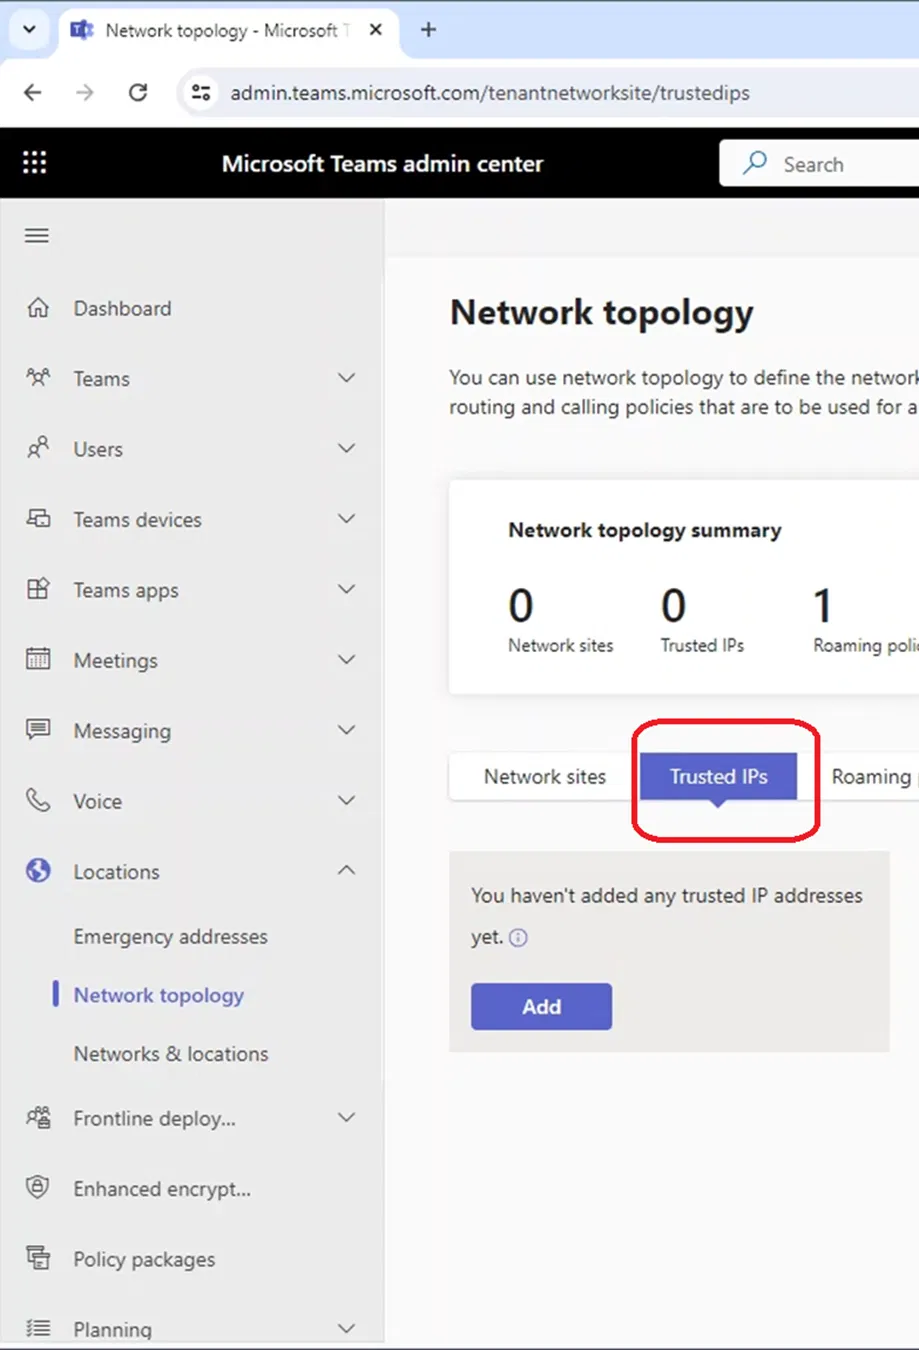
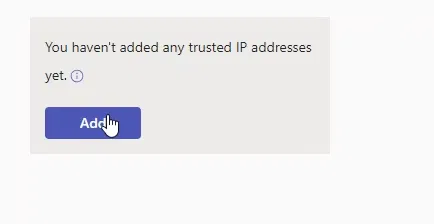
Creating a Trusted IP
The trusted IP is the Public IP that your internal clients are using to access the internet. It is the IP that is configured on the NAT setting on your firewall. You might find this IP by searching “what is my IP” on the web browser of your client. But it is better to get the help of the network team or security team. After all, they are the ones who have configured the firewall.
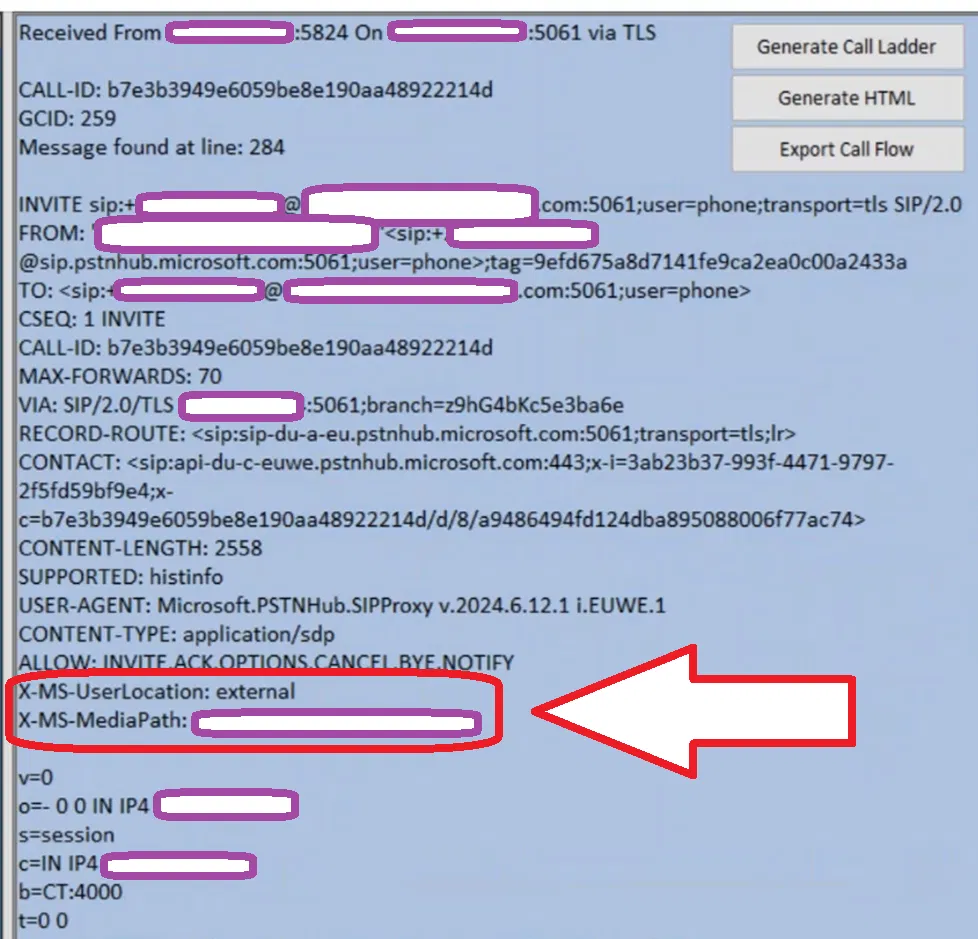
When Teams client starts up, it will contact Teams servers and if the client is connecting these servers using a Trusted IP, the client will be considered as internal, and the client will try to determine to which site it belongs to. During the PSTN calls, the media traffic will be travel between the client and the internal IP (Signaling/Media Private IP) of the SBC (PSTN Gateway).
If the client connects Teams servers using a Public IP that is not in the list of Trusted IPs, it will consider itself as an external client. And in that case, the media traffic (the voice) will be between the Public IP of the SBC (PSTN Gateway) and the client.
Notes:
- When the client is accessing the internet from an IP that is not in the list of Public IPs, after it considers itself as external (as explained above), it will try to access the public IP of the SBC (PSTN Gateway). The thing to watch for is that it is not possible in most cases because the firewall will not allow such traffic.
(From what I have seen, if the firewall is not allowing such traffic, the call will ring normally, but the moment the call is answered, the call might not get established or there is a delay in establishing the call)
- The clients might be using different Public IP to access the internet. In that case, you need to add all these IPs as Trusted IPs
The following command shows how to add one Trusted IP:
New-CsTenantTrustedIPAddress -IPAddress x.x.x.x -MaskBits 32 -Description “City1 Public IP”
(In the example above, I am putting the IP as x.x.x.x as an example. Replace it with your trusted public IP)
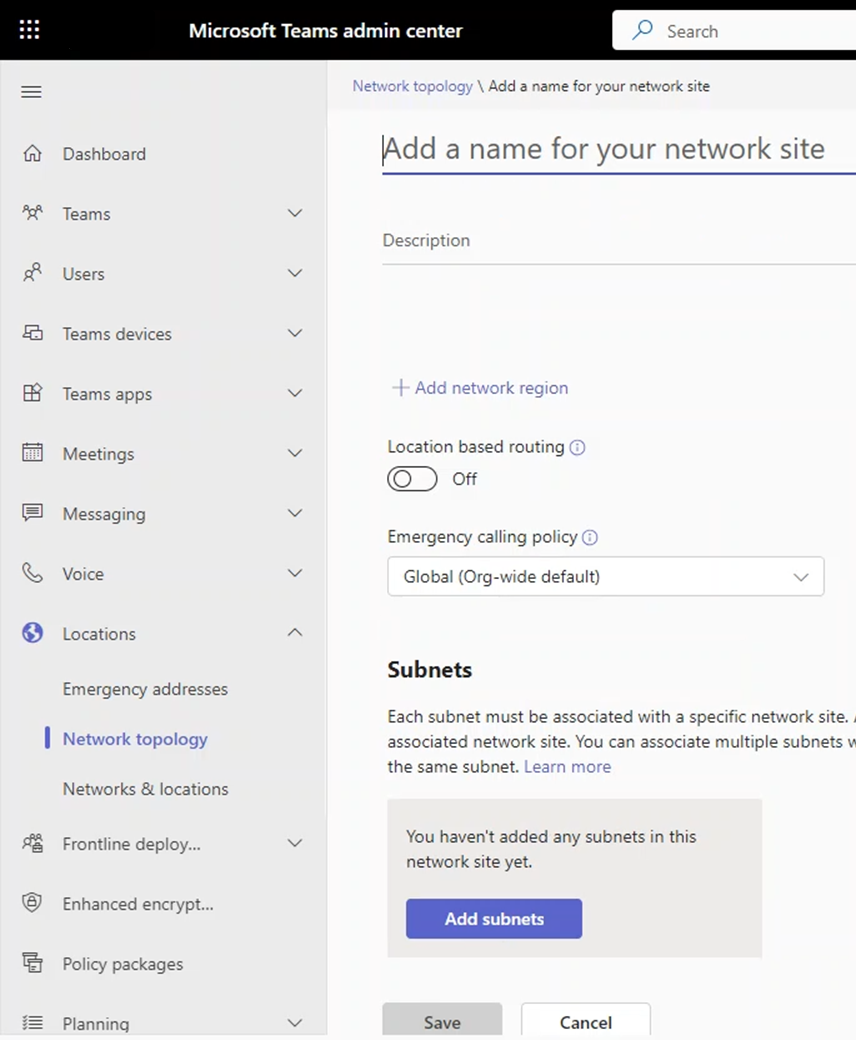
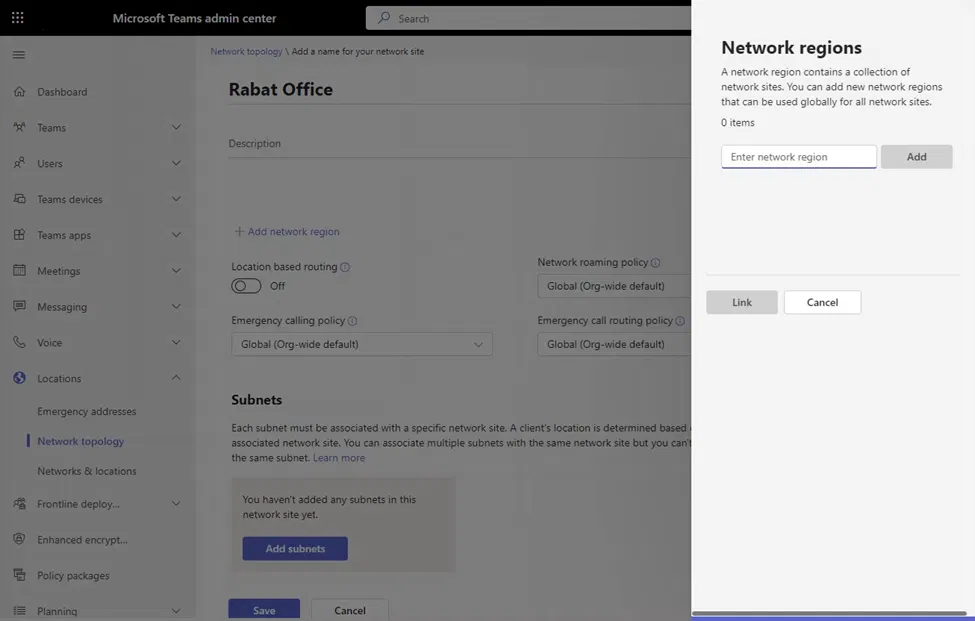
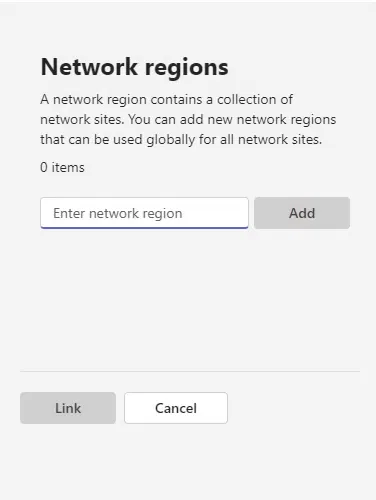
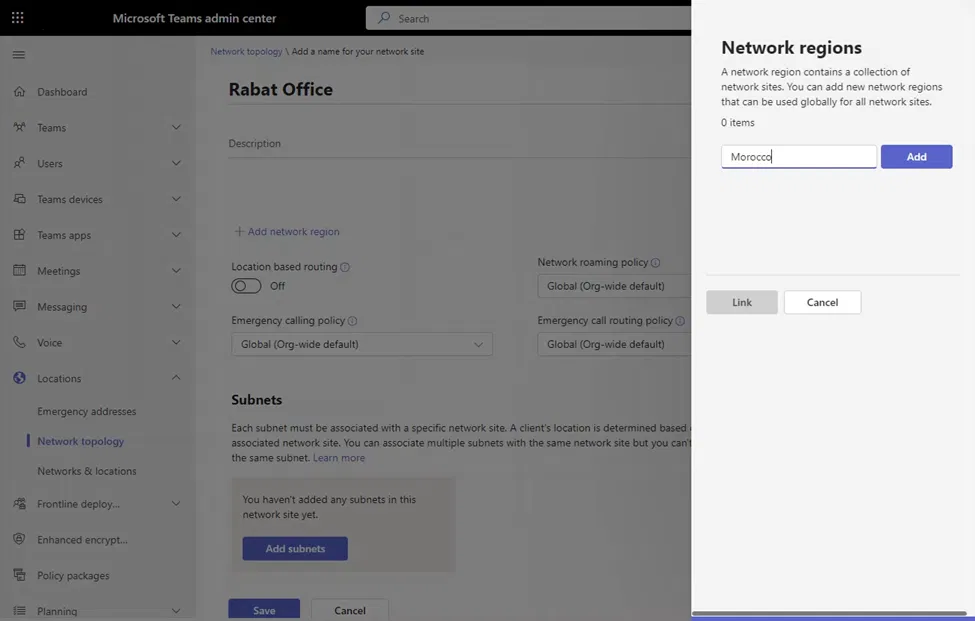
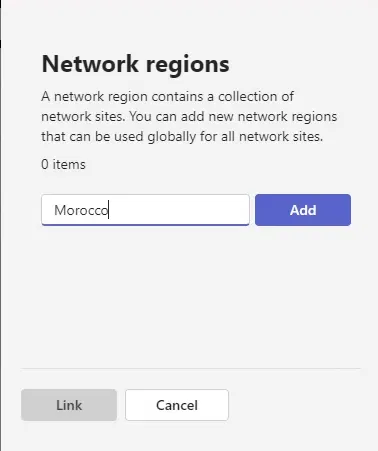
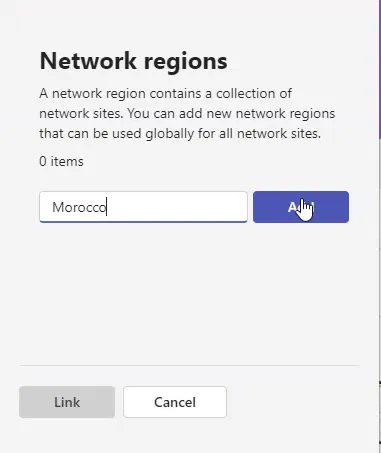
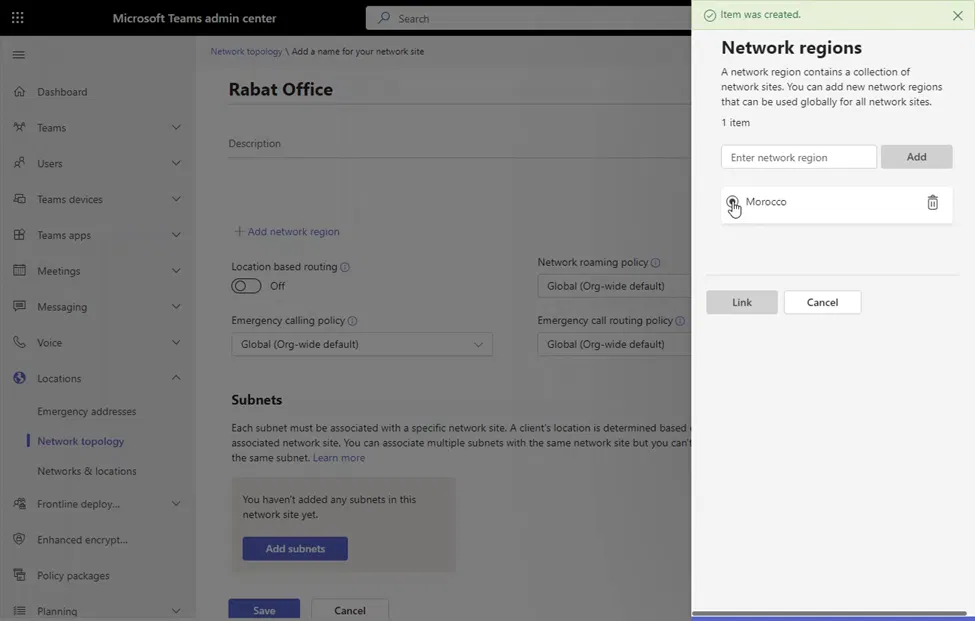
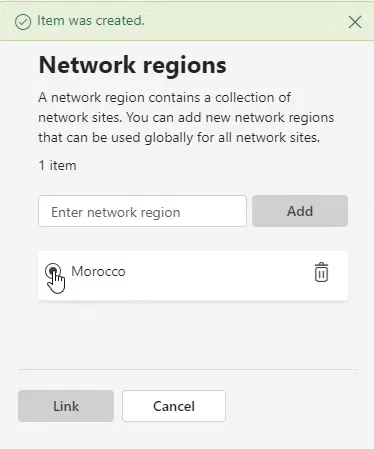
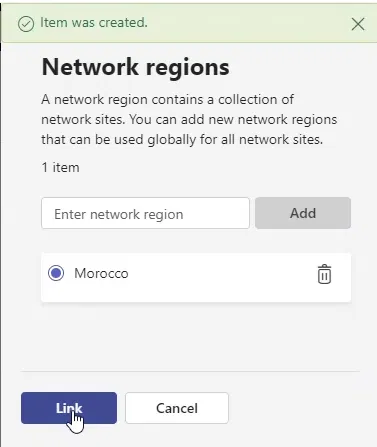
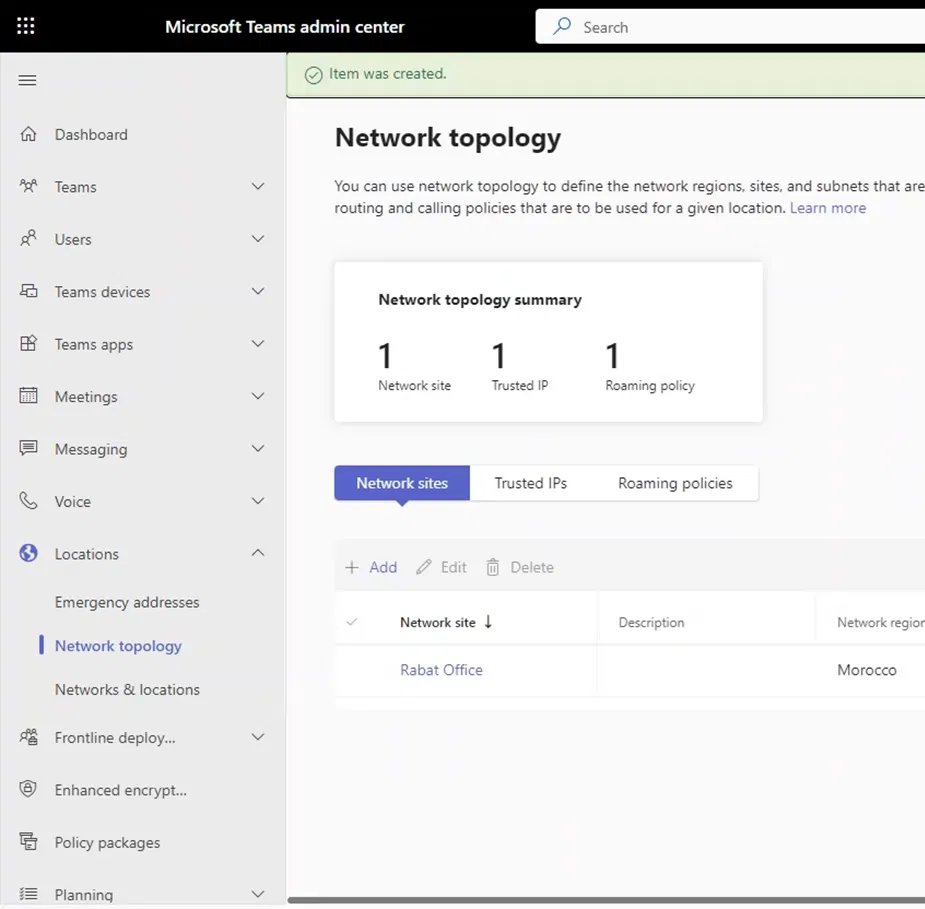
Creating a Region
A region is defined in Microsoft documentation as “A network region contains a collection of network sites. It interconnects various parts of a network across multiple geographic areas”. You can define your region as a country, part of a country, or any sort of geographical area. Sites always need to belong to a region.
The following command shows how to define a region:
New-CsTenantNetworkRegion -NetworkRegionID “Country1”
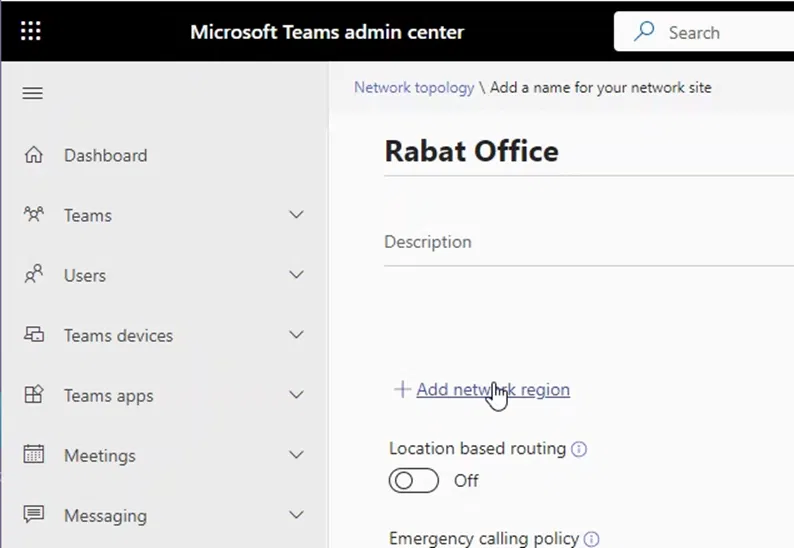
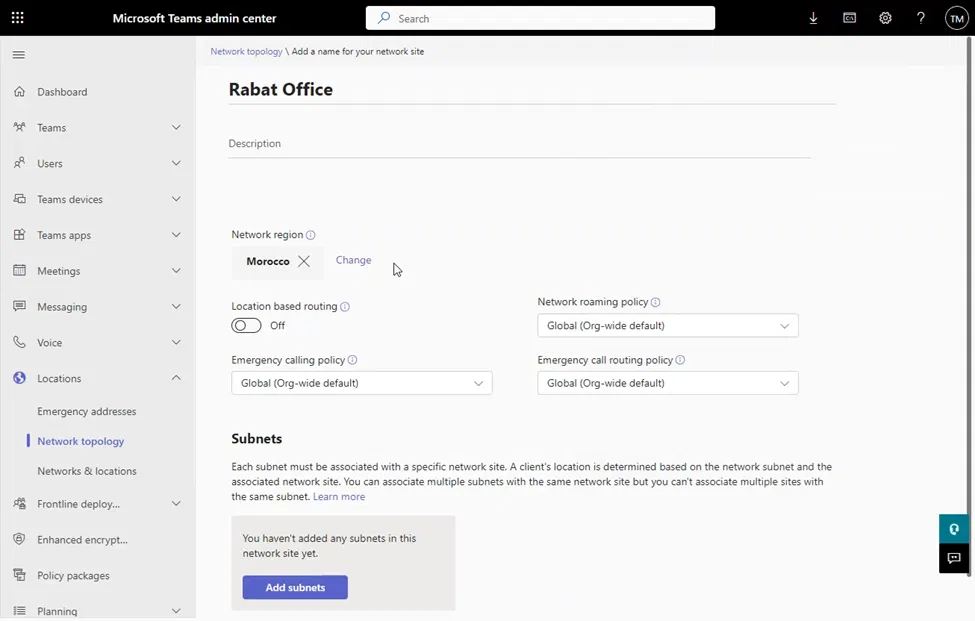
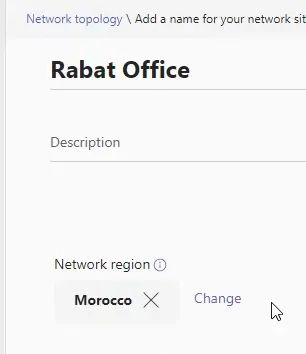
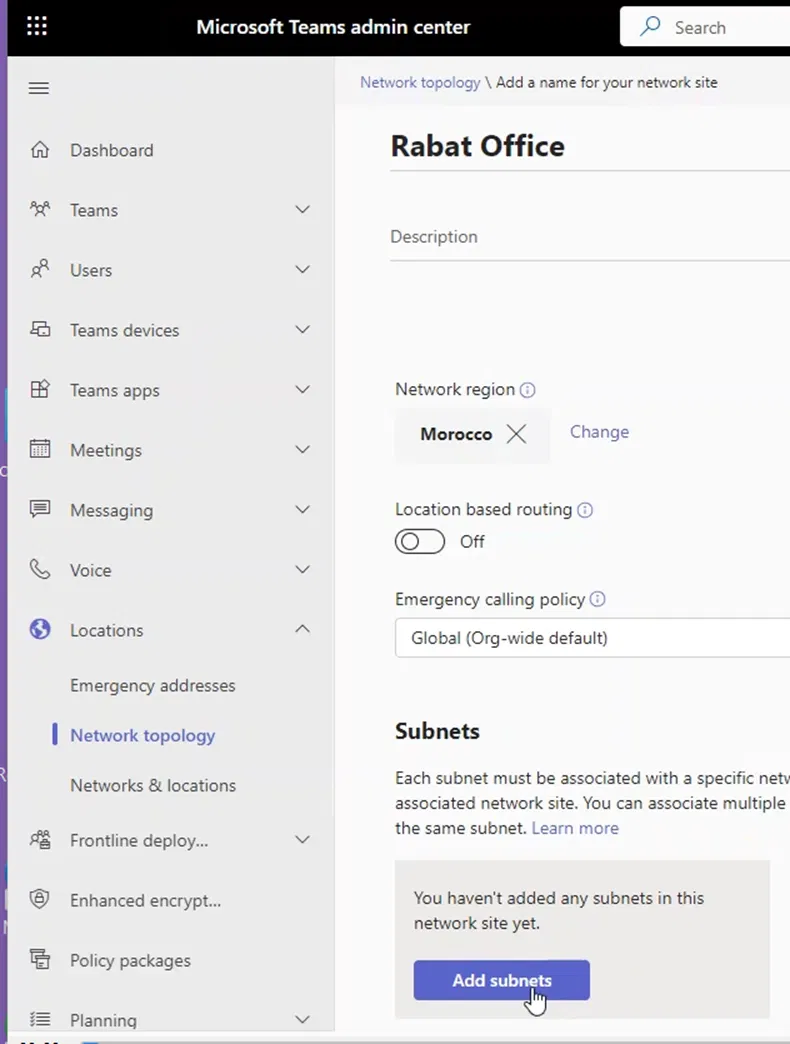
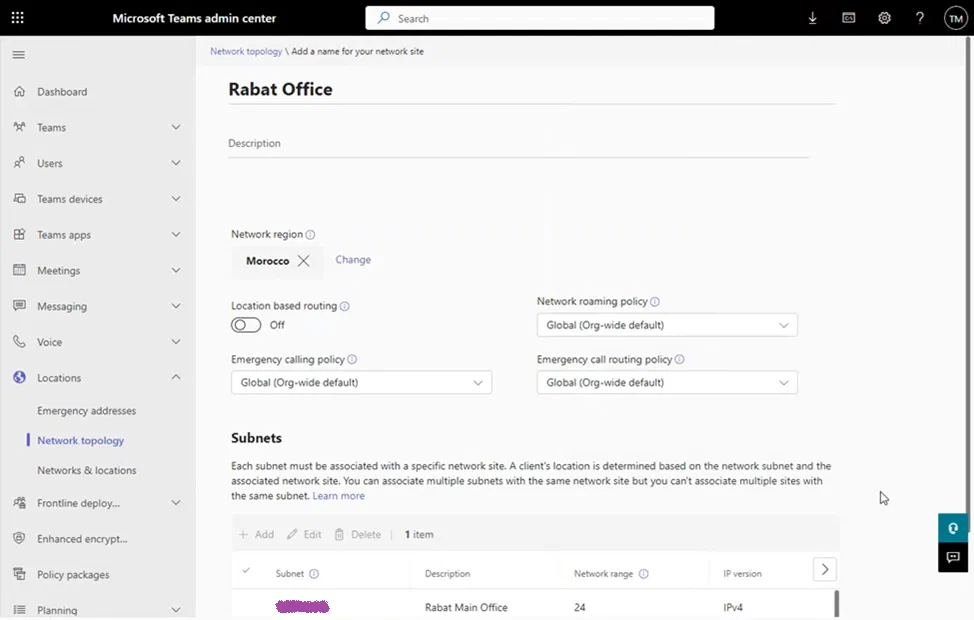
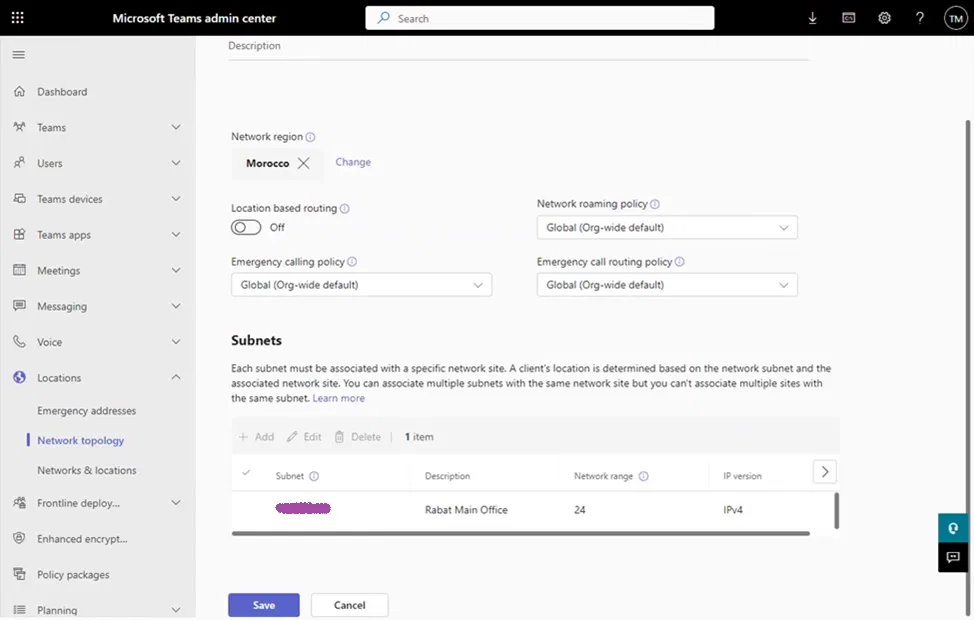
Creating a Site and Associating It with a Region
When Teams client designates itself as internal (after the client starts up, it will try to determine to what site it belongs to (it checks if it belongs to the subnets of that site).
And based on the Bypass mode settings of the SBC (PSTN Gateway) (the settings of the SBC that are defined on the Tenant), the client will send the media traffic internally or to Teams servers (explained below in the section “Creating Subnets and Associating them with a Site”).
The following command shows how to define a new site and to which Region it belongs too:
New-CsTenantNetworkSite -NetworkSiteID “City1” -NetworkRegionID “Country1”
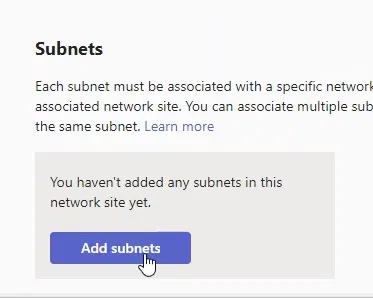
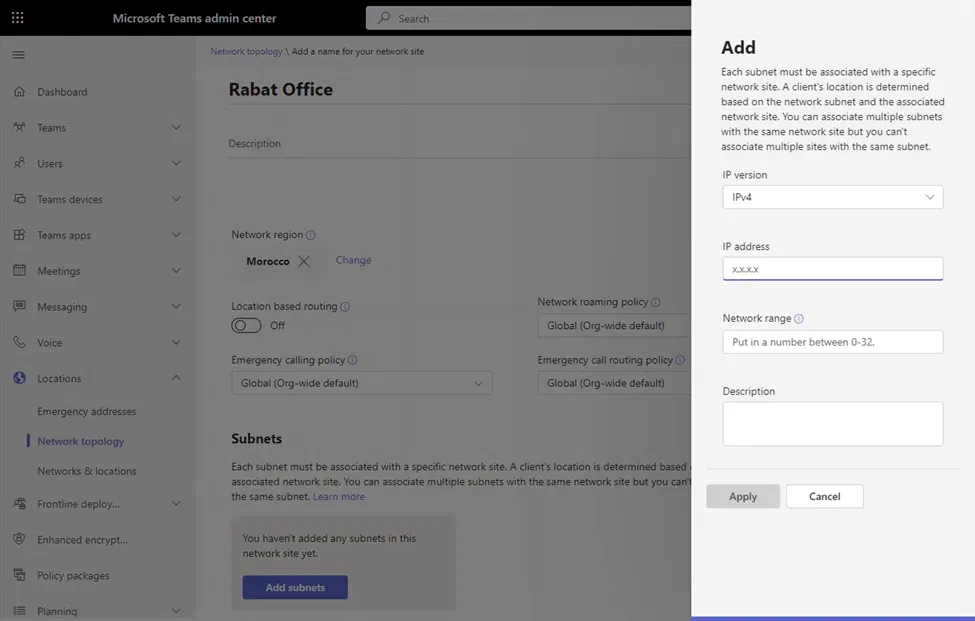
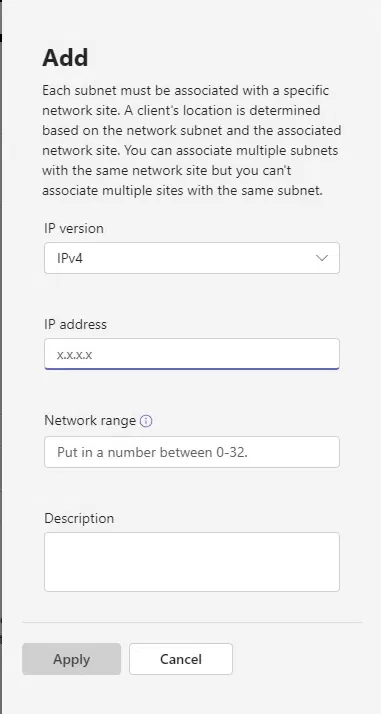
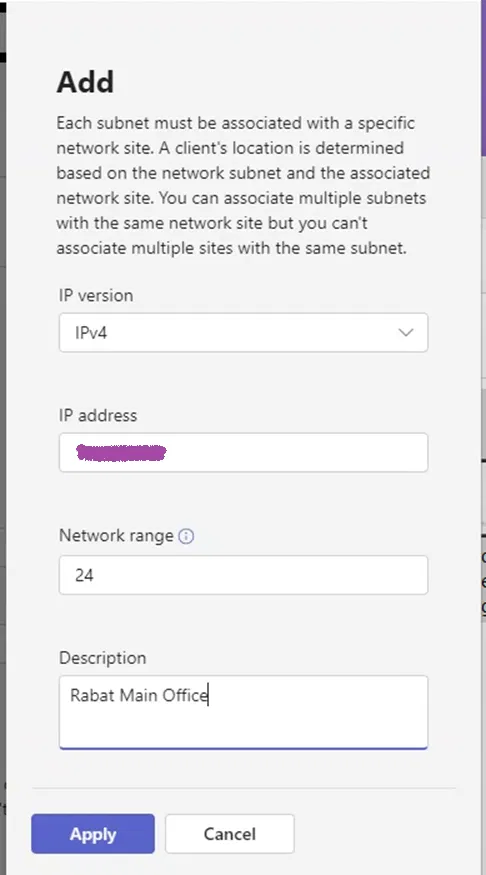
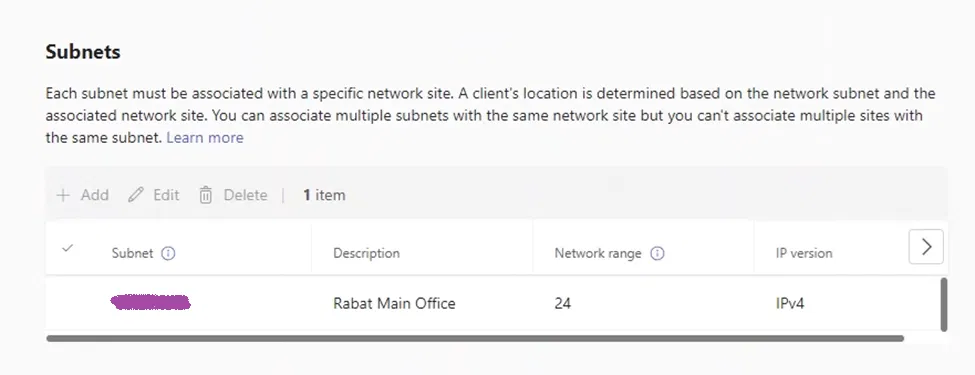
Creating Subnets and Associating them with a Site
Internal Teams client will know to which Site it belongs to based on its subnet
The following command shows how to define a subnet, and to which site this subnet is associated with
New-CsTenantNetworkSubnet -SubnetID 10.1.1.0 -MaskBits 24 -NetworkSiteID “City1”
Associating the SBC (PSTN Gateway) with a Site
The following command shows an example of how to set the SBC (PSTN Gateway) Local Media Optimization settings and associate it with a site
Set-CsOnlinePSTNGateway -Identity sbc1.example.com -GatewaySiteId “City1” -MediaBypass $true -BypassMode “Always” -ProxySbc $null
Bypass Mode Parameter
When Bypass Mode is set to Always, even if they are not in the same site as the SBC (PSTN Gateway), the internal client will always try to establish media traffic with the internal IP of the SBC (PSTN Gateway)
If Bypass Mode is set to OnlyForLocalUsers, the internal client will establish media traffic with the internal IP of the SBC (PSTN Gateway) only if the internal client is at the same site as the SBC (PSTN Gateway). If the client is not in the same site as the SBC (PSTN Gateway), the Media Traffic will be with Teams Servers.
ProxySbc Mode Parameter
ProxySbc is set to $null because we are using Single Site and Single SBC. $null means that this SBC is not a “downstream SBC”.
Ribbon SBC Edge (SBC 1000 / SBC 2000 / SBC SWe Lite) Settings
Single Site – Single SBC:
If you want to only configure your SBC as a standalone SBC (Single Site – Single SBC), you don’t need to worry about the option of LMO while running the wizard. You simply need to complete the Easy Config Wizard with the Teams Direct Routing option (without selecting Local Media Optimization options when running the “Easy Config Wizard”). After that, you add the configuration for Local Media Optimization as I am showing below.
I Usually Complete Implementing Teams Direct Routing First
What I usually do during my implementations is that I complete configuring, testing, and troubleshooting of Teams Direct Routing without Local Media Optimization (Usually, I face issues, especially with firewall settings). After verifying that Direct Routing is working fine, I add the settings related to Local Media Optimization
Network Interfaces Needed
You need to have two network interfaces:
- One network interface for “Signaling/Media Private IP”
- Additional network interface for “Private Media Source IP”
Usually, you already have a network interface for “Signaling/Media Private IP” that is enabled for the command Teams Direct Routing. You need to enable an additional network interface “Private Media Source IP”.
Steps To Add “Local Media Optimization” To an Existing Setup
The following is how to modify an existing Teams Direct Routing Configuration to make with Local Media Optimization with one SBC (not Proxy SBC nor “Teams Downstream SBC”)
On the Settings tab, expand Signaling Groups

Expand the “Teams Direct Routing” Signaling Group (this is the usual name that is created by Easy Config Wizard)

Scroll down until your reach the “SIP IP Details” section

Under “Teams Local Media Optimization”, select “Enable”

Under “Signaling/Media Private IP”, make sure that the network interface that is facing the internet is selected (used to get connected to the internet, the same subnet as the Default Gateway and has the Public IP mapped to it)
Under “Private Media Source IP”, make sure that the network interface that is facing the internal network is selected (you need to remember to add a route to the internal network that goes through the gateway of the subnet of this IP)

Scroll down and click on Apply

This is how the “SIP IP Details” section of the Signaling Group would appear after completing the configuration


 `
`