What is Call Queue
Call queues route incoming calls to specific Teams users (Teams, Groups, or Users). Call queues control how the call is routed and distributed to Teams users (agents).
The following steps show how to create a call queue:
- It redirects the call to an Office 365 Team
- Members of that team are going to be the agents
- The agent that has been ideal for the longest time will have the call
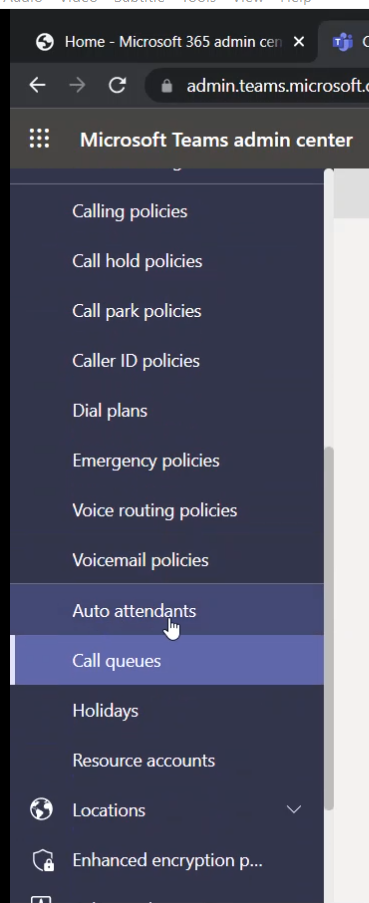
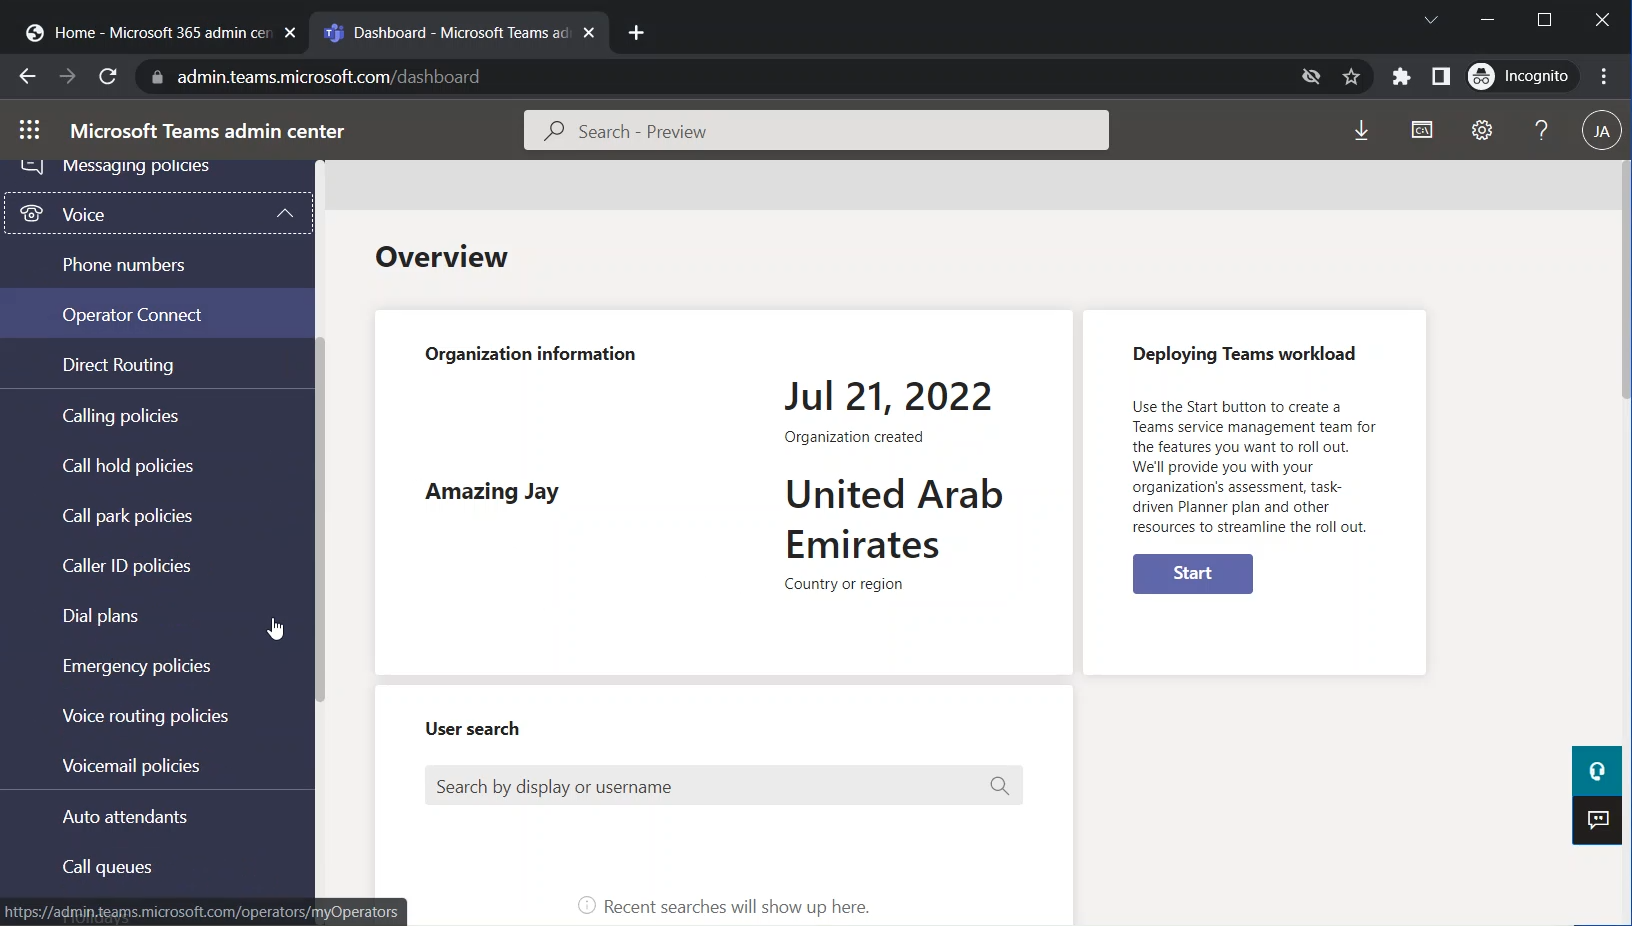
Call Queues Pane
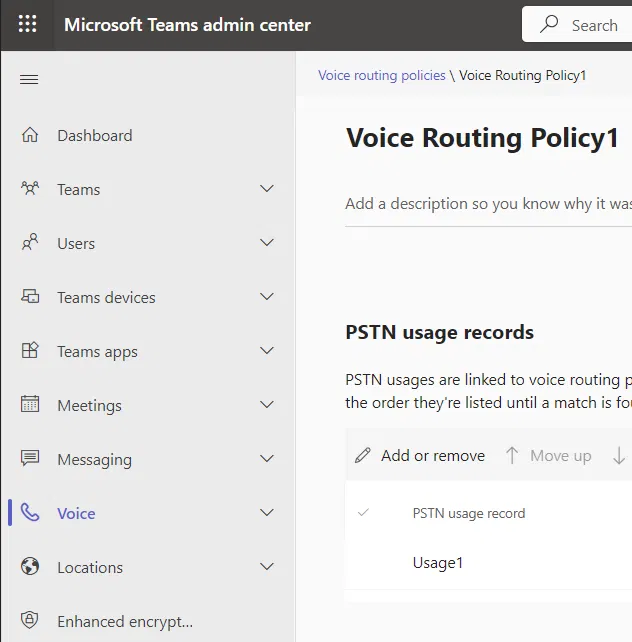
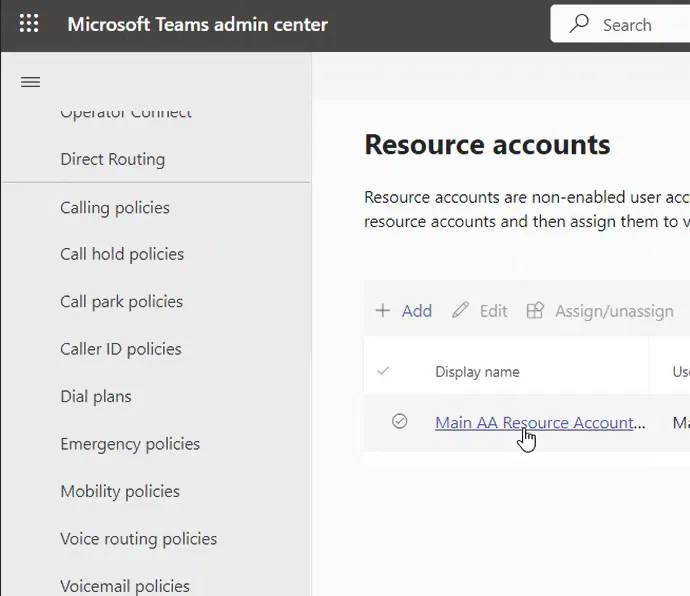
On Teams Admin Center, expand the “Voice” menu and select “Call queues”
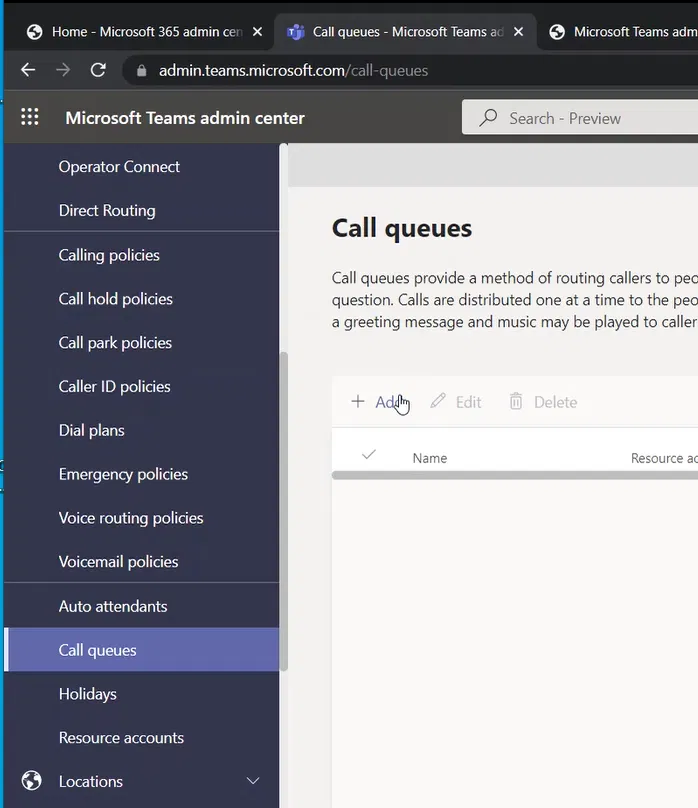
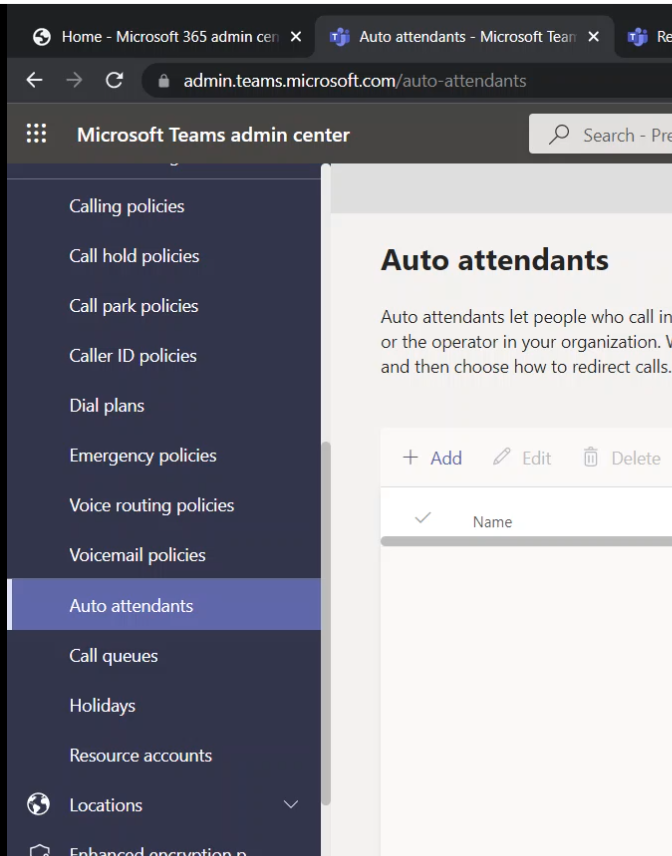
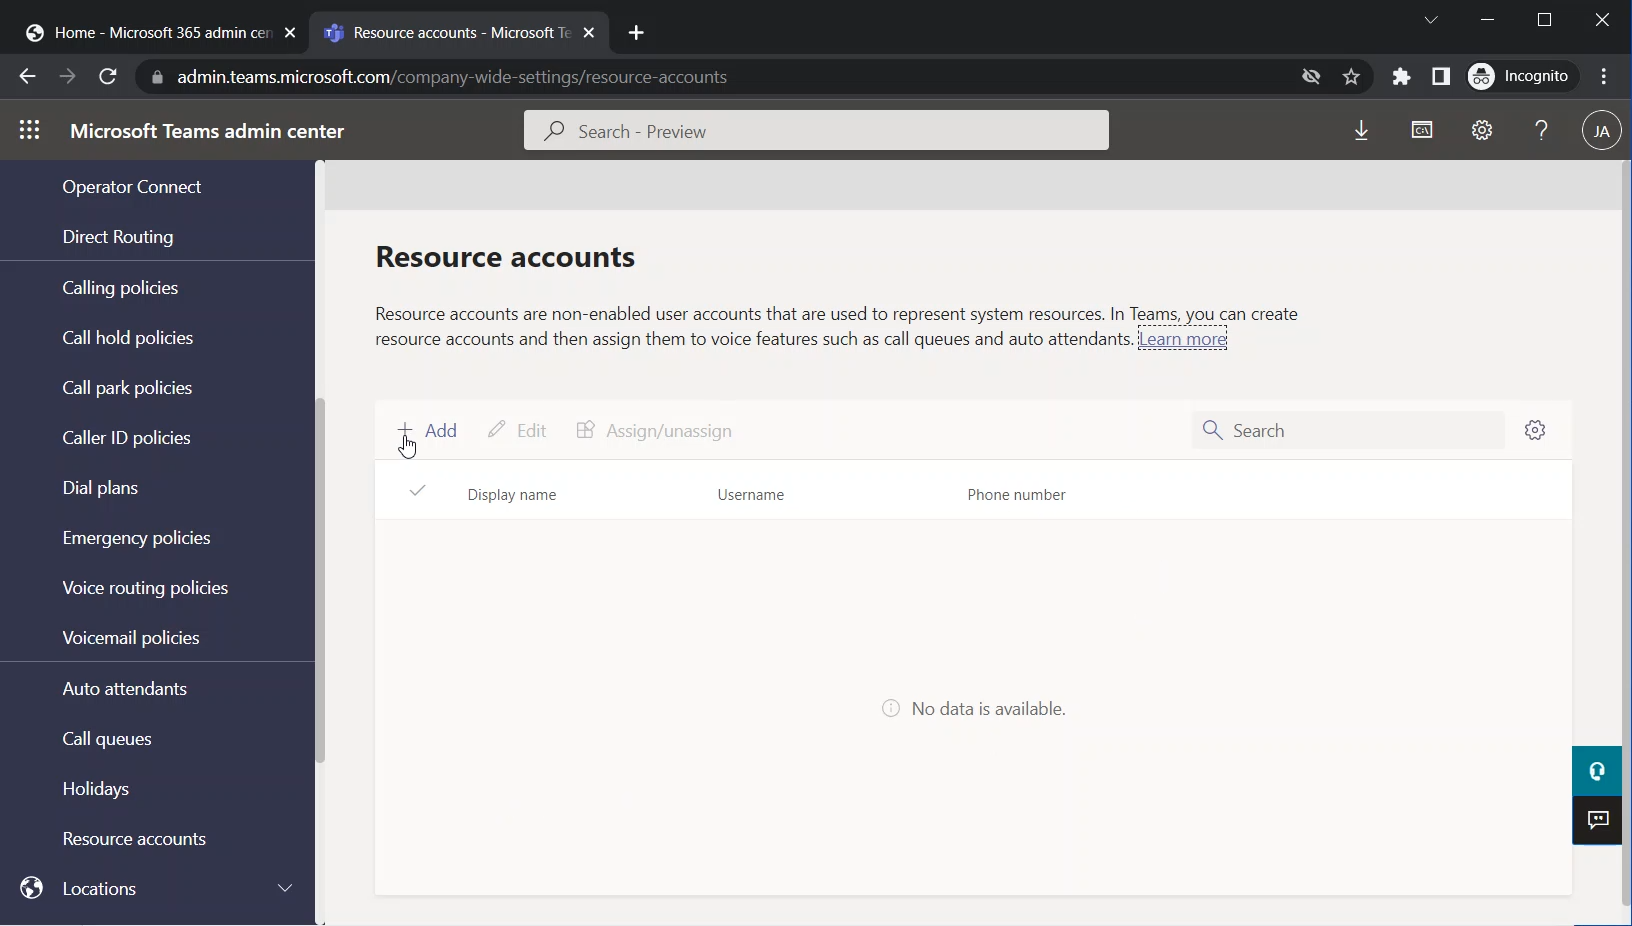
Adding a New Call Queue
To add a new “Call Queue” click on Add

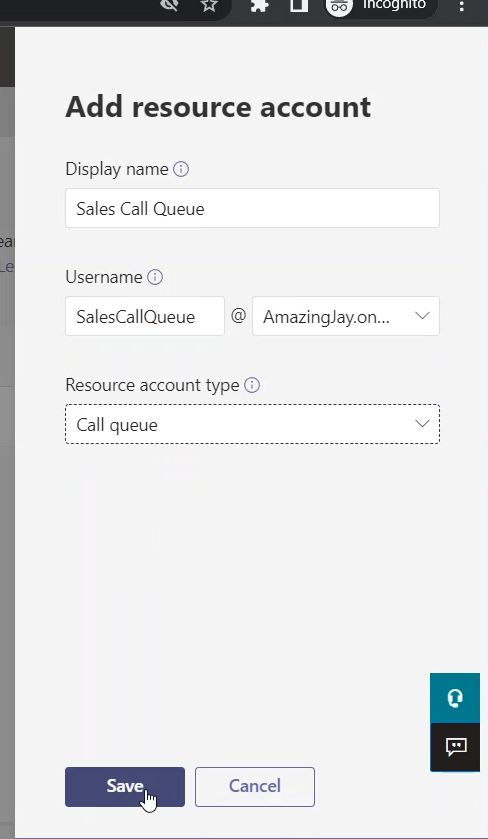
General Info Page
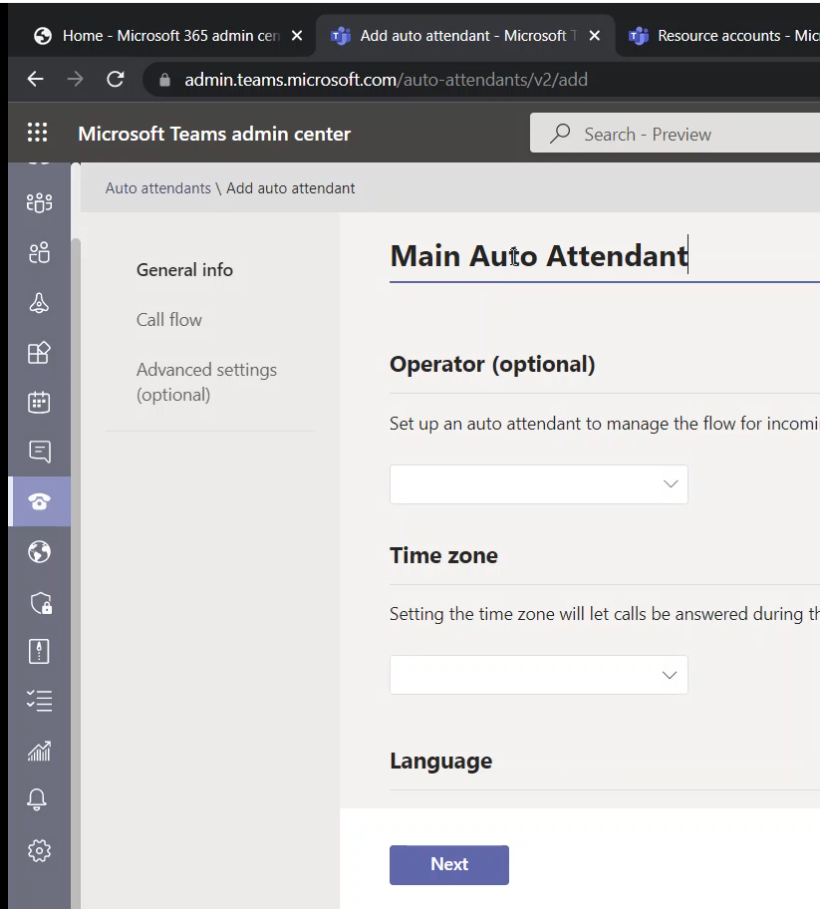
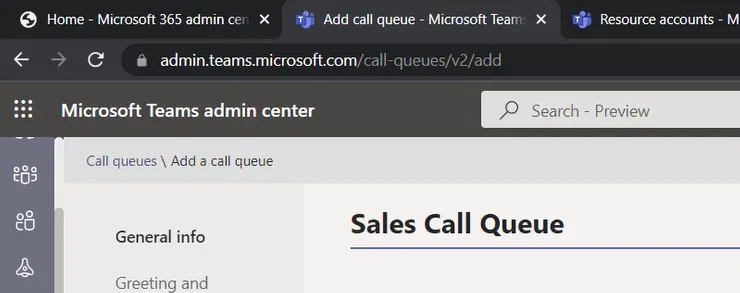
The “Add a call queue” wizard will appear, and it will start with the General info page
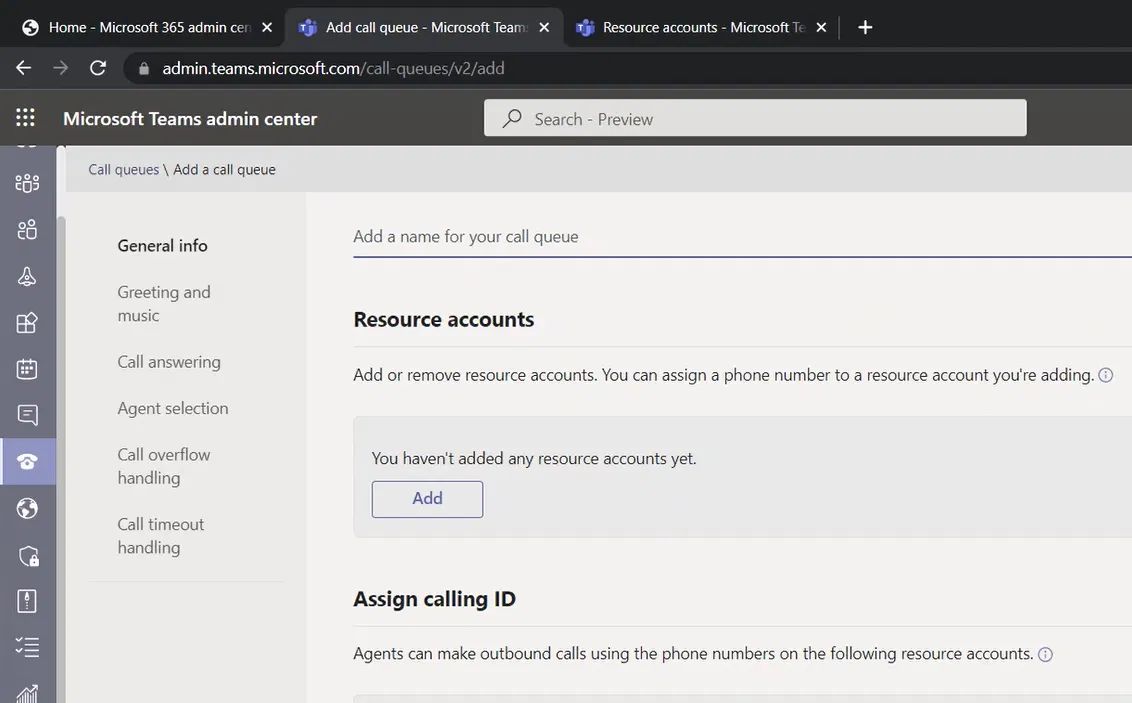
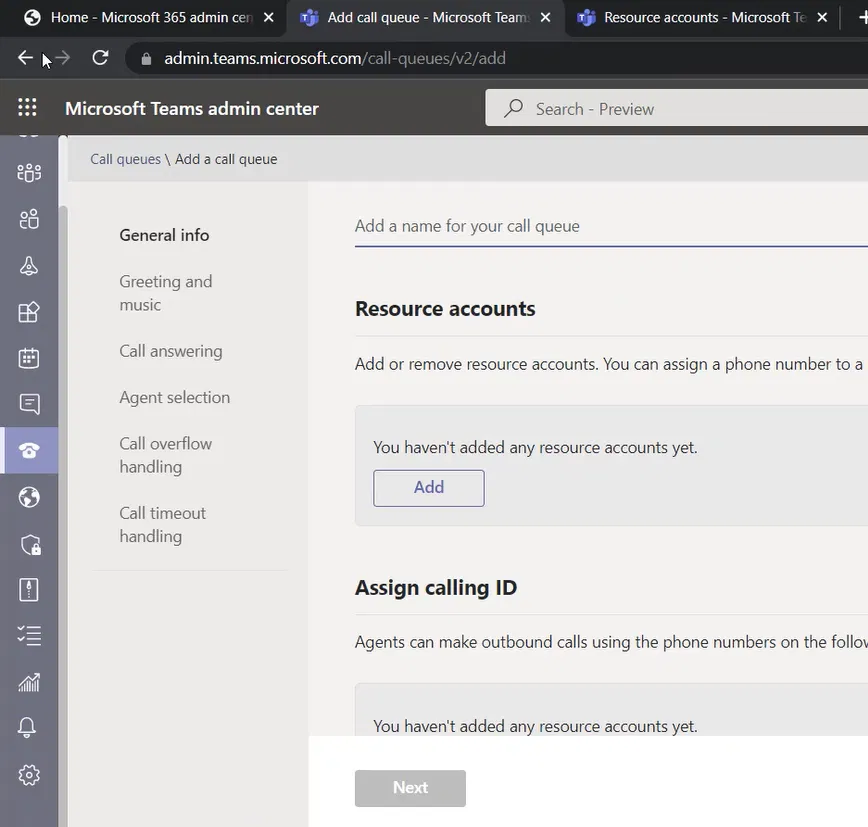
Type the name of the Call Queue. For me, the name is “Sales Call Queue”
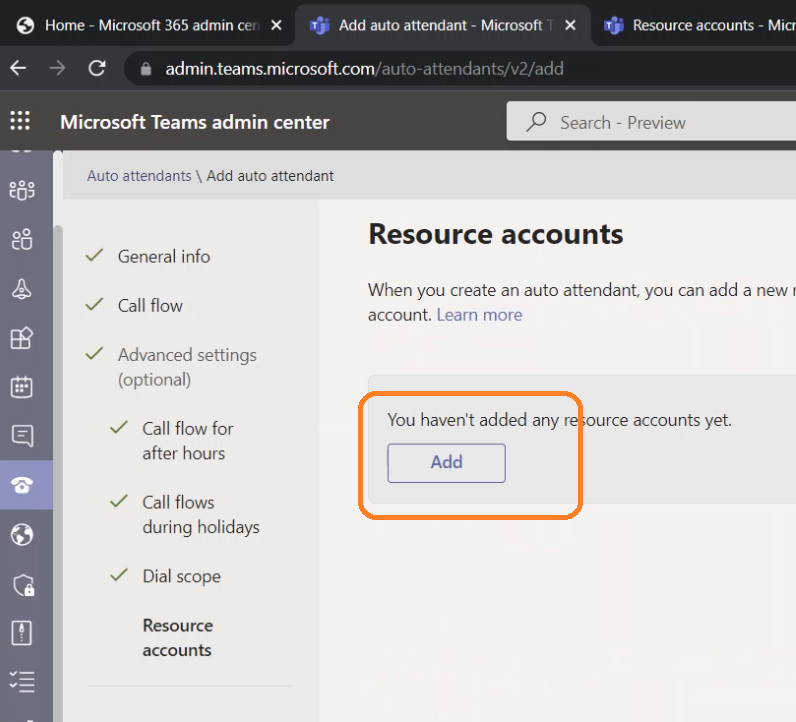
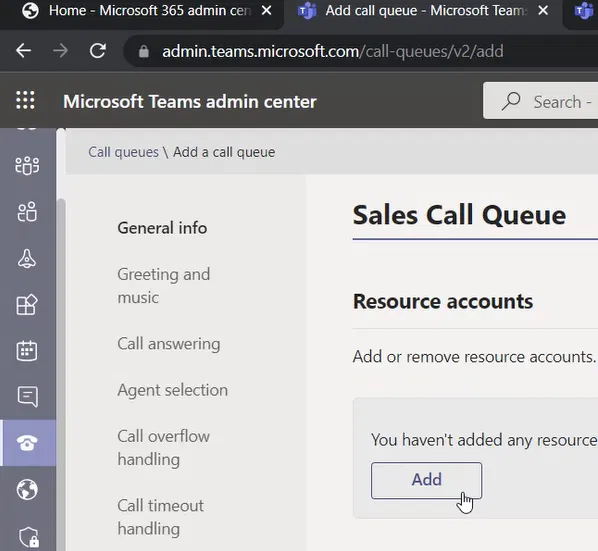
Adding a Resource Account to The Call Queue
Under “Resource accounts”, click on the “Add” button
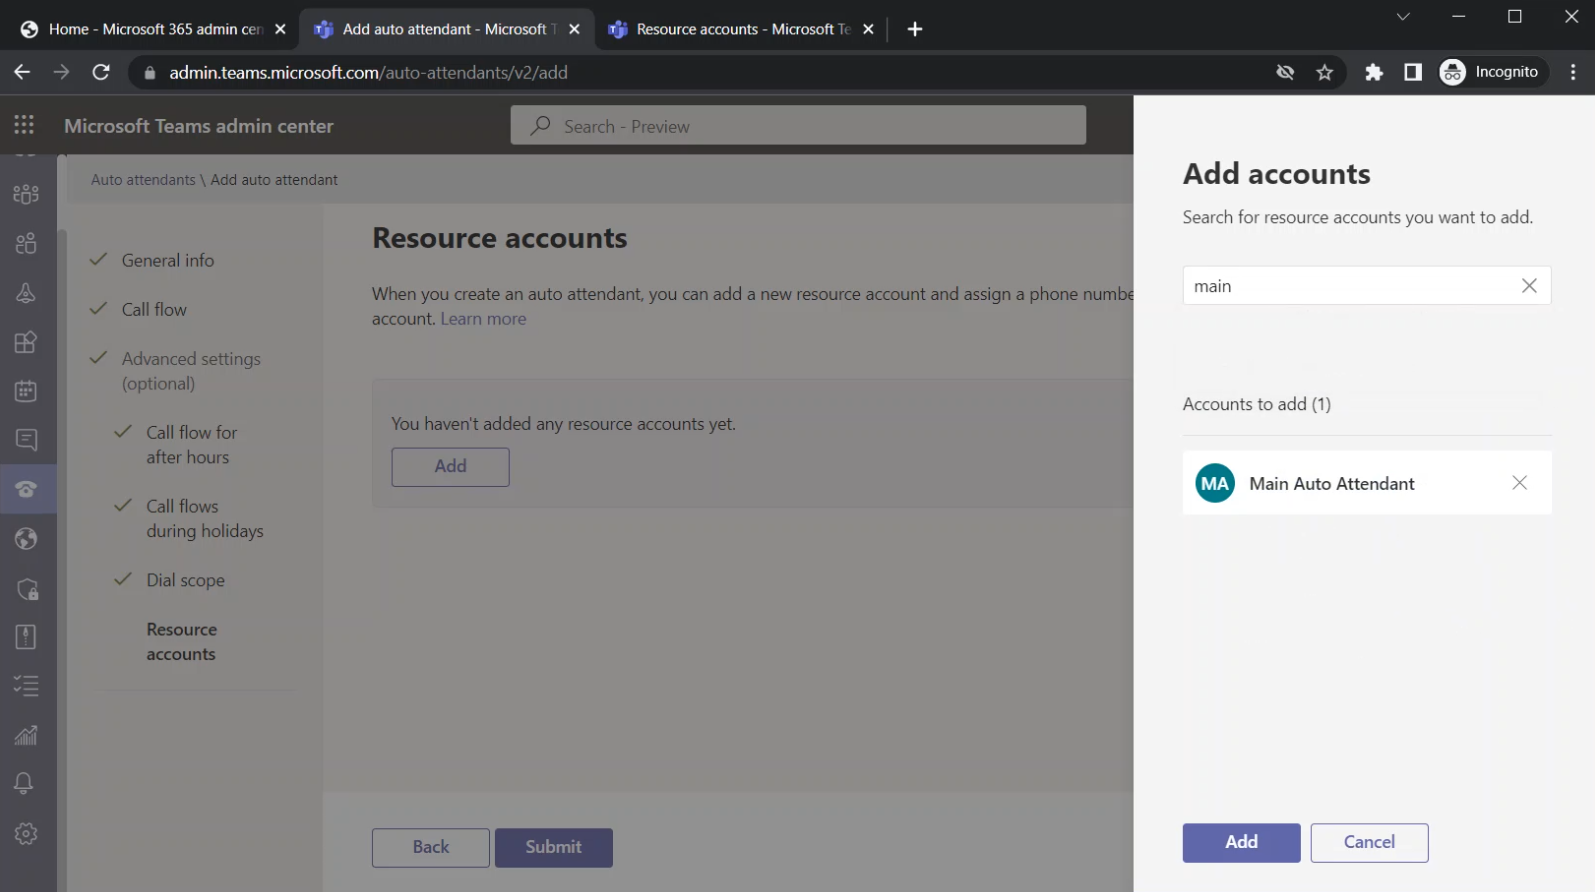
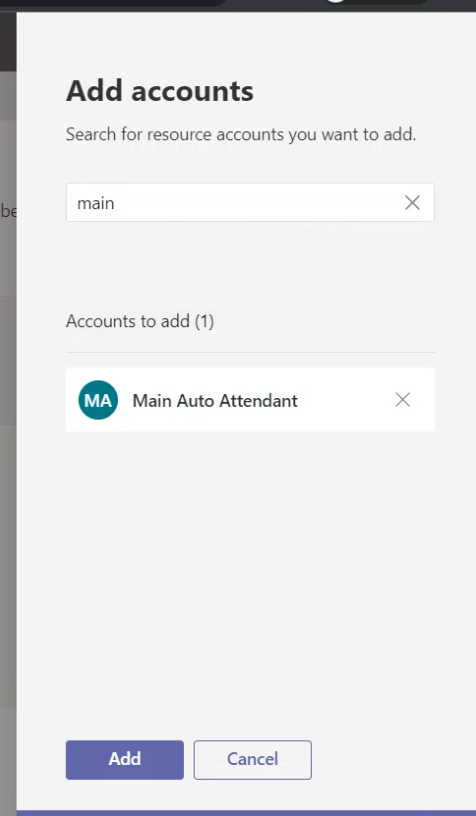
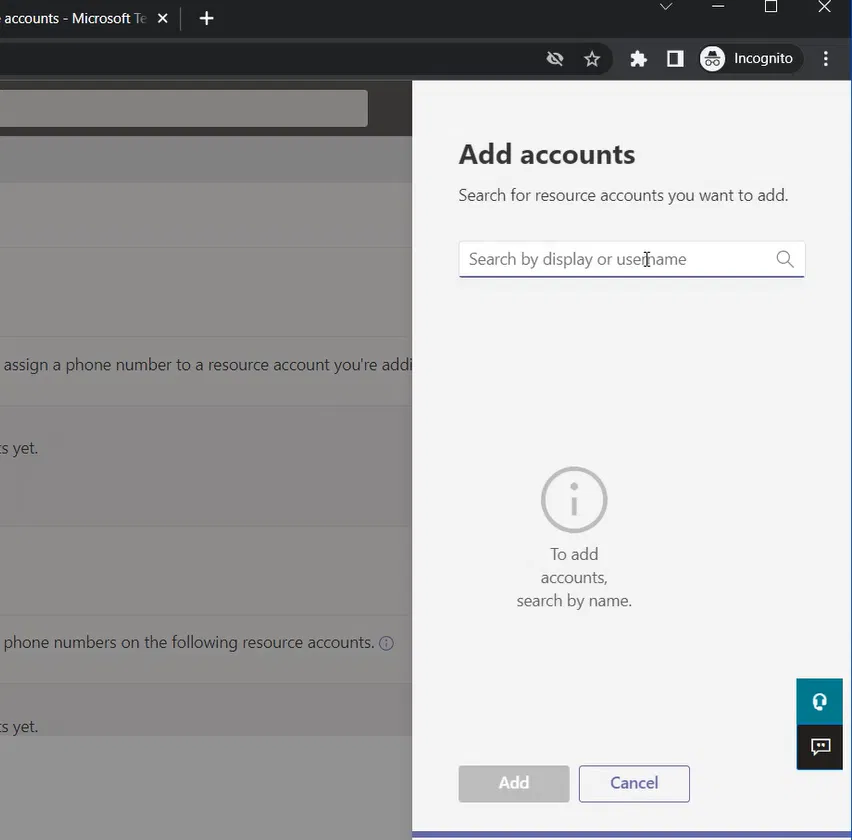
The “Add account” pane will appear on the right side
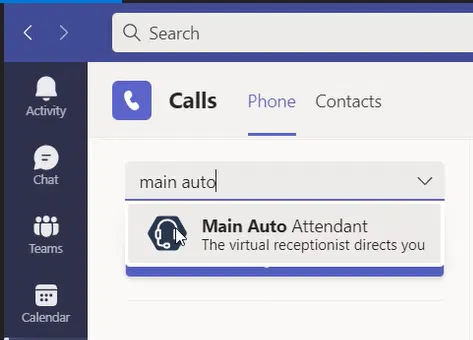
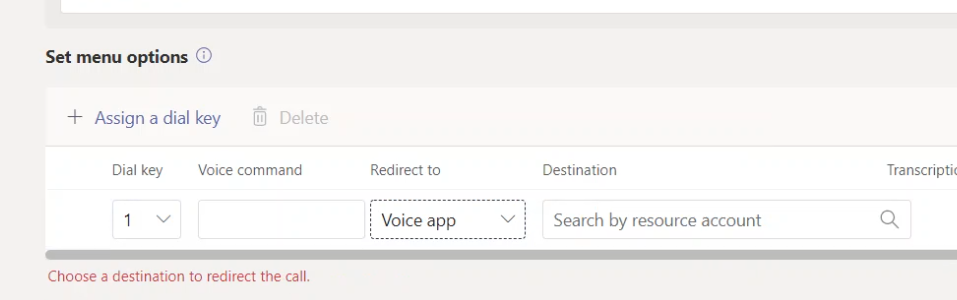
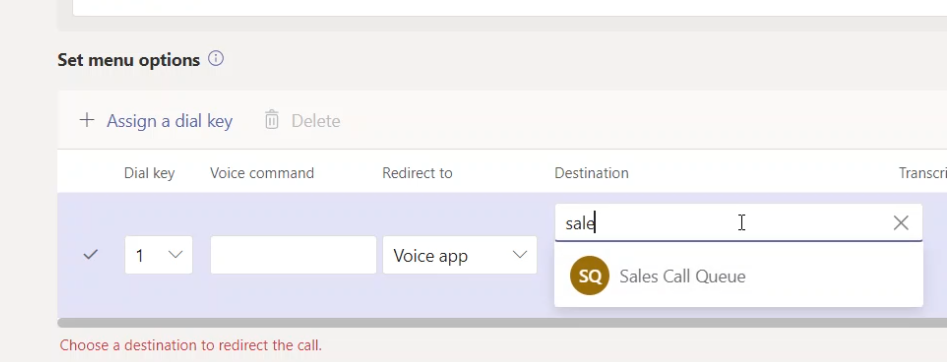
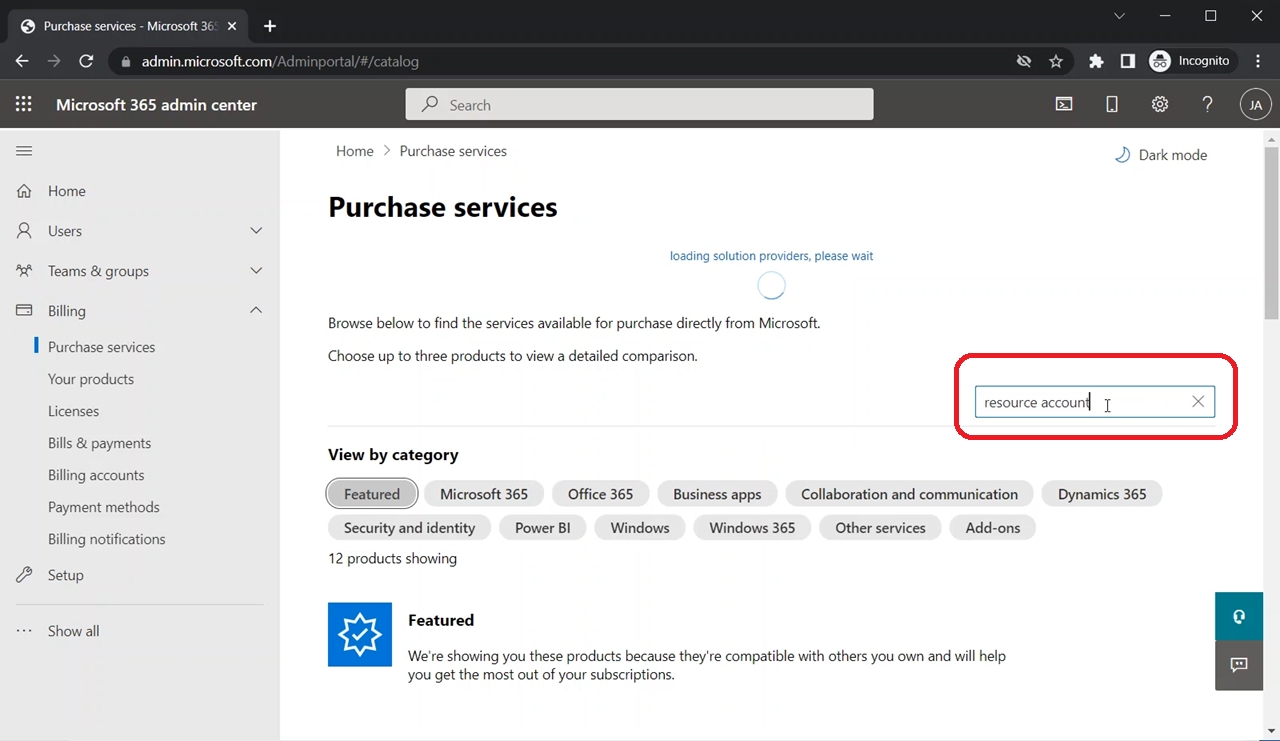
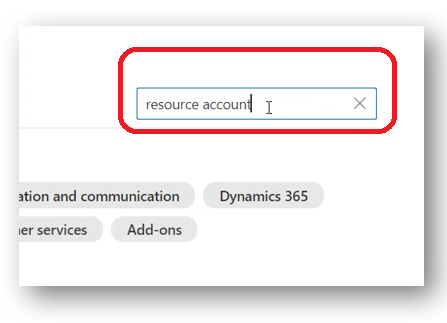
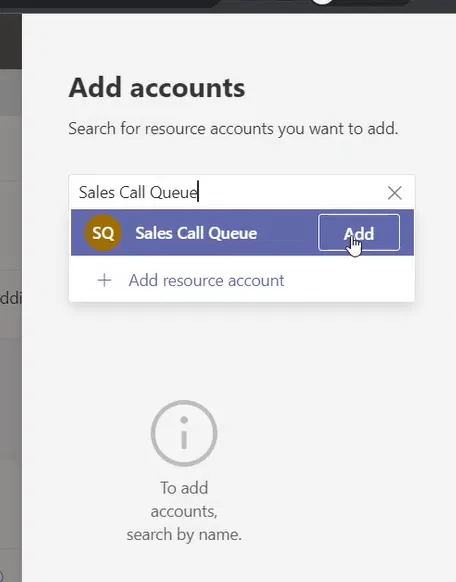
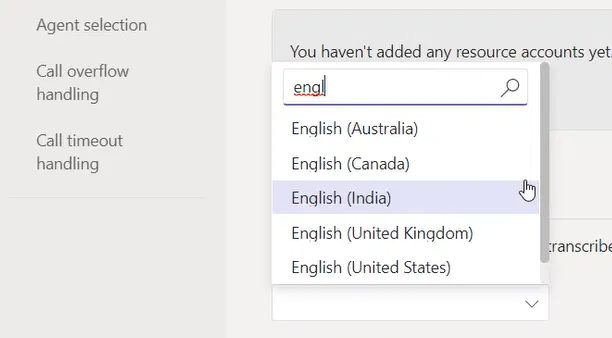
In the search box, search for the name of the resource account that you created earlier. For me, I am typing “Sales Call Queue”. (You can type at least 3 letters to search)
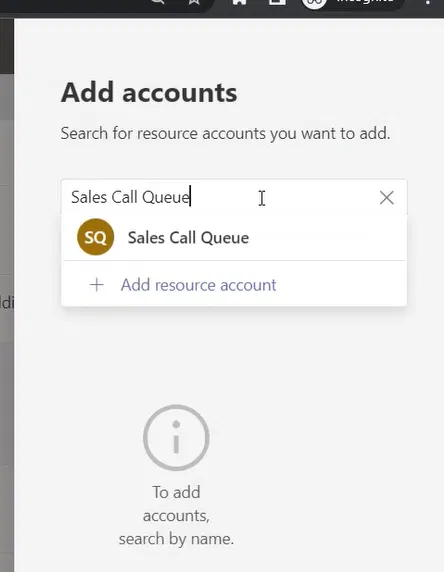
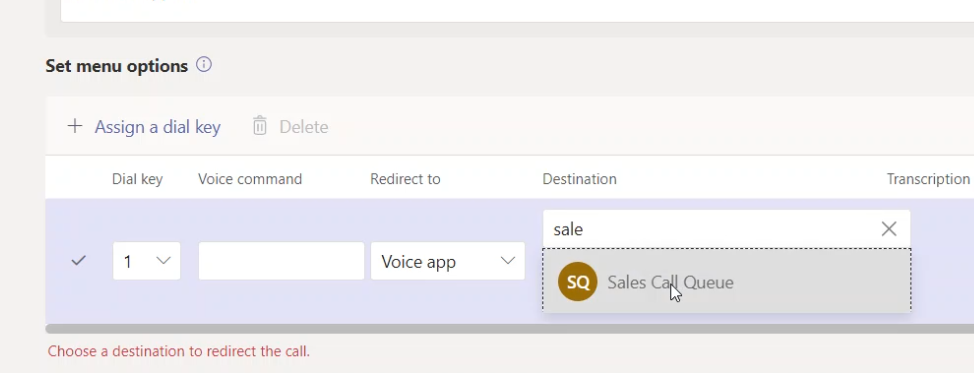
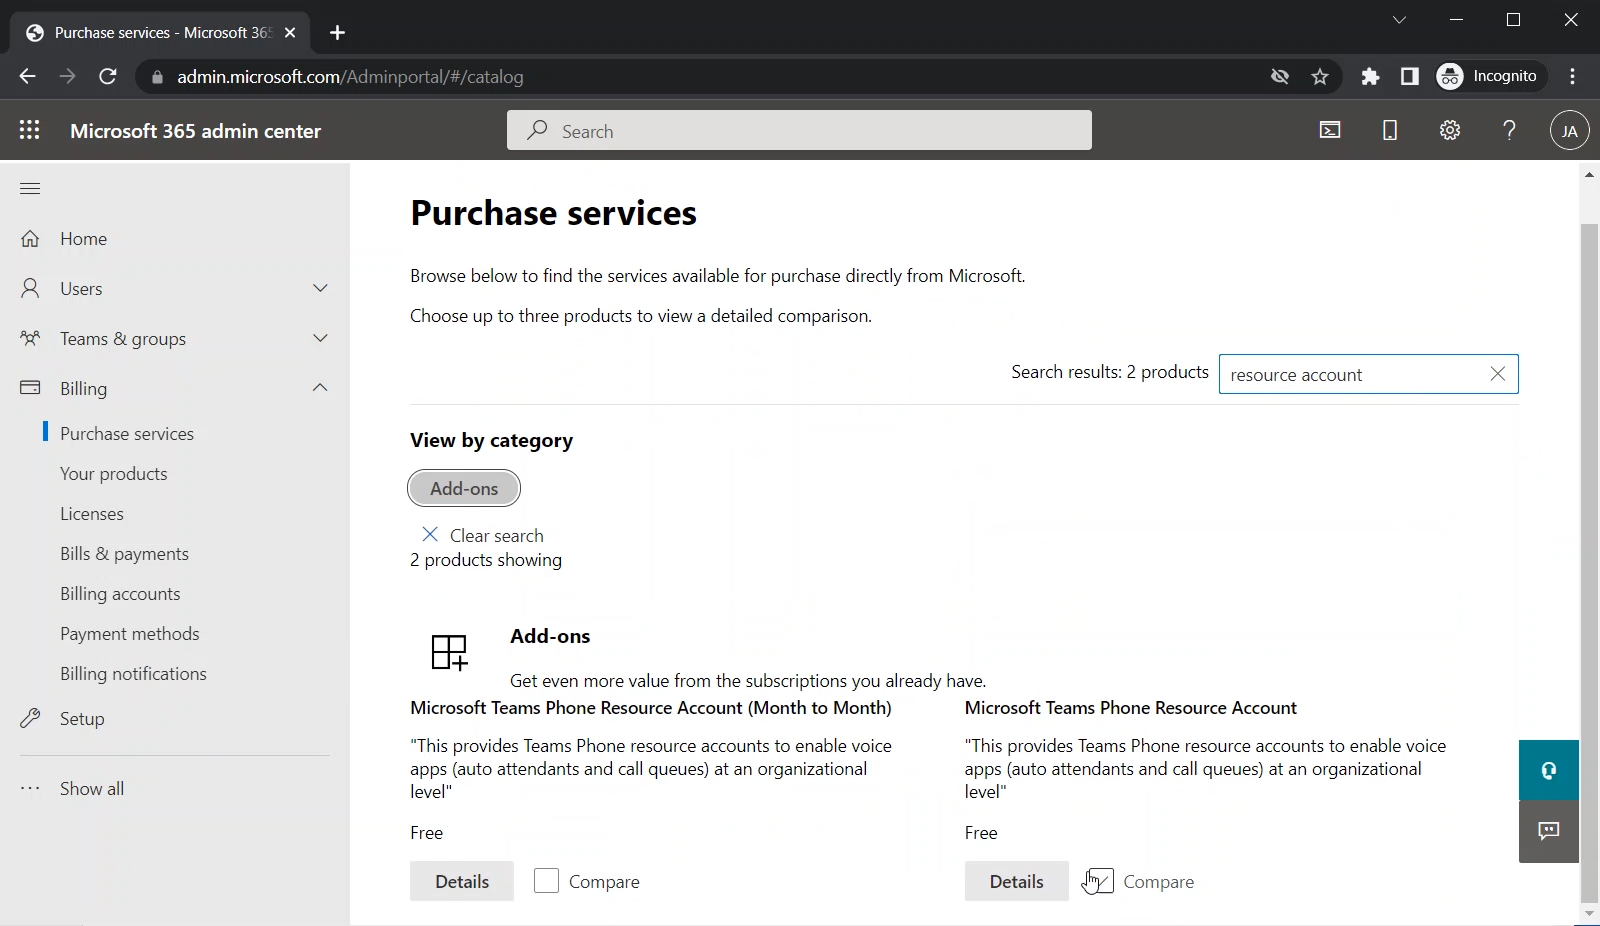
It will show all the resource accounts display name matches for the search. Hover the mouse pointer over the resource account name and an “Add” button will appear next to the resource account Click on it
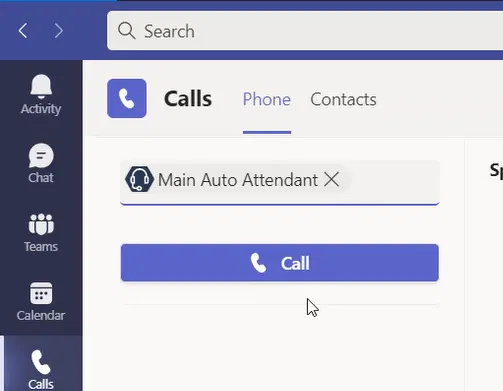
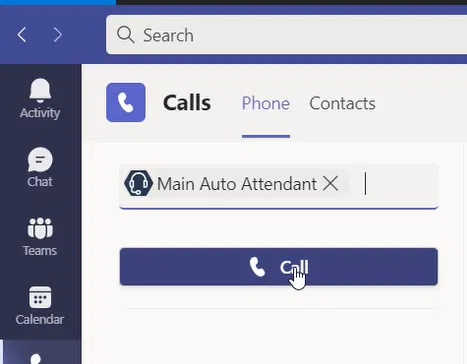
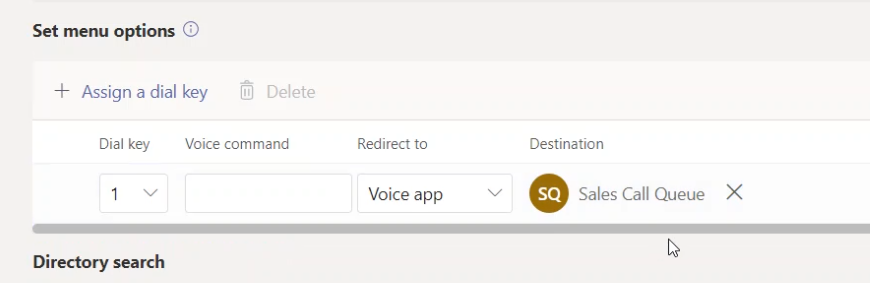
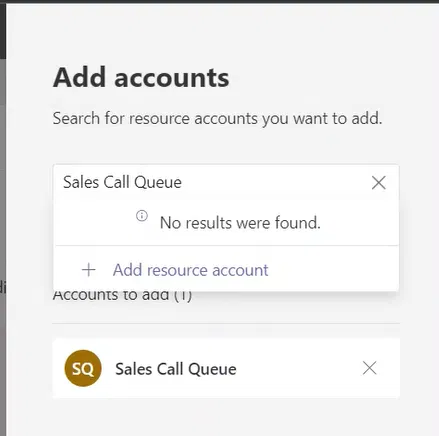
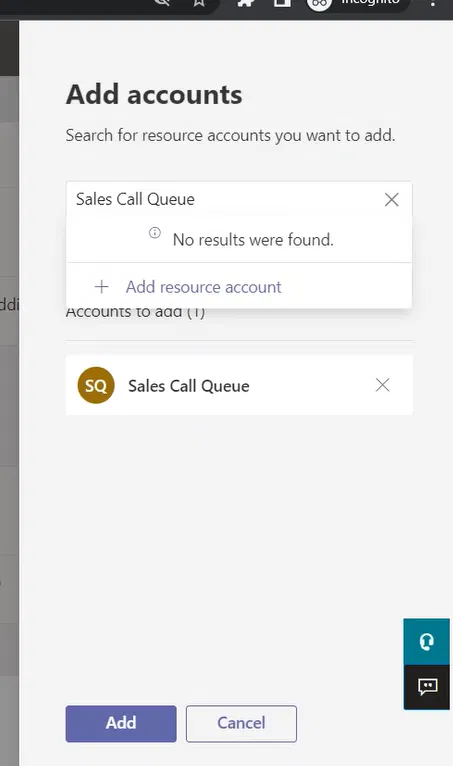
The added resource account will be listed (you can add more accounts if your setup needs that)
Click on “Add” bottom of the pane
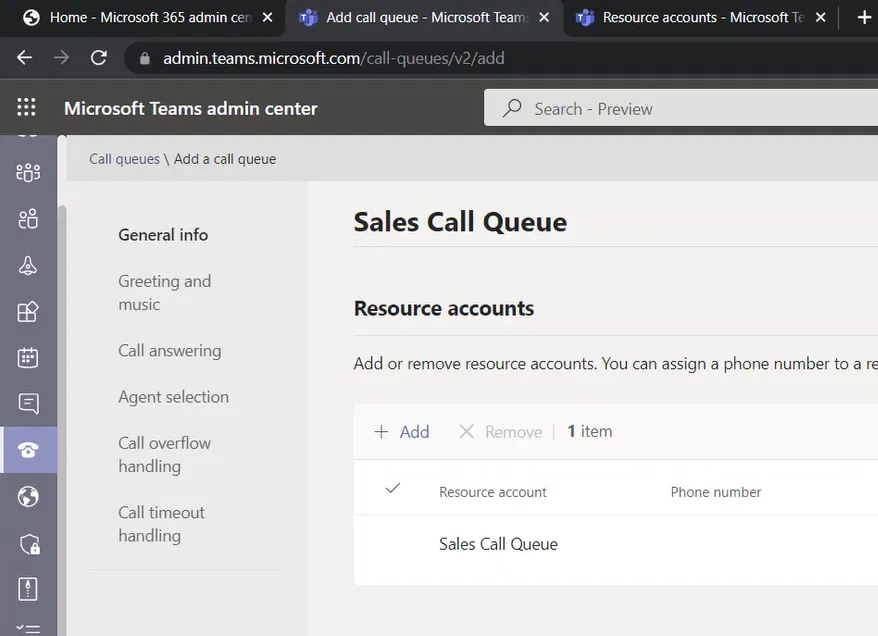
When you back to the “General Info”, you will see the resource account(s) that you have added
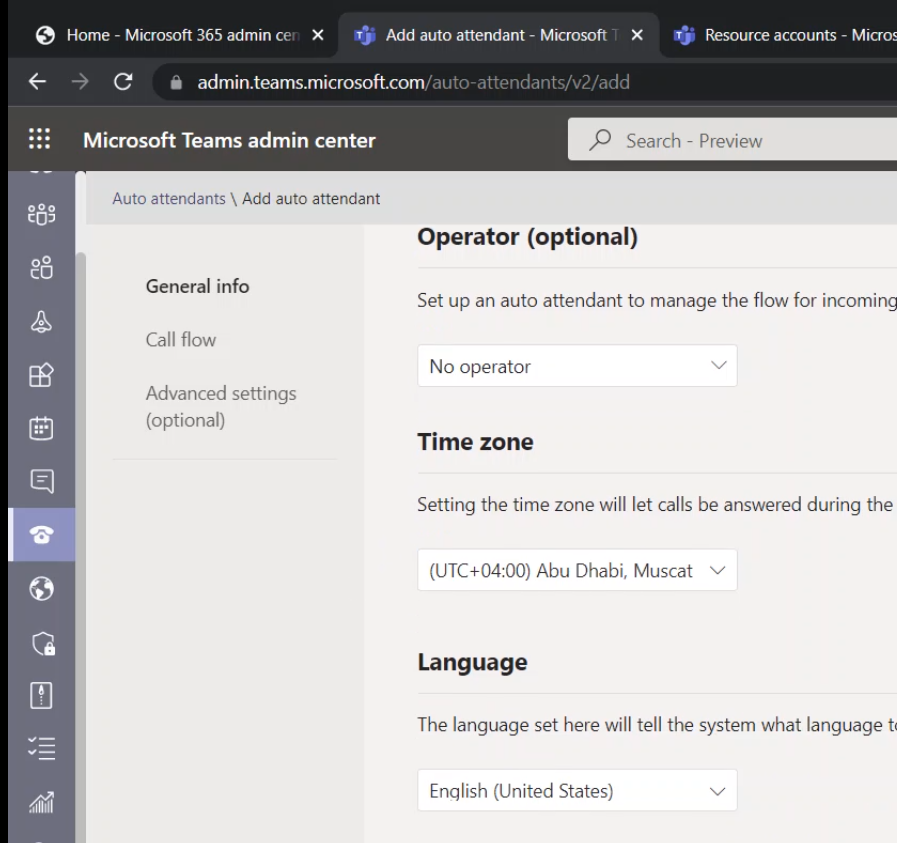
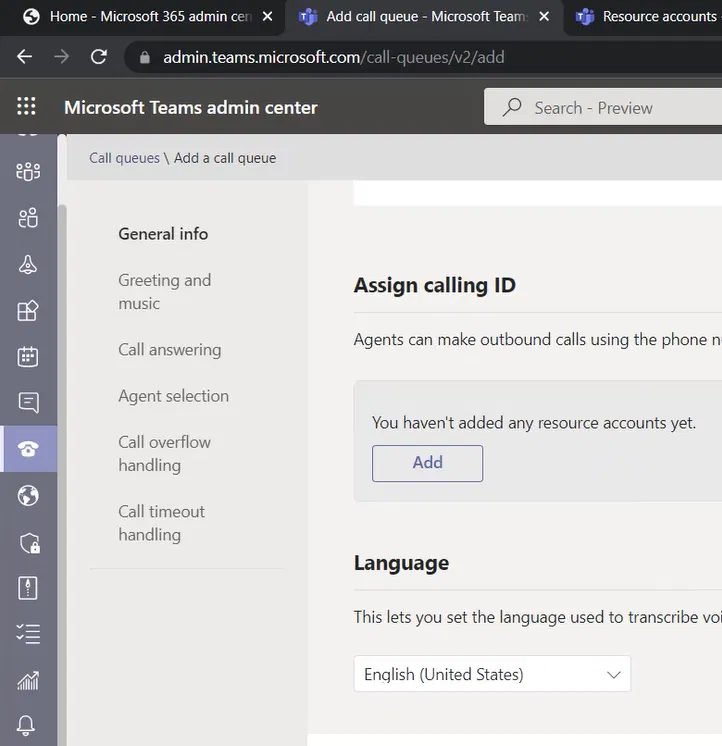
Scroll down until you reach “Language”. This is where you specify the language that will be used for the automatically generated voice messages

Search and select the language
The below image shows my selection of language is “English (United States)”
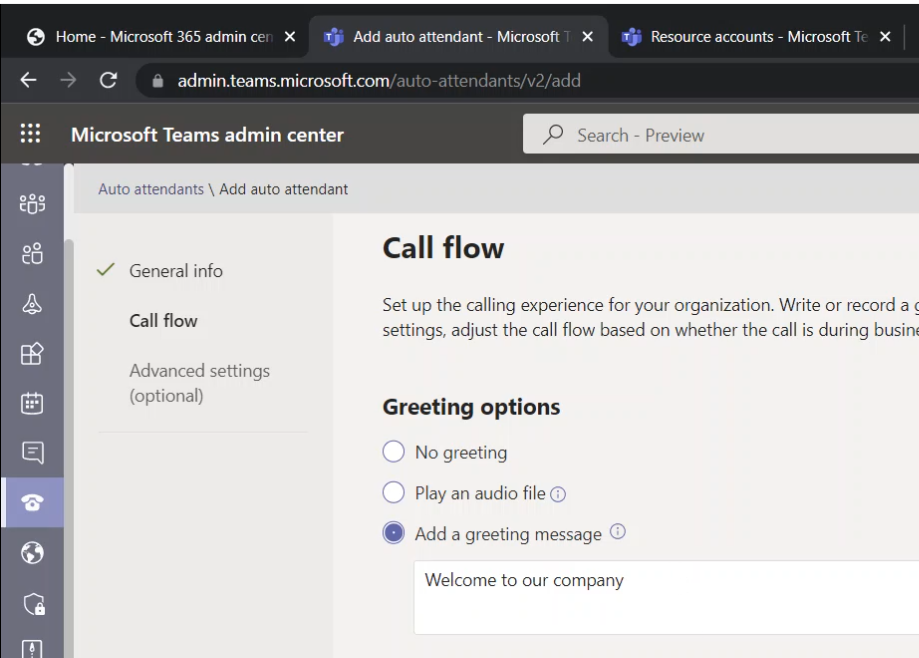
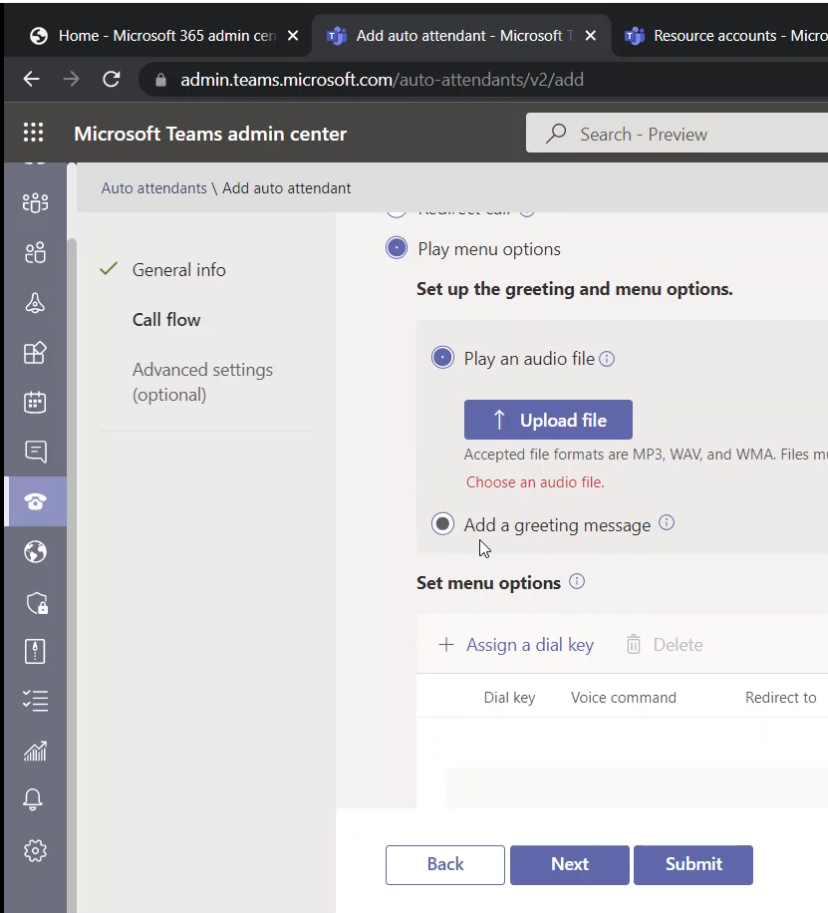
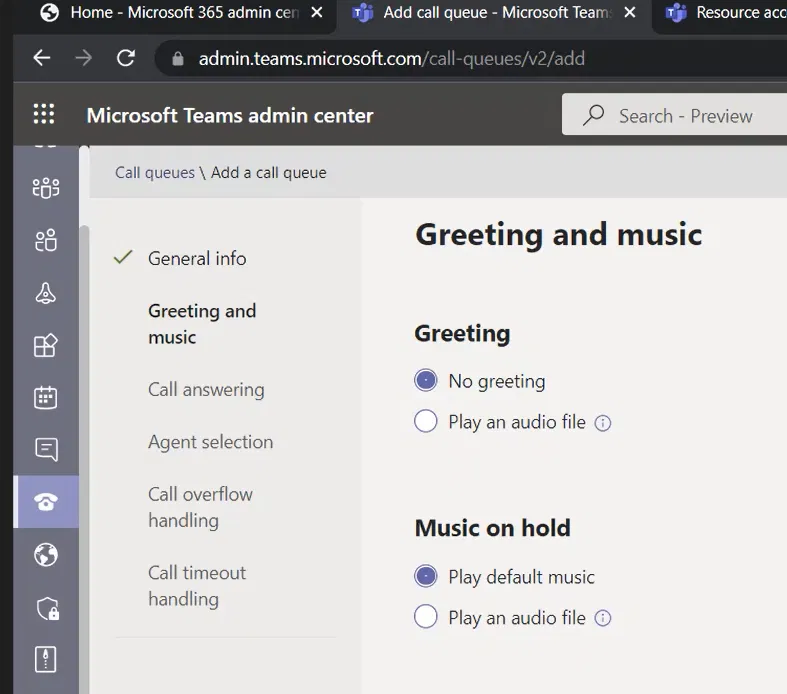
Greeting and Music Page
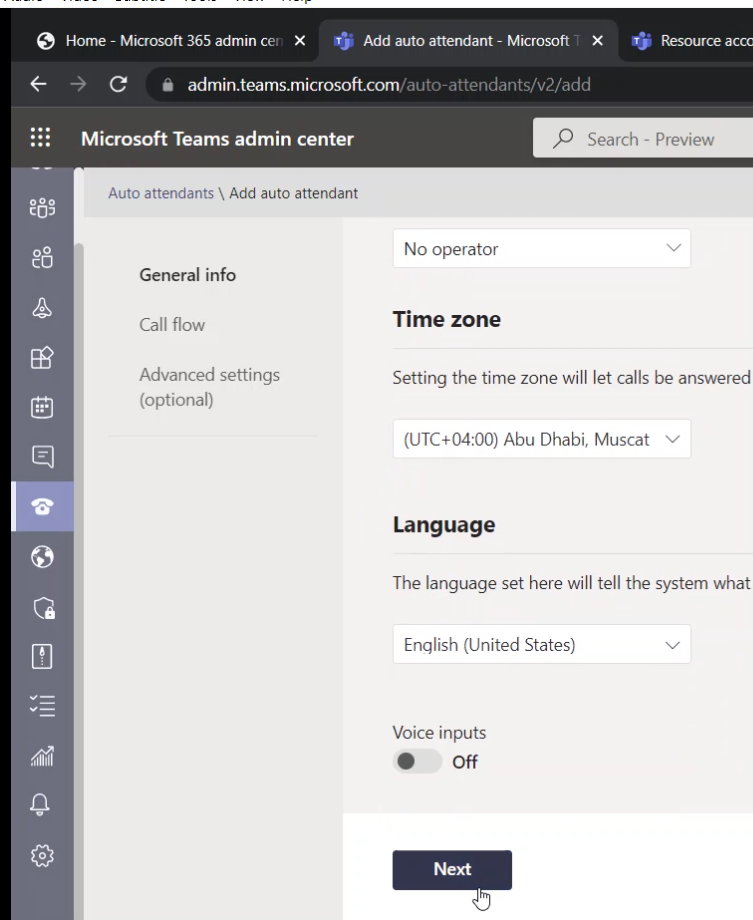
Click on Next, and you will be on the “Greeting and music page. I will keep it as it is for simplicity. Then, click on “Next” to reach the “Call answering” page
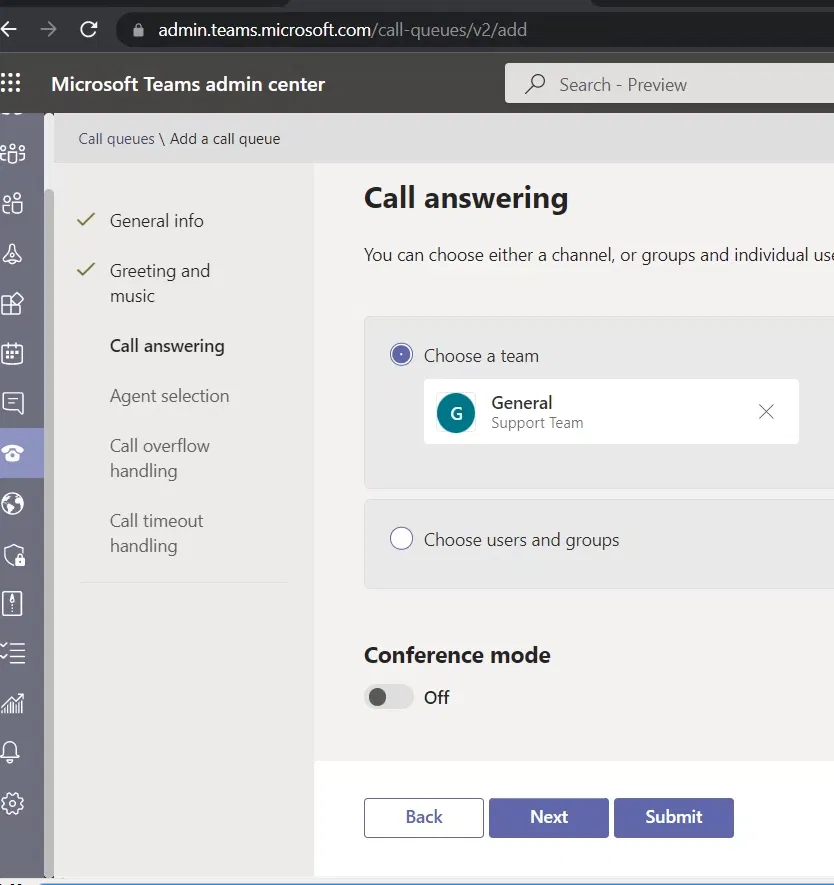
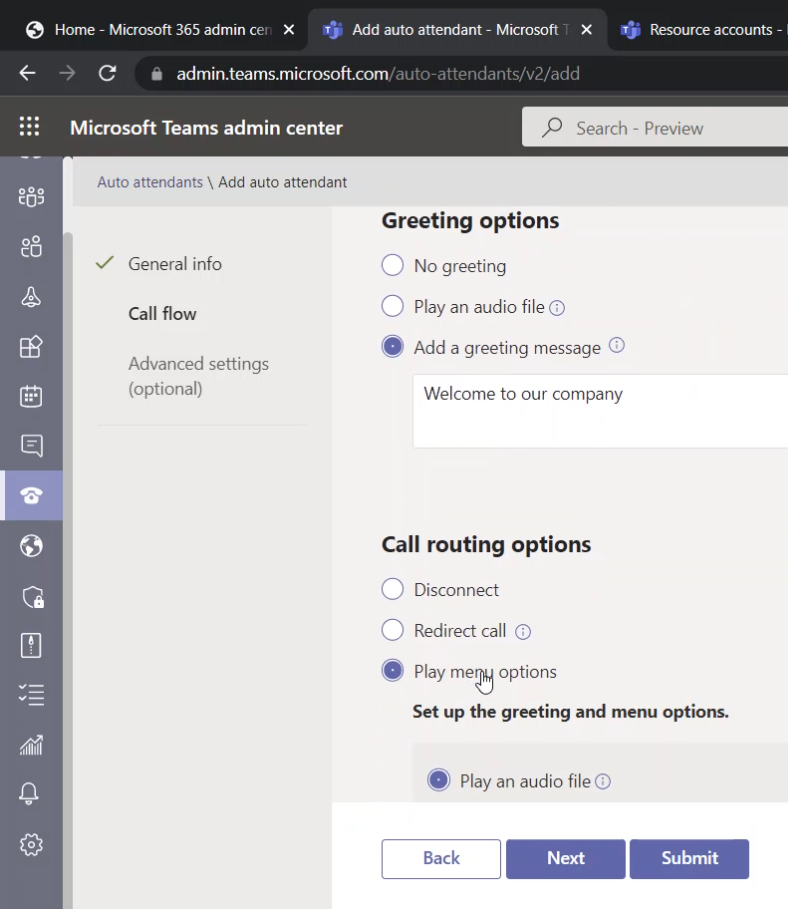
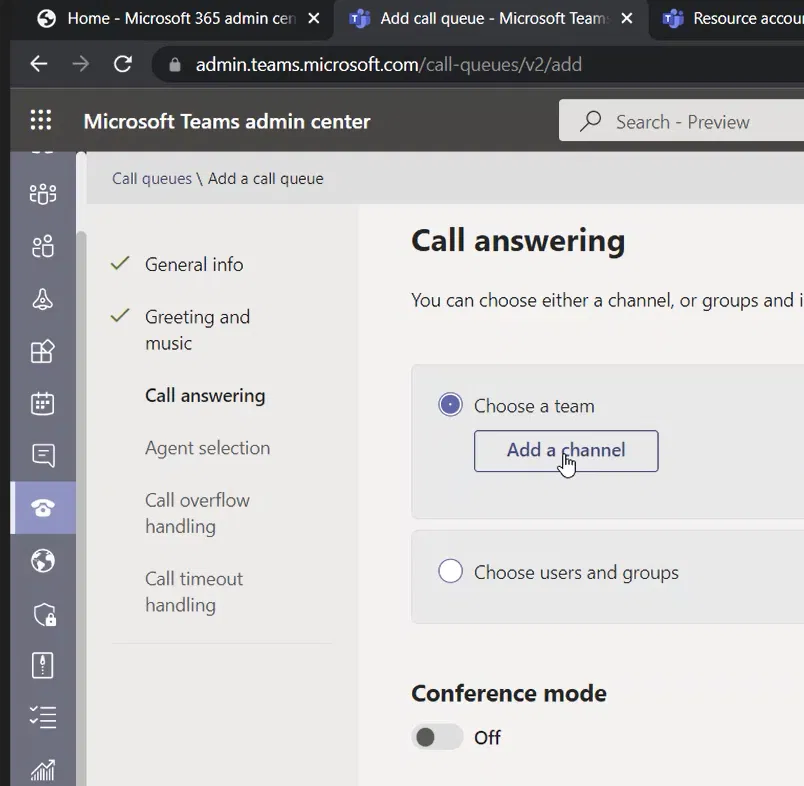
Call Answering Page
Here, you select who will handle the call. you can select a channel of a team, or you can select specific users and groups
For me, I kept the “Choose a team” option selected, and I clicked on “Add a channel” (you need to select a Team, then select the channel from the list of channels for that Teams)
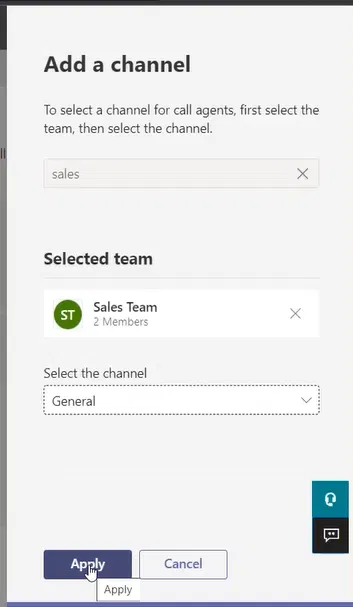
The “Add a channel” pane will be shown on the right side
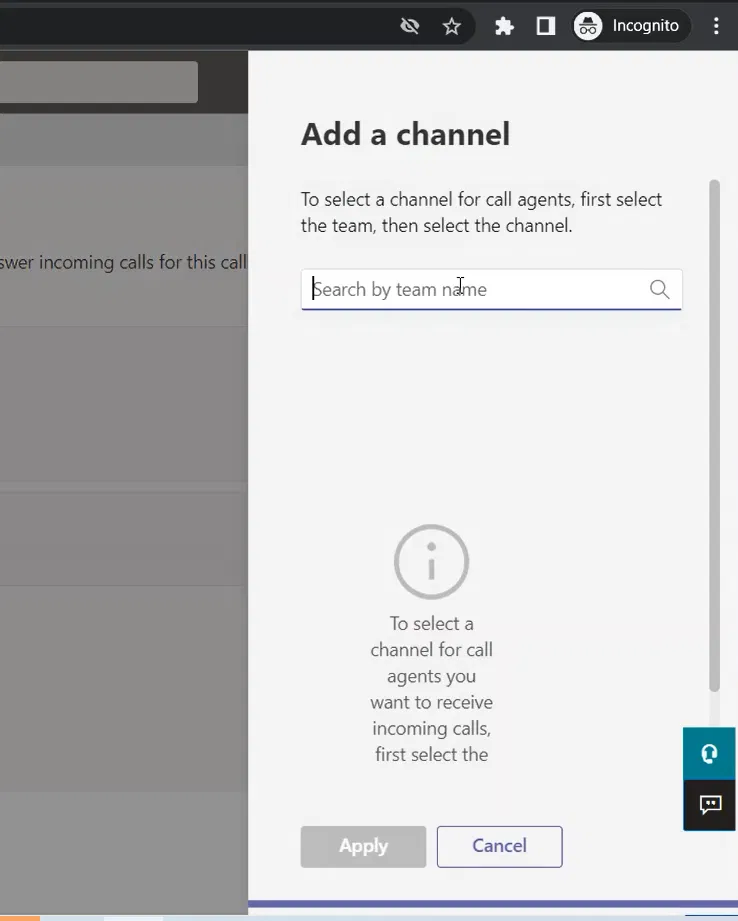
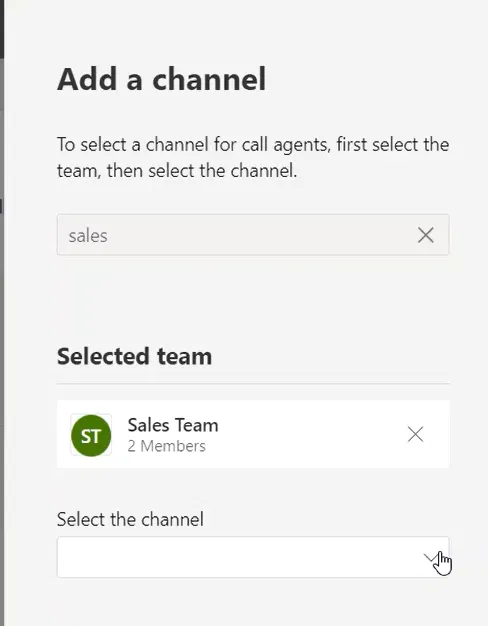
First, you need to select the team
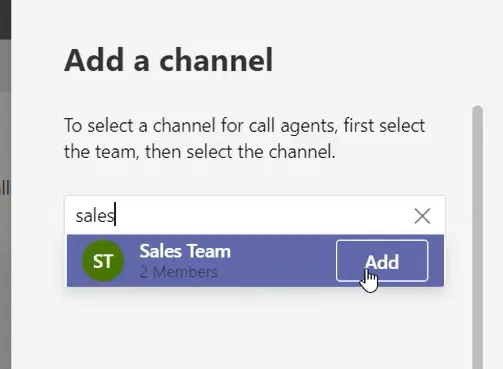
Then, select a channel from that team
For me, I have selected the default “General” channel of the team named Sales
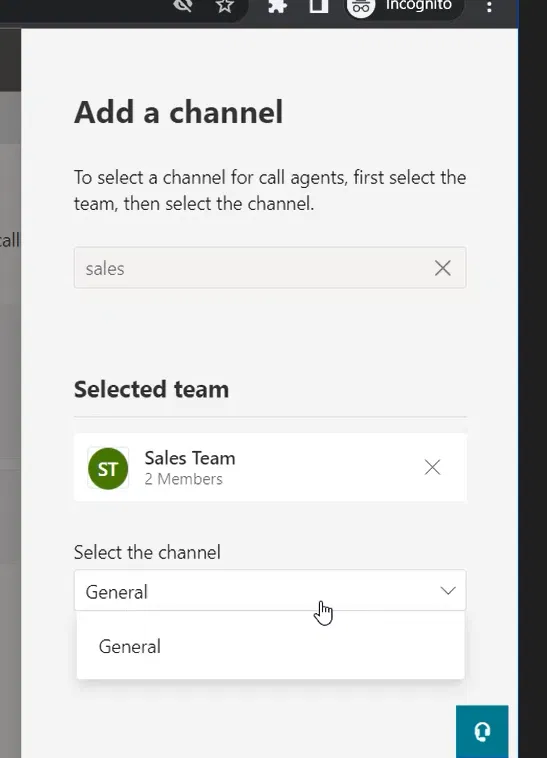
Click on Apply
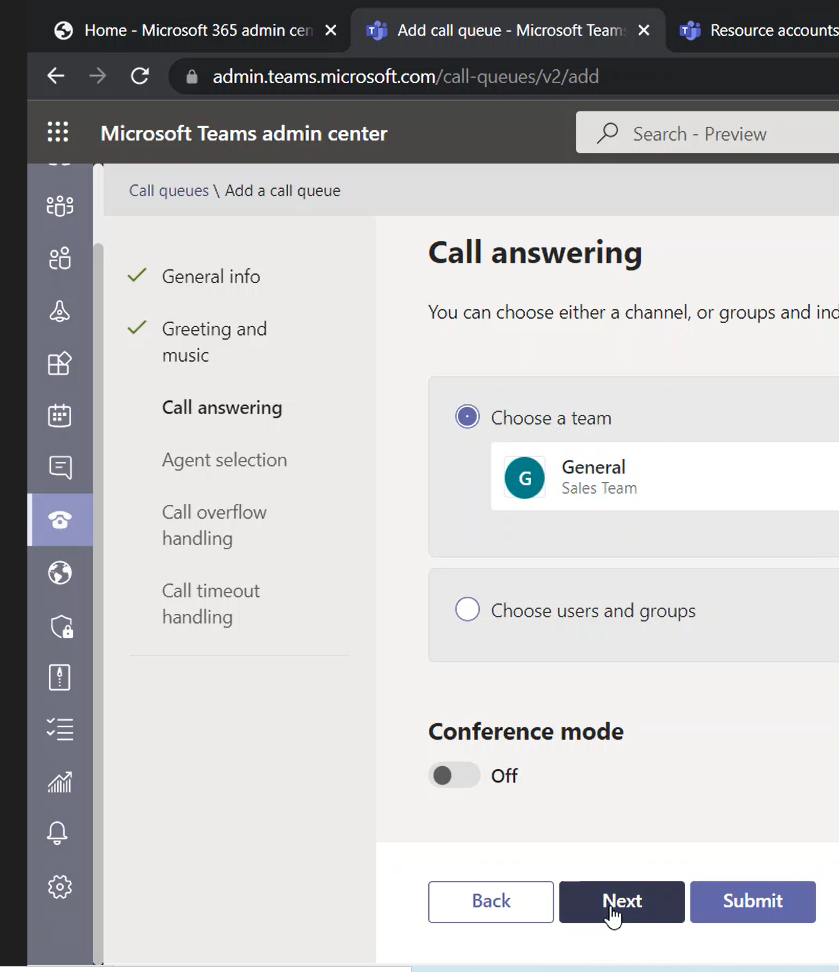
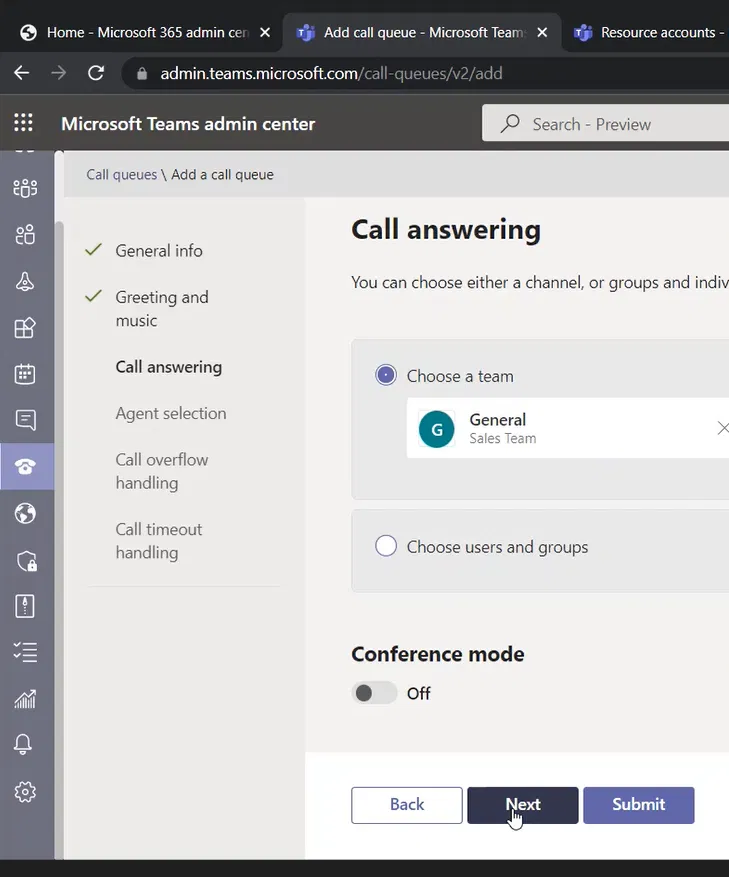
The “Call answering” page will now show the selected channel and to which team that channel belongs to
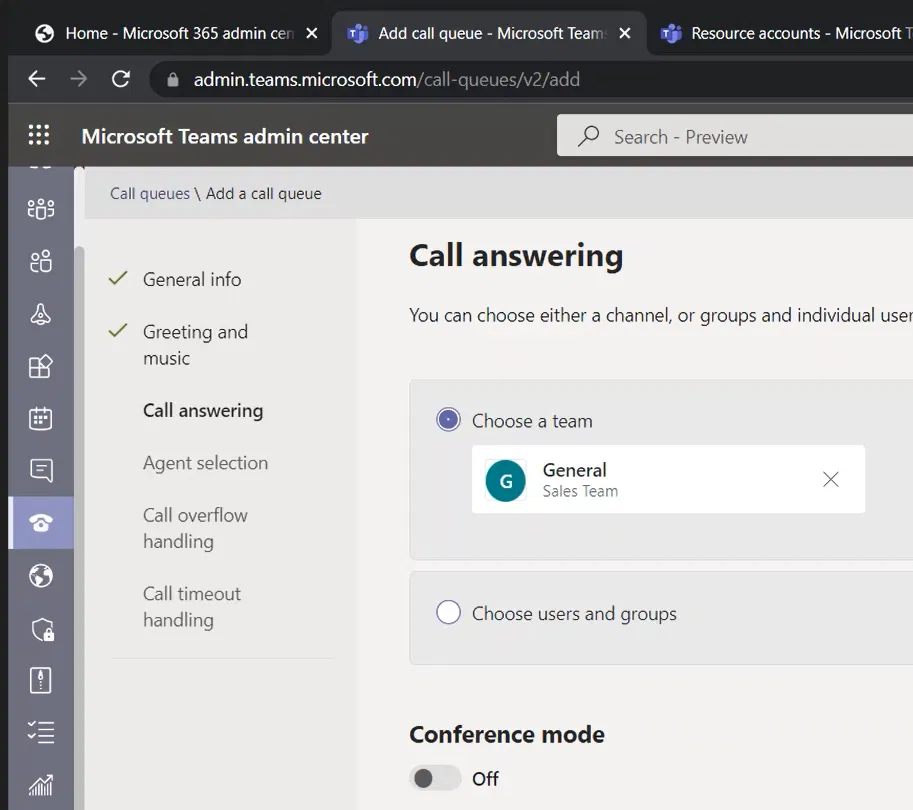
Click on Next
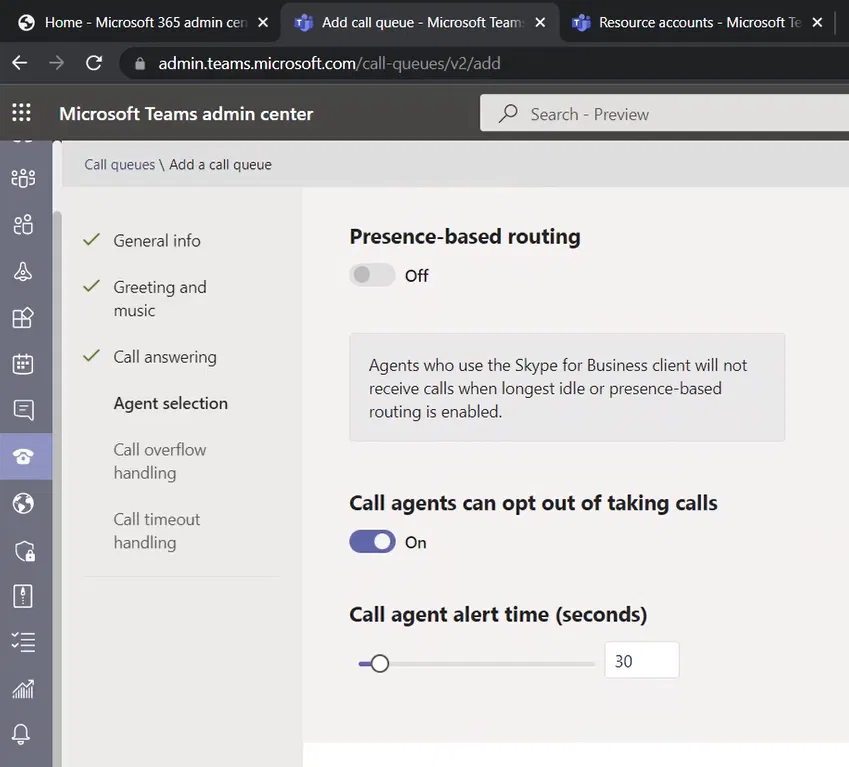
Agent Selection Page
An agent is a member of the Teams that we have selected in the previous step.
On the “Agent selection” page, I am selecting the “Longest idle” method of routing. This way, the agent that has been ideal for the longest time will have the call forwarded to him/her. Note that
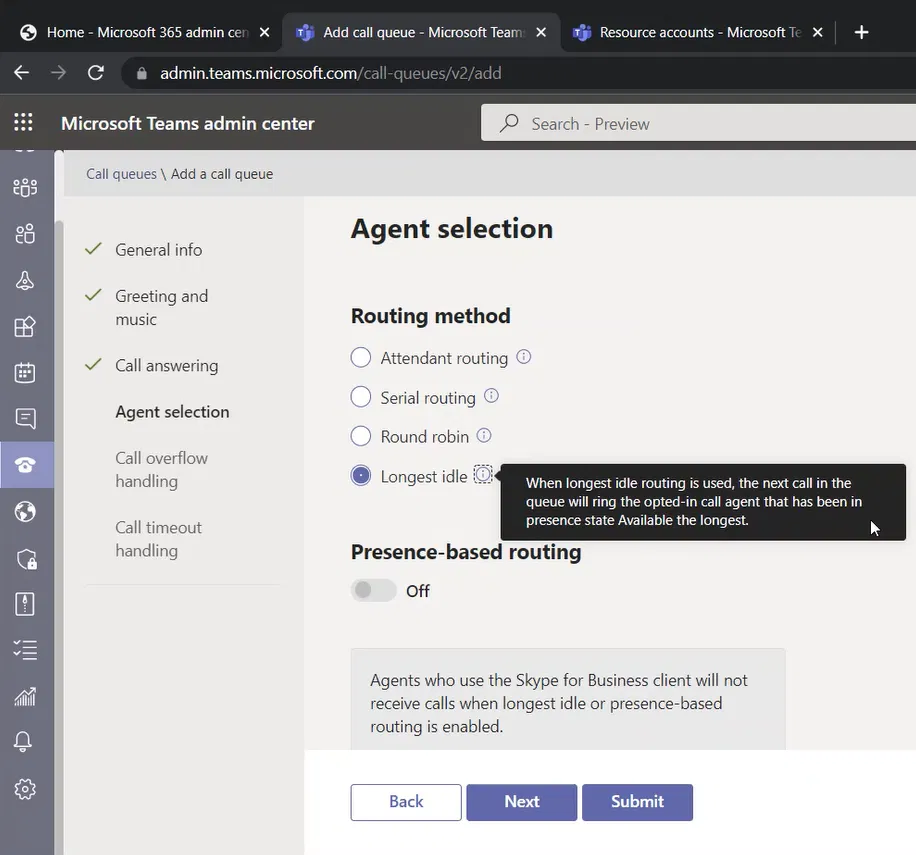
I am keeping the remaining of this page as default and I am clicking on the “Next” button
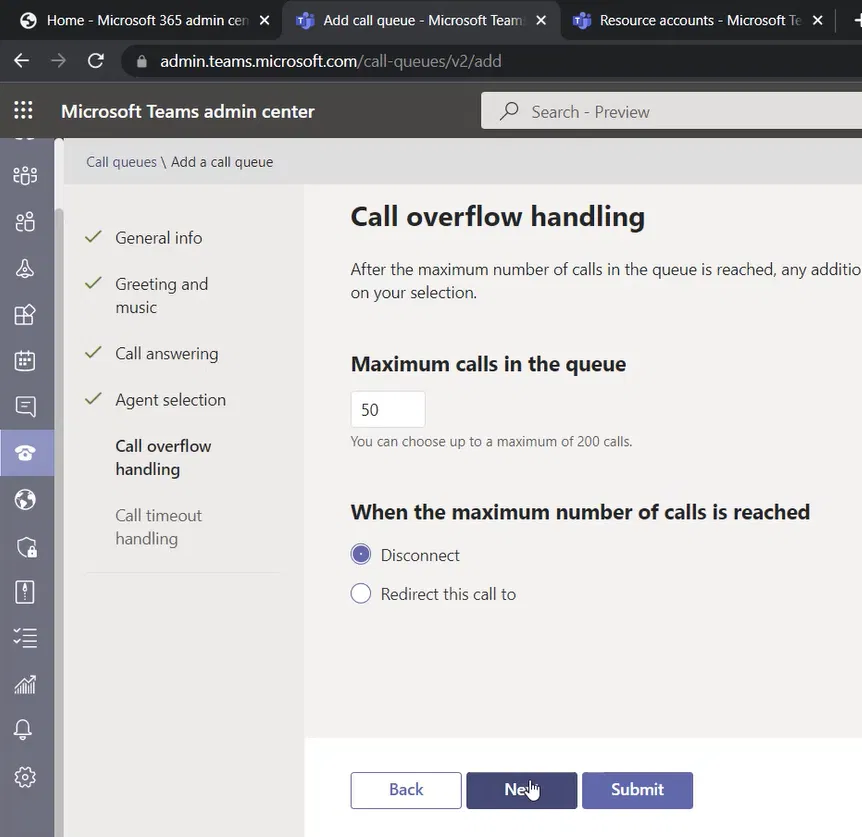
Call Overflow Handling Page
I am keeping the “Maximum calls in the queue” as 50, and if more calls are there, the calls will be disconnected
Important note:
In case you are using Teams Direct Routing, you need to keep some channels to regular Teams Direct Routing calls, you achieve this by reducing the “Maximum number of calls in the queue” so that you will not let your Call Queues consume the full PSTN connections (PRI or SIP Trunking),
Keeping a high number of calls waiting in a call queue might consume your channels (channels of the PRI or the SIP Trunking). And that might make you not able to do outgoing PSTN calls or receive incoming PSTN calls on Teams
If you have multiple call queues, you need to watch for the total sum of all “Maximum number of calls in the queue” of the call queues.
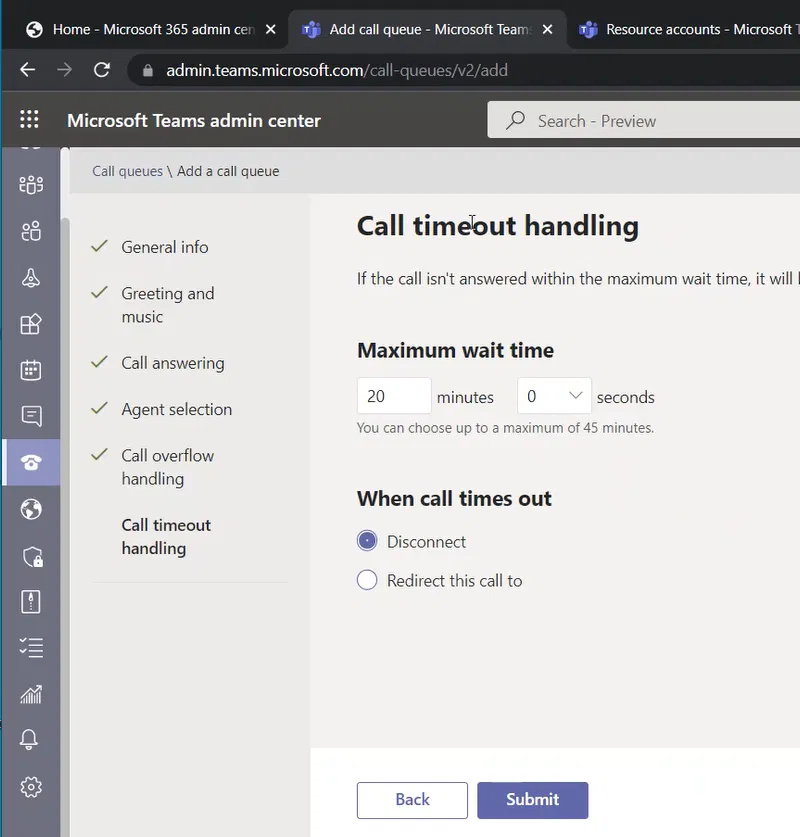
Call Timeout Handling Page
This is the last page of the wizard. Here you will specify how long the caller will be waiting for an agent to answer the call. If the call exceeds this wait time, the call will be disconnected, or you can select to redirect the call
I am keeping this number as the default 20 minutes.
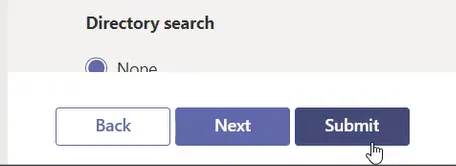
Submitting the changes
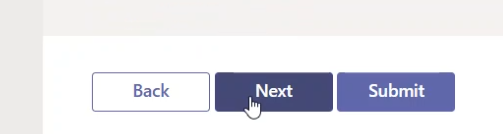
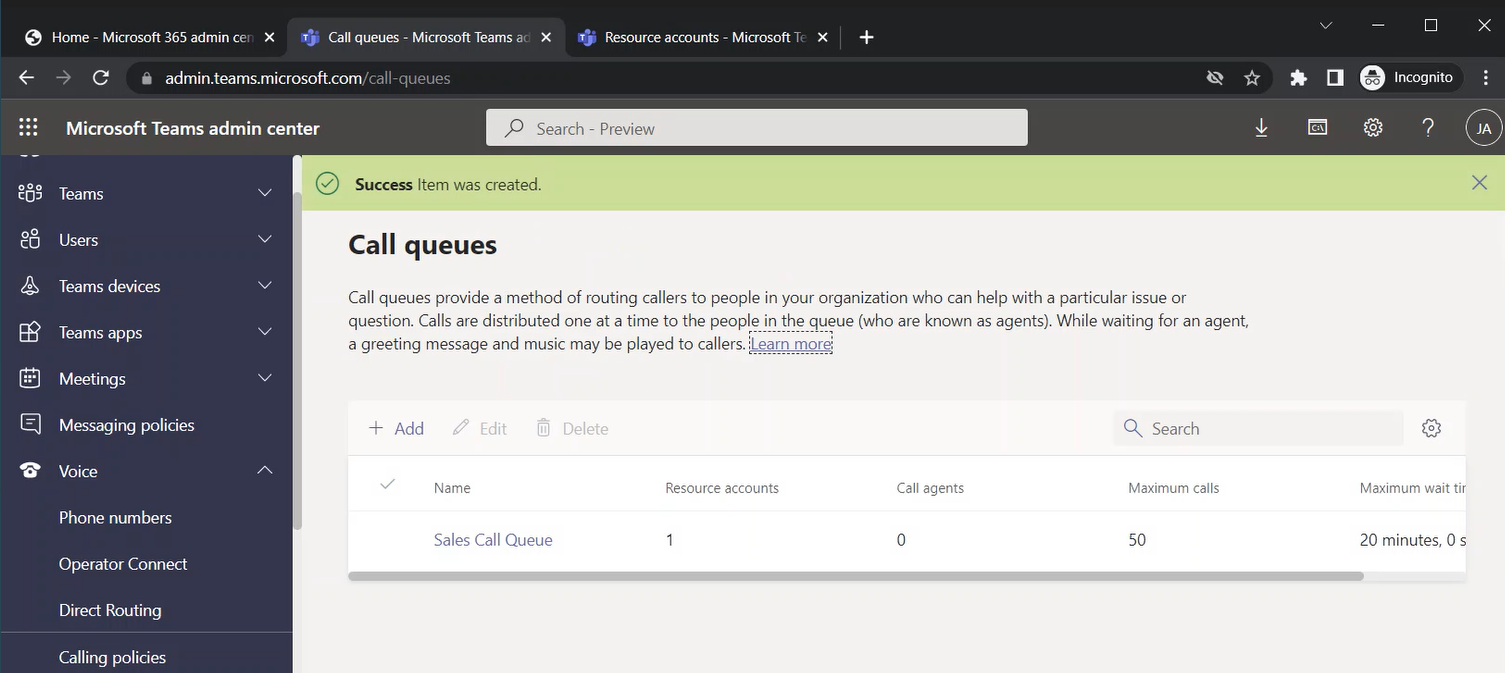
After completing the wizard and you are fine with the settings, you can click on the “Submit” button
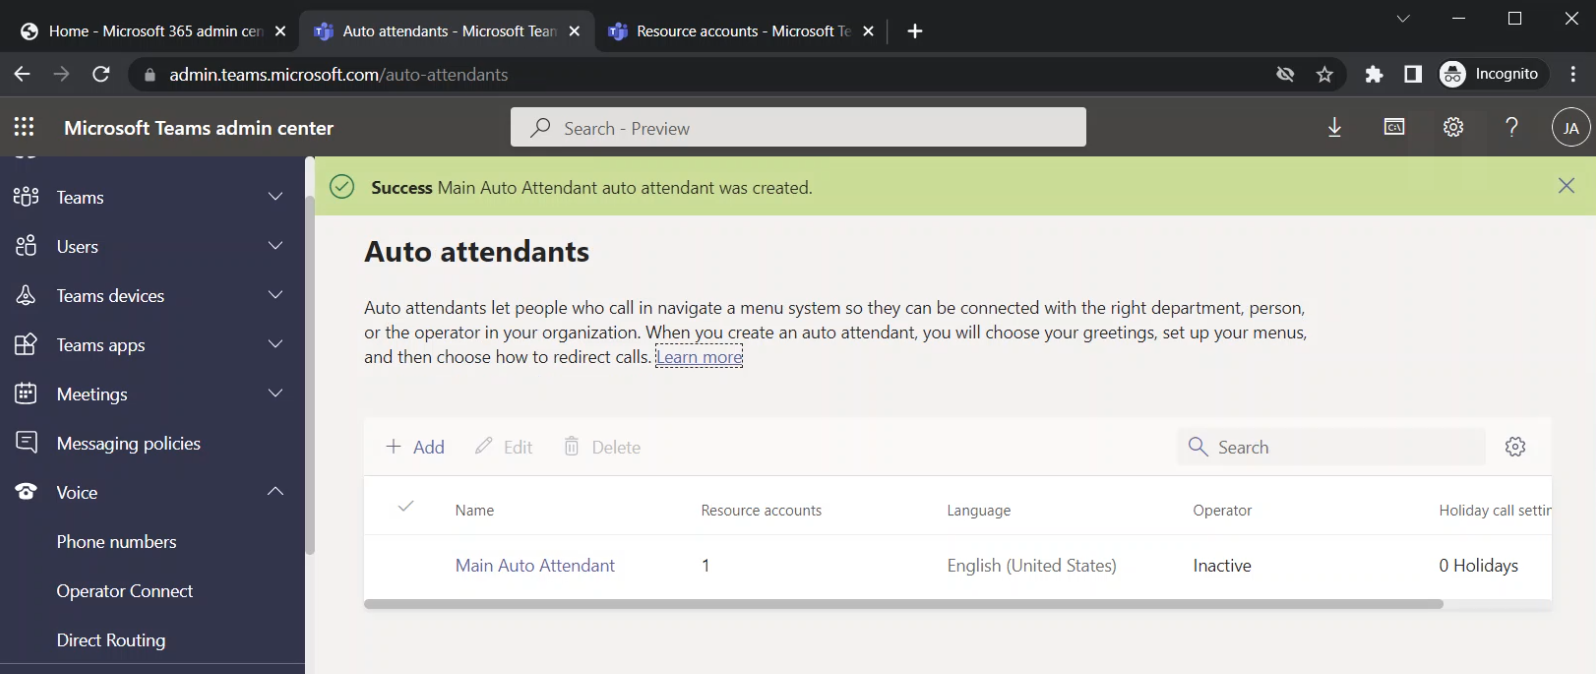
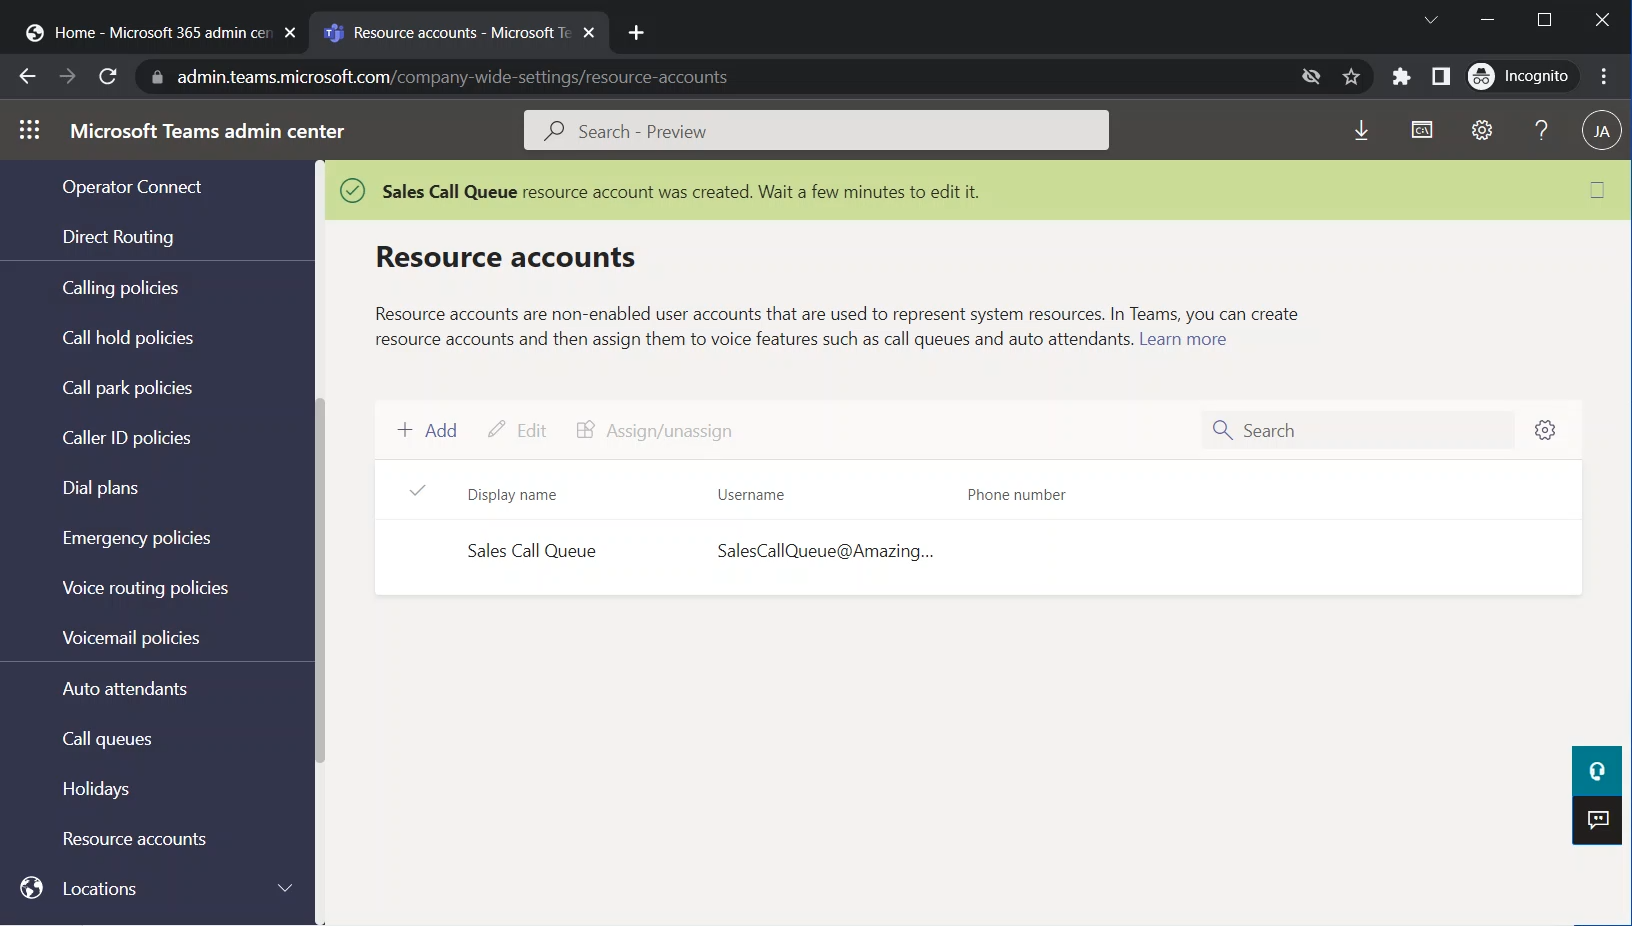
The call queue will be created, and it will be listed on the main page “Call queues”
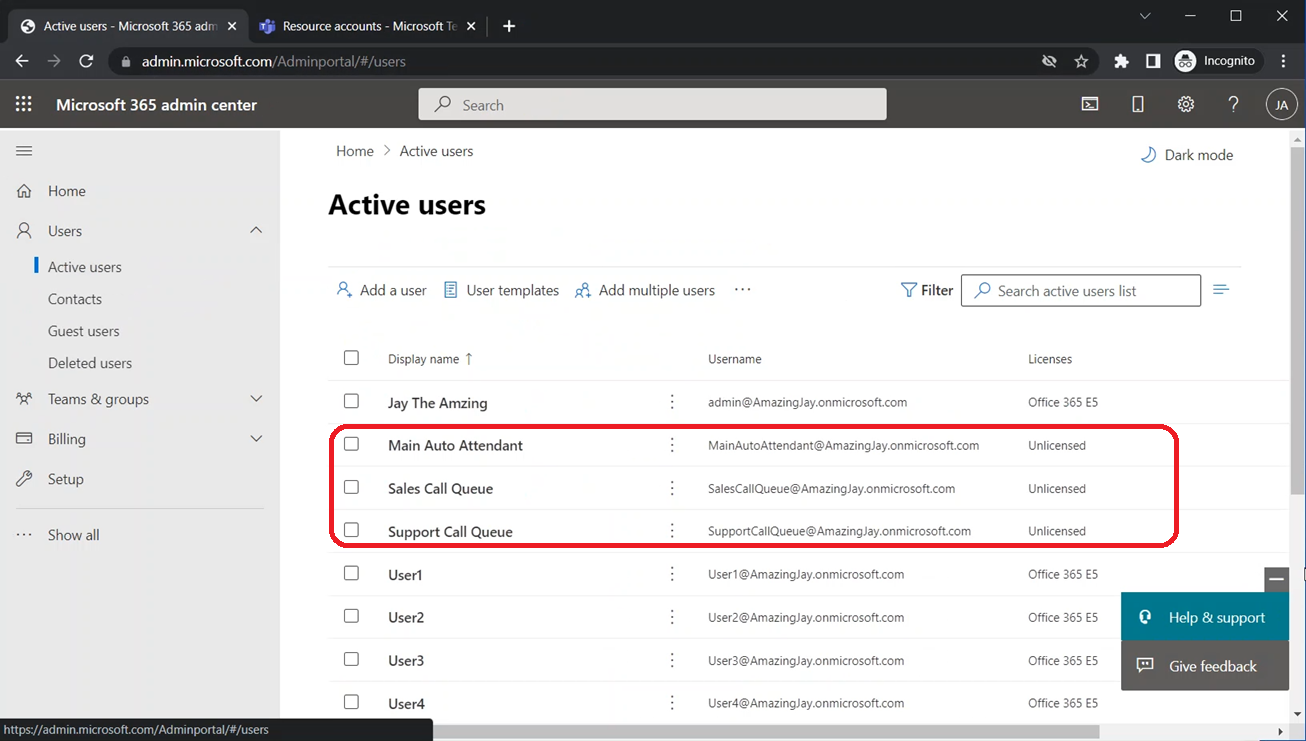
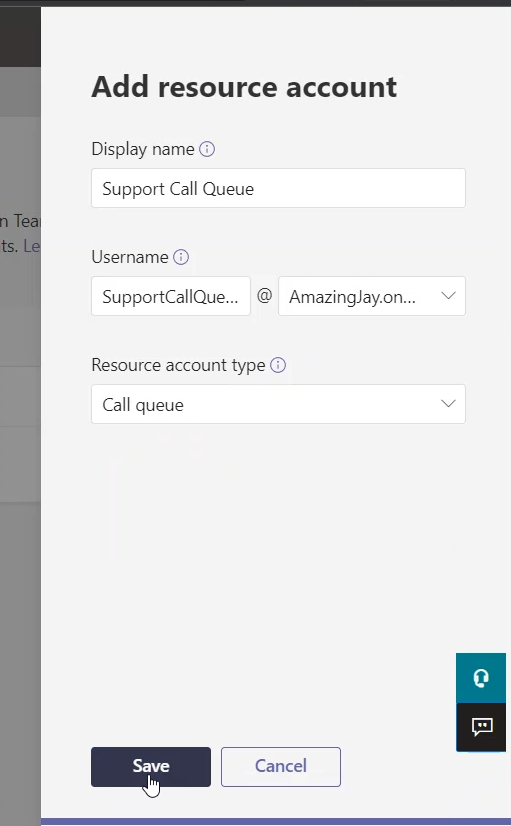
Support Call Queue
For my setup, I am creating another call queue called “Support Call Queue”. The Support Call Queue has the exact settings, except that it routes the calls to the “Support” team (the setting is on the “Call Answering” page)