Part 1: Creating a Ribbon SBC SWe Lite VM using Quick Launch Template from Azure Marketplace
In this article, I am showing how to create a Ribbon SBC SWe Lite VM on the Azure cloud and make it ready to be integrated with Teams Direct Routing
I am selecting the “Quick Launch” Template of Ribbon SBC SWe Lite from the marketplace
Such setup can be used for production or just simply to learn, test, and practice configuring a Teams Direct Routing with SBC
It might not be feasible to purchase a hardware SBC and to have public IP setup with correct firewall settings just for learning or practicing.
With Azure, you can have it configured with minimum cost and you can even use the Azure pay as you go option or even use the Azure trial to reduce the cost.
The installation will continue to full work until the trial is finished (I think the trial ends within 1 month).
You can contact a Ribbon distributor to purchase permeant licenses if you like to keep using your setup.
Below are the steps to do the deployment.
Selecting the VM from Azure Market Place
Access your Azure Admin Portal
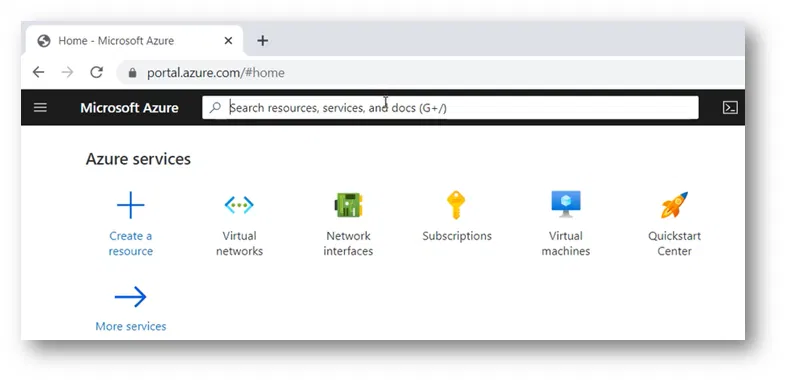
Click on the search bar

In the search bar, search for Ribbon SBC SWe Lite. For example, type “sbc swe”
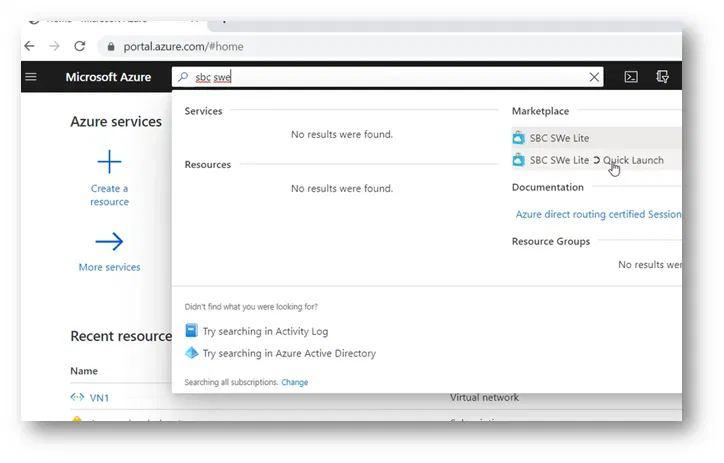
You will have types of VM Templates available in the Marketplace:
- SBC SWe Lite
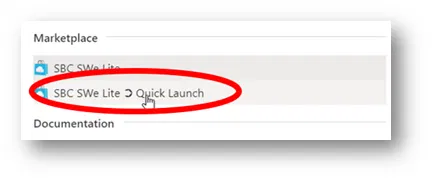
- SBC SWe Lite ➲ Quick Launch
We will use “SBC SWe Lite ➲ Quick Launch” Template because it is designed to deploy SWe SBC Lite with the recommended configuration and is suitable for Teams Direct Routing (things like 2 Network Interfaces with the correct range of ports opened)
This will start wizard-like steps to collect the information needed to build the VM
Creating The VM And Selecting the Options

Click on the “Create” button
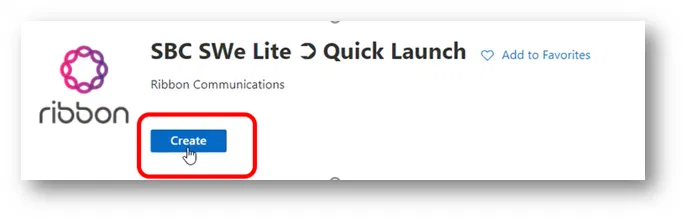
This will take you to the Basics tab
Basics Tab
The subscription will be automatically selected
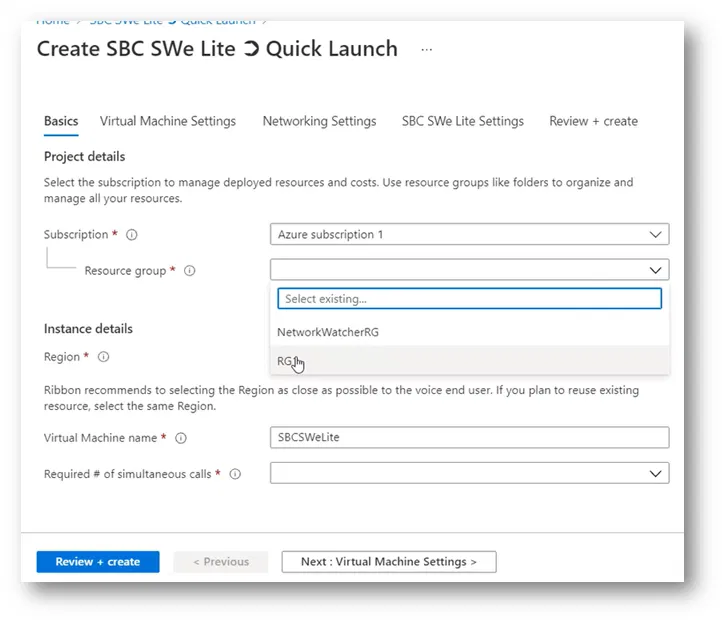
If you select an existing Resource Group with resources inside it, it will give you an error
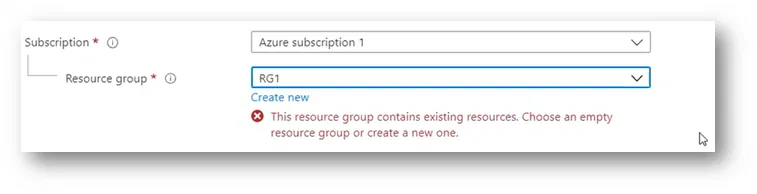
It requires its own Resource Group
For my case, I am creating a new Resource Group to be used for the SBC and named it SBCResourceGroup
Under Region, select the region where you want the VM to be created within
Type the name to be used as a Virtual Machine name inside Azure
Specify the Required # of simultaneous calls (to tell you the truth, I couldn’t find the purpose of this parameter tell this moment)

Virtual Machine Settings Tab
On Virtual Machine Settings, I kept the default settings

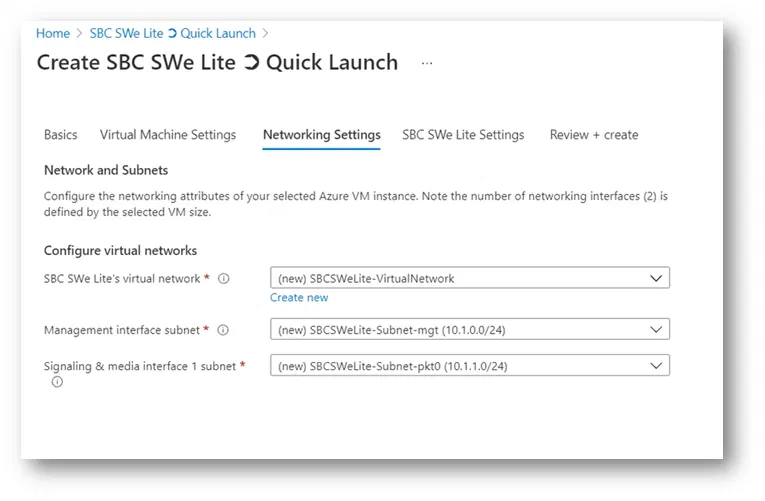
Networking Settings Tab
I kept the default settings (where it will create a new virtual network with two subnets)
Each of the two subnets is going to be connected to a network interface of the VM
- Management subnet (connected to Management interface)
- Signaling & Media subnet (connected to Signaling & Media interface)
(This way, the VM will be automatically created with the recommended configuration by Ribbon)
Note:
You can select your own existing virtual network and select the subnets to be used
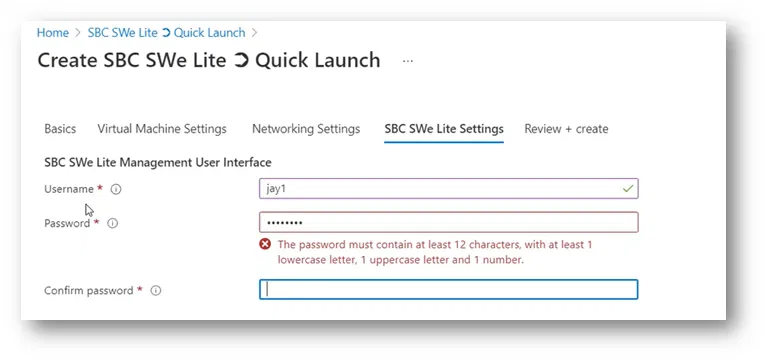
SBC SWe Lite Settings Tab
On the SBC SWe Lite Settings tab, specify the username and the password for the VM

The username cannot be a revers word such as admin
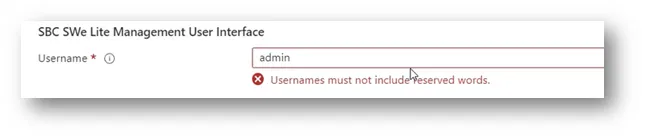
Follow the correct password policy
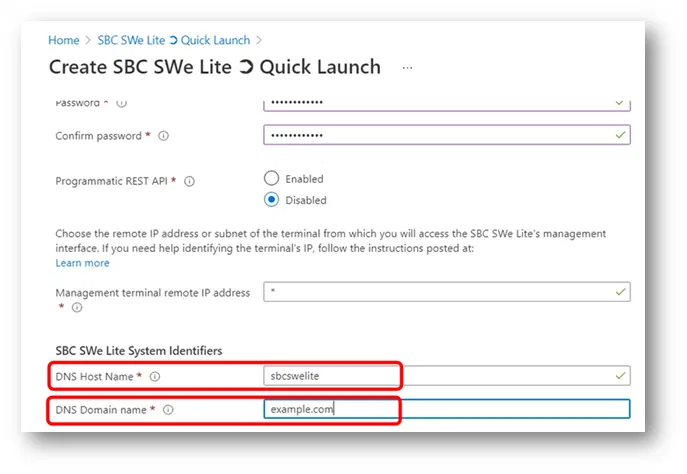
On the SBC SWe Lite Settings tab, I have typed a temporary hostname and a temporary domain name for the VM. I am planning to change these settings later inside the configuration of the SBC after the deployment is completed.
Review + create Tab
On the last tab “Review + create”. It will validate your settings and will show you “Validation Passed” if everything is acceptable to create the VM
It will also show you the summary of the settings that you

I had to scroll down to check all the settings

If all the settings are acceptable, click on the “Create” button. This will start the deployment of the VM.