After completing the previous two steps:
- Add the domain that will contain the SBC to Microsoft 365 (for example, add the domain example.com if your SBC name will be SBC1.example.com)
- Enabling a user in that domain
You can now successfully connect the SBC to Teams Direct Routing
Connecting the SBC using Admin Center
Open “Microsoft Teams admin center”
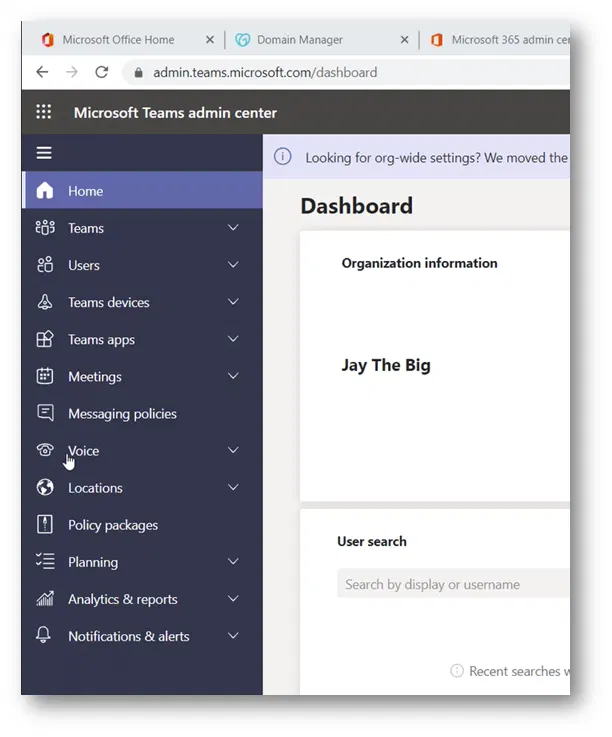
On the menu on the left side of the portal, expand “Voice”

On the “Voice” menu, select “Direct Routing”

This will take you “Direct Routing” settings page
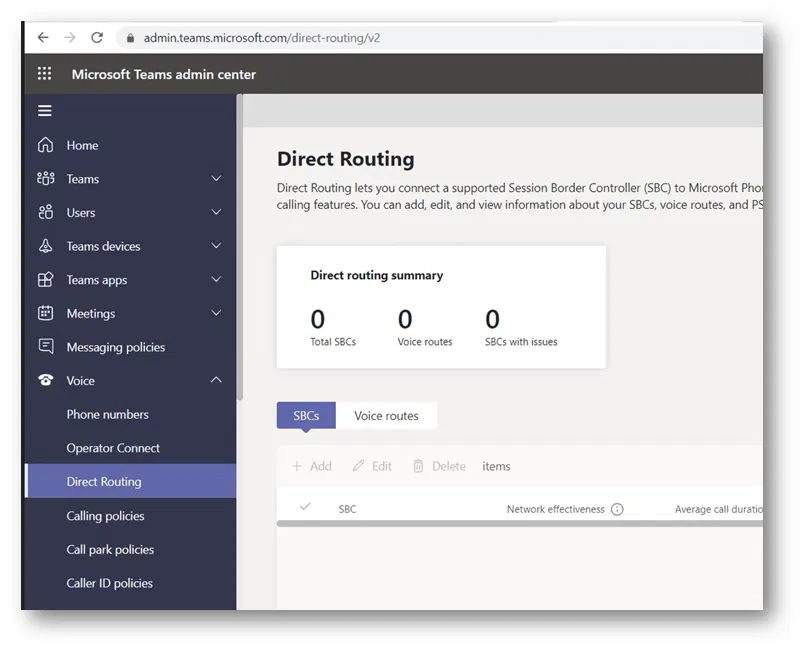
Click on “SBCs”
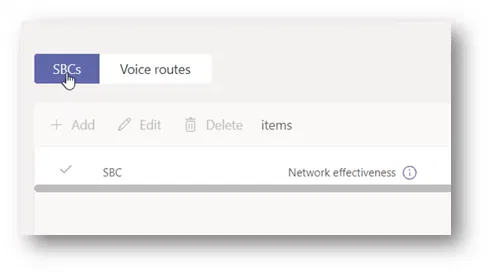
Click on the “Add” button


This will take you “Direct Routing\ Add SBC” page where you can define a new SBC with its settings

Type the name of your SBC
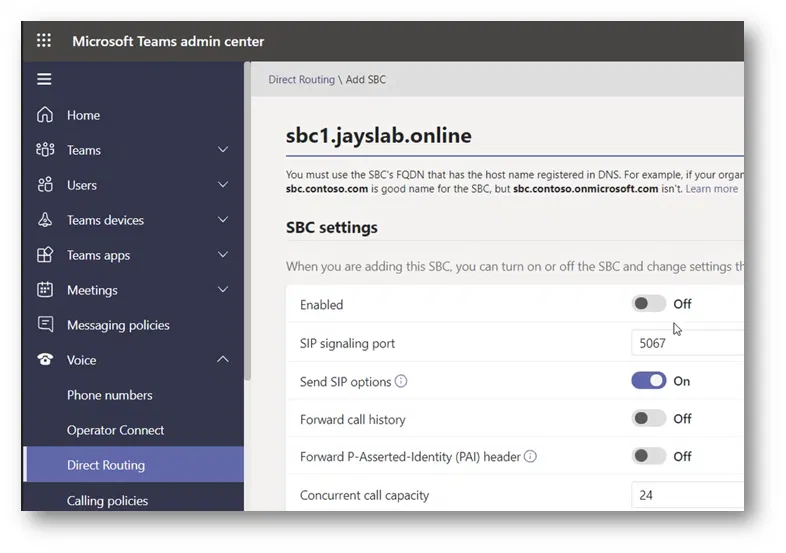
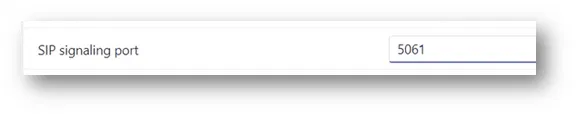
Under the SIP signaling port, the port number there is “5067”

I am changing the port to 5061. Which is the default port number that is usually created by the “Easy Setup” wizard of Ribbon SBC when you select the Direct Routing option
Under “Concurrent call capacity”, specify the number of channels you will select in “Easy Setup” wizard.
This number usually equals the maximum number of SIP sessions to your SIP provider.
Don’t forget to turn on the “Enabled” button

Click on the “Save” button at the end of the page

If you haven’t added the domain to Microsoft 365 and enabled a user under that domain, you will get a message similar to the one below
We can’t use the “sbc.domain.com” domain as it hasn’t been set up in the organization. Please try again. If you continue to have problems, contact Microsoft customer support.
As the image below shows

However, if everything is correct, you will get the message “Item was created” as the image below shows

The name of the newly registered SBC will be under the list of SBCs
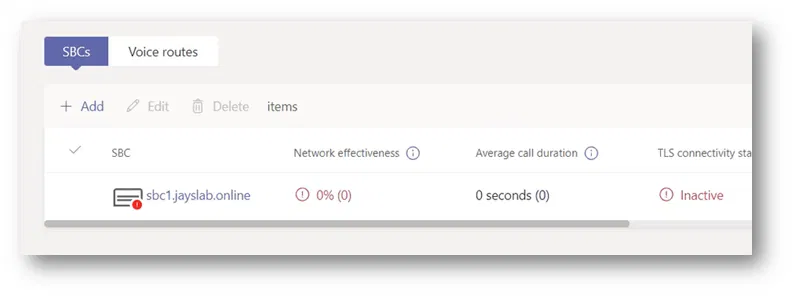

Note:
The SBC would be shown to have errors because it is not yet configured to work with Direct Routing or the DNS record of type A that should point to its IP has not yet been created
Registering the SBC using PowerShell
Alternatively, you can register the SBC using New-CsOnlinePSTNGateway PowerShell command as the example below shows
New-CsOnlinePSTNGateway -Identity sbc1.jayslab.online -Enabled $true -SIPSignalingPort 5061 -MaxConcurrentSessions 4