Why do we need to assign this license?
Each resource account requires a license to make it work with auto attendants and call queues. Instead of using a paid regular account, a special type of license named “Microsoft Teams Phone Resource Account” is created for this purpose and you can acquire it for free (explain in a previous article in this series)
The following steps show how to assign this license to the Resource Account (it is simply like assigning any other type of license)
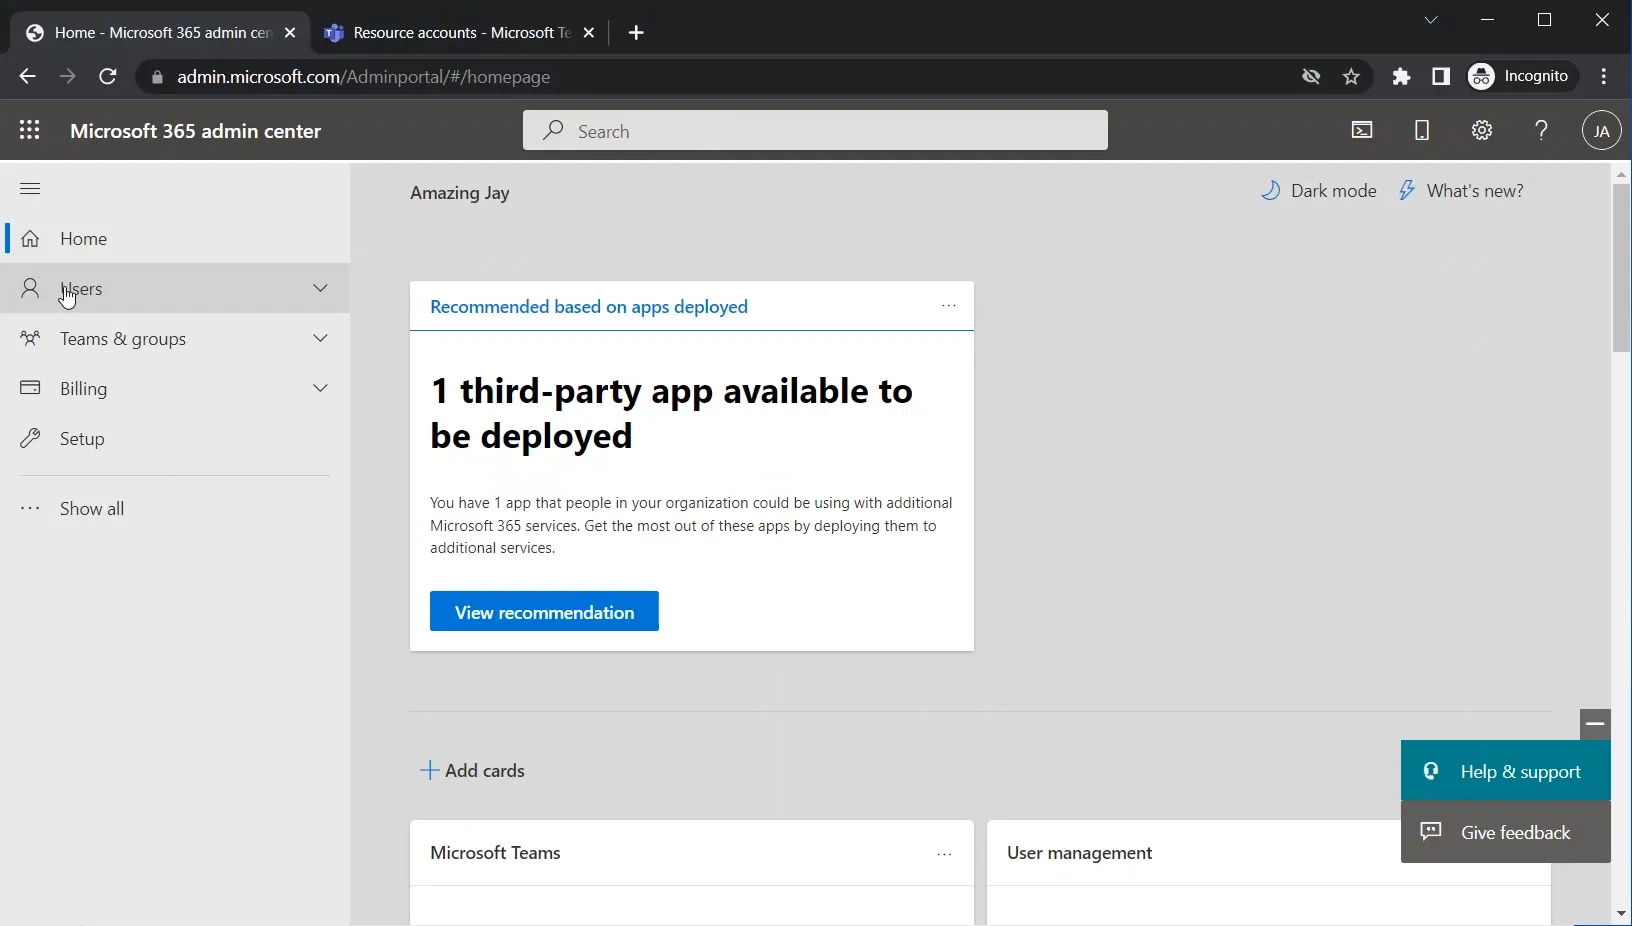
Go to the “Microsoft 365 admin center”
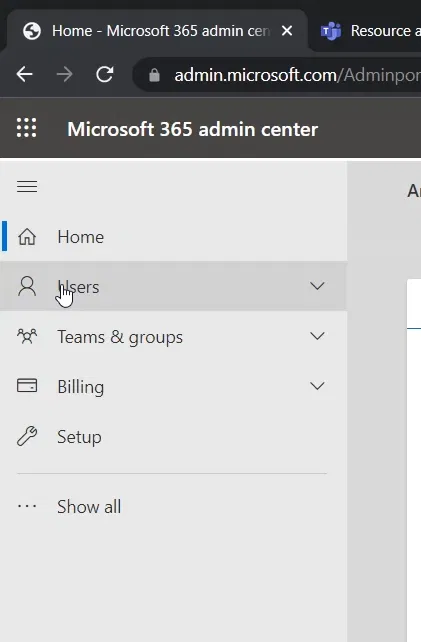
Expand “Users”
Select “Active users”
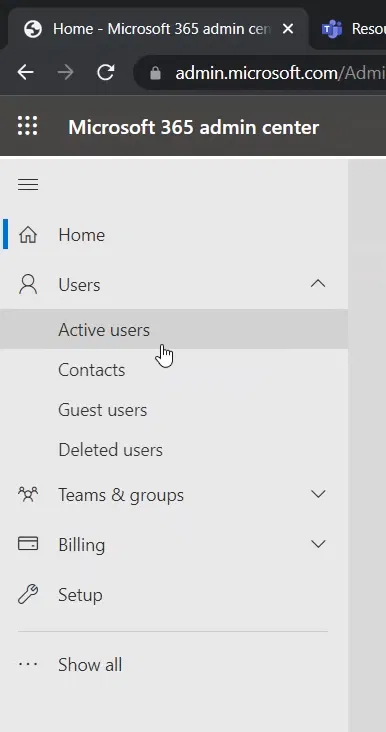
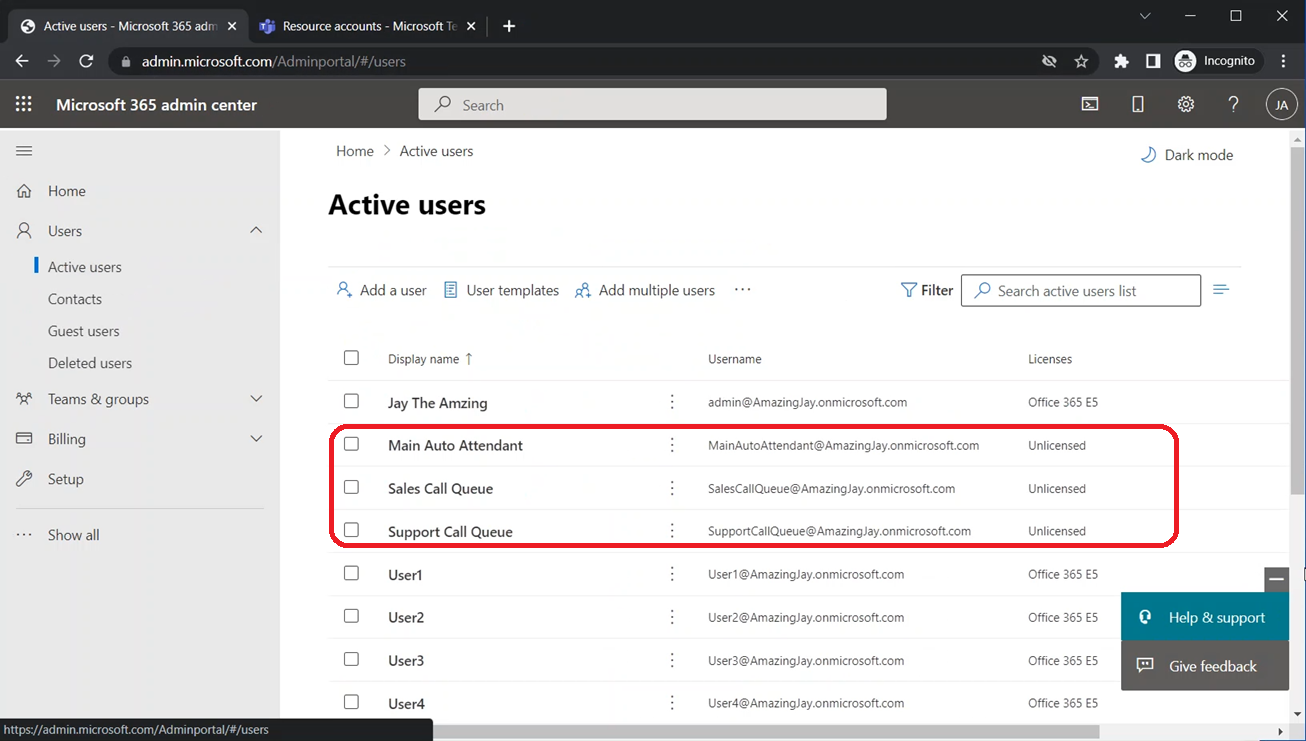
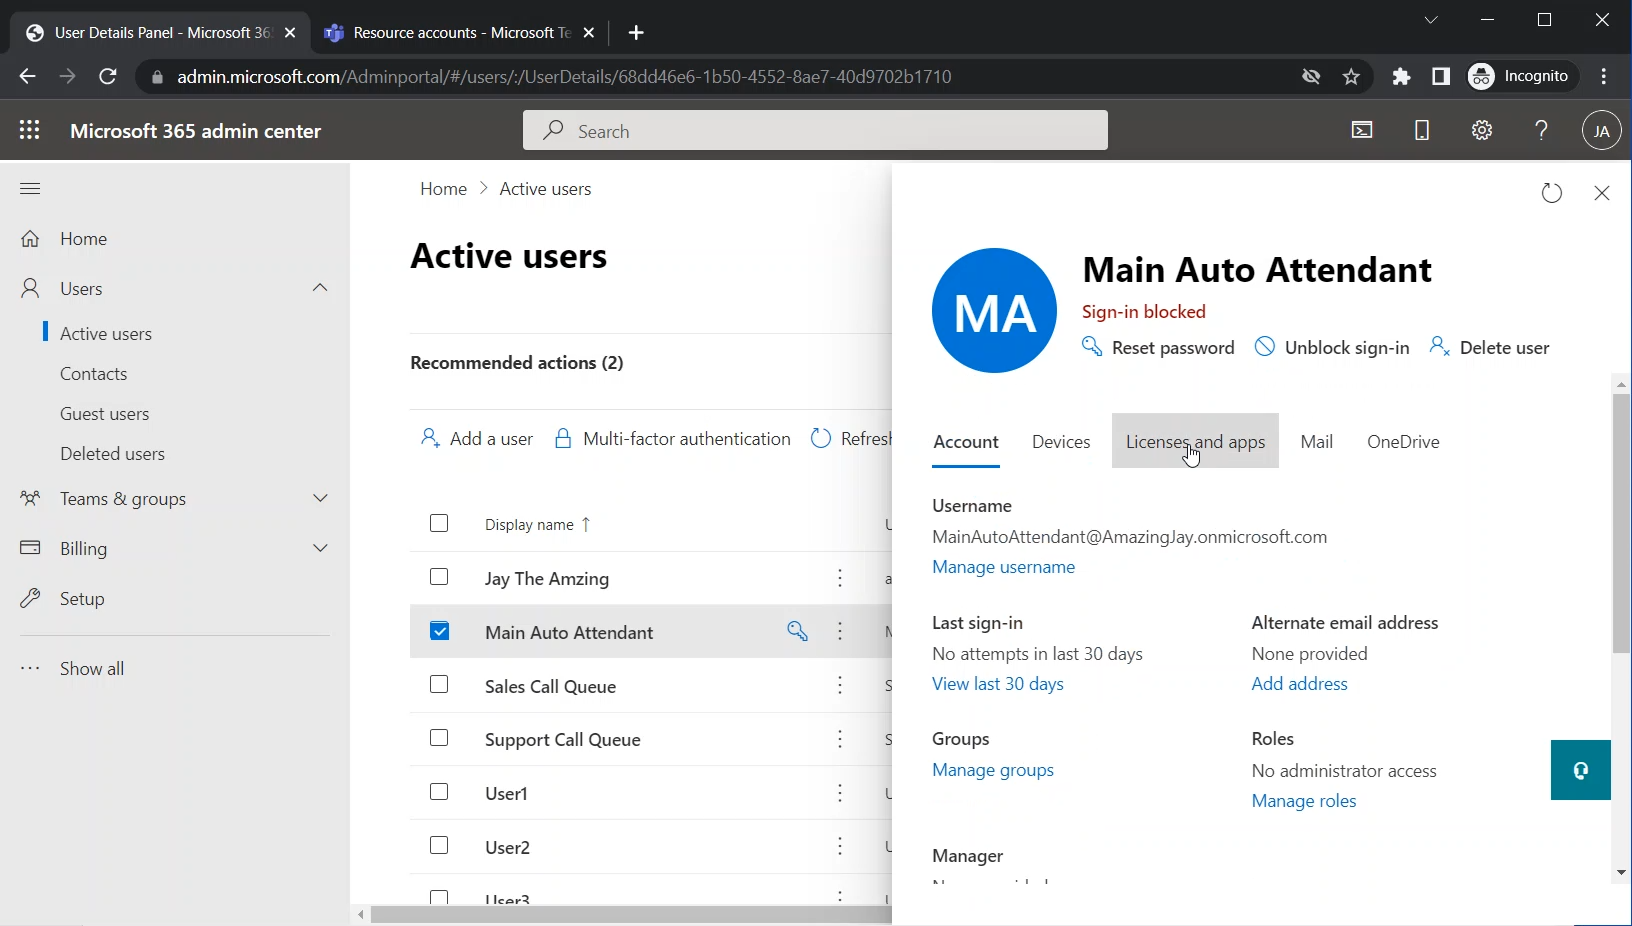
You will find the resource accounts that you have created in the “Teams Admin Center” listed here with the rest of the users. You might need to search the account under “Filter”
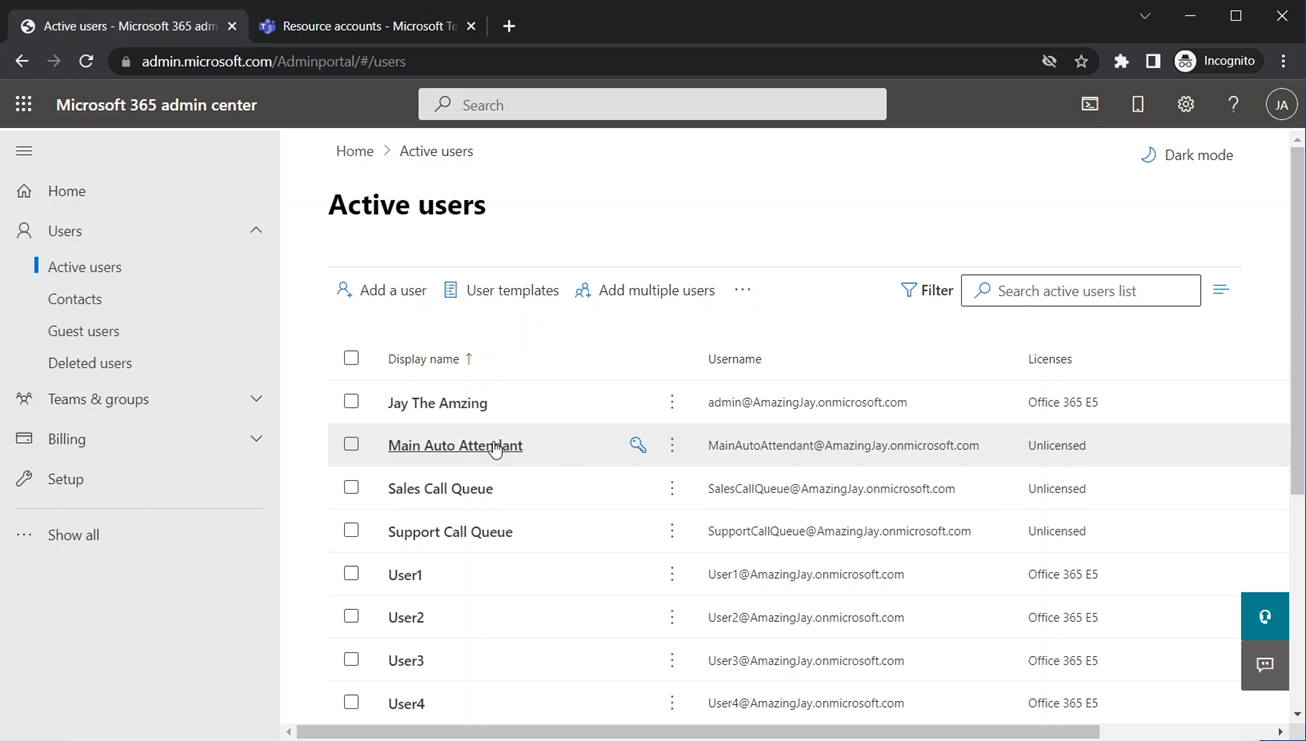
Click on the resource account
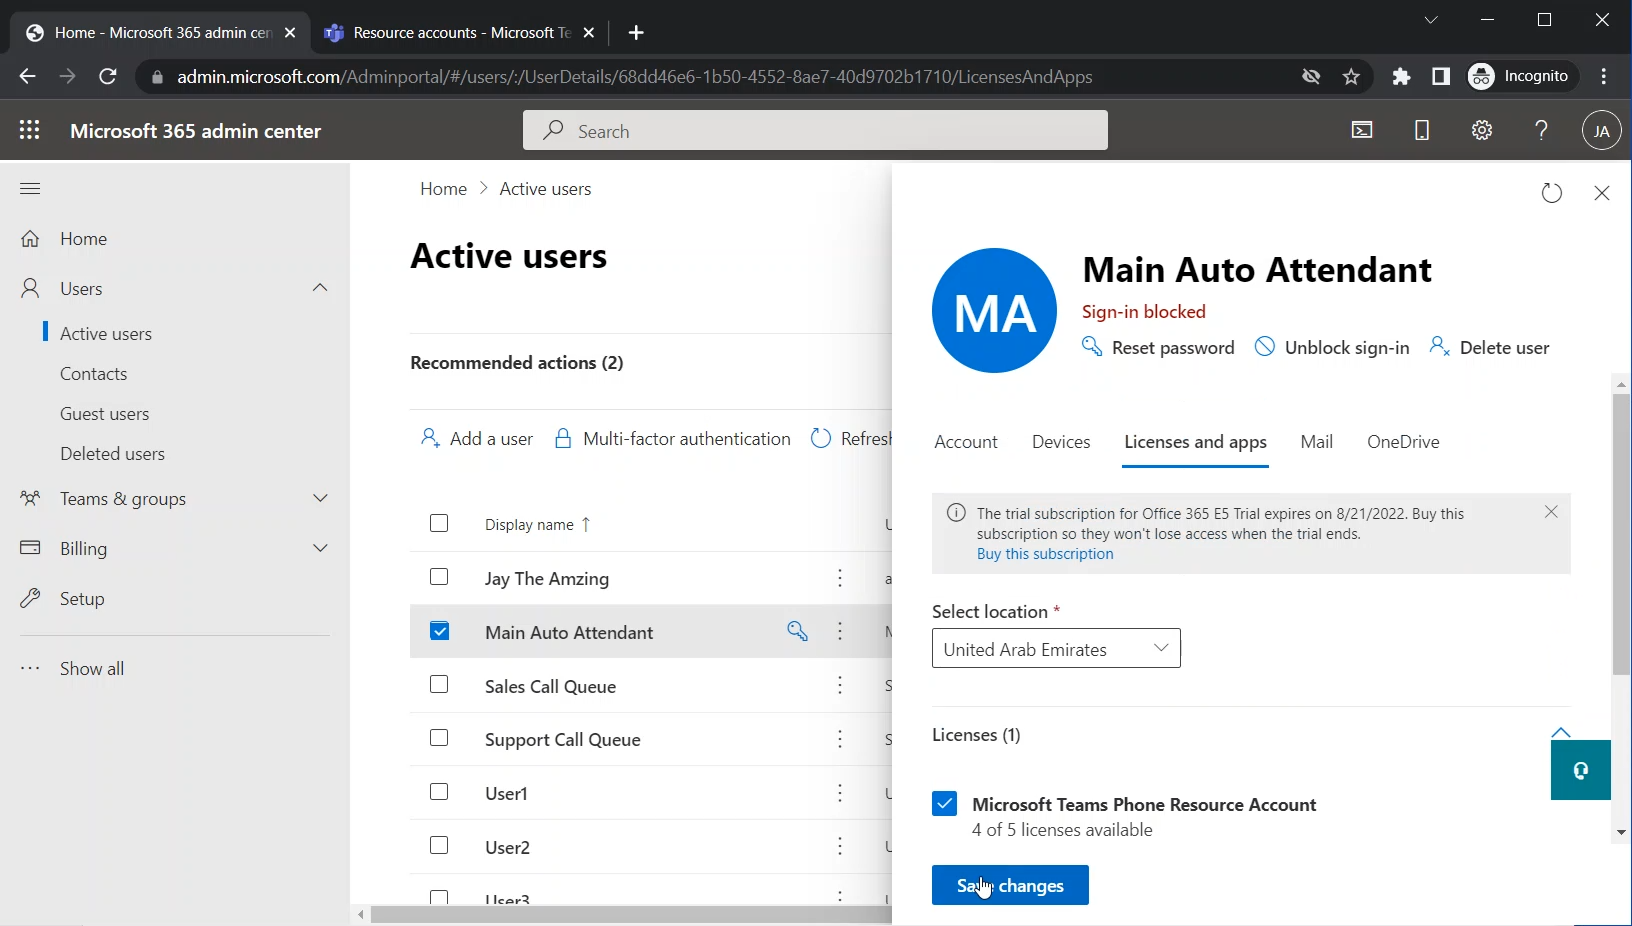
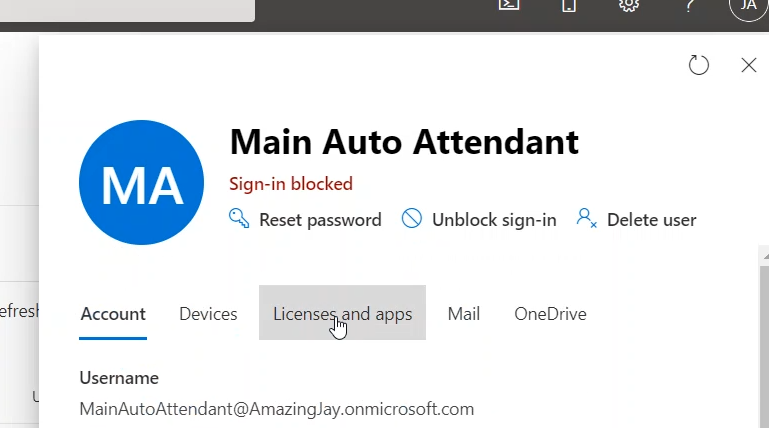
The pane that shows the detail pane of the account will appear on the right side
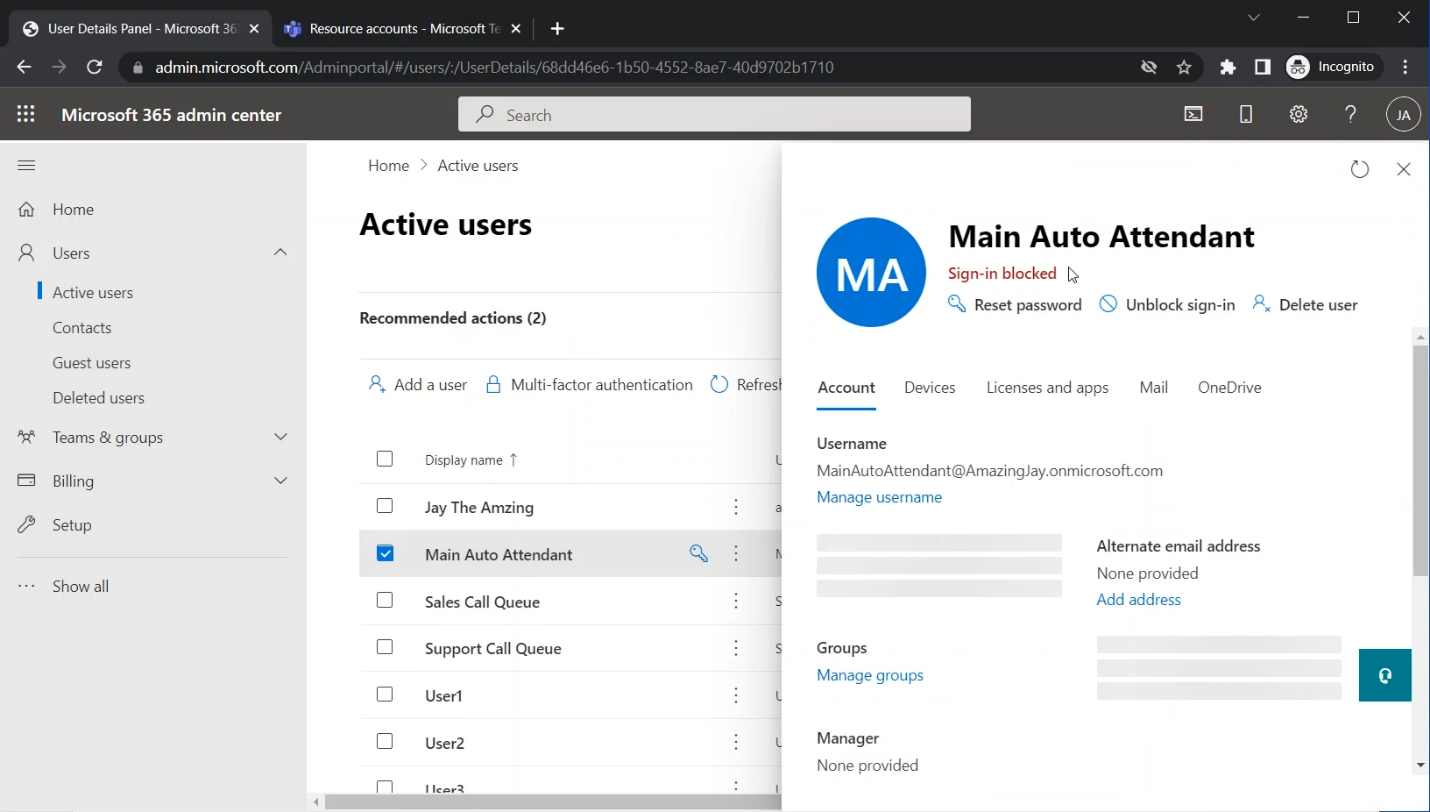
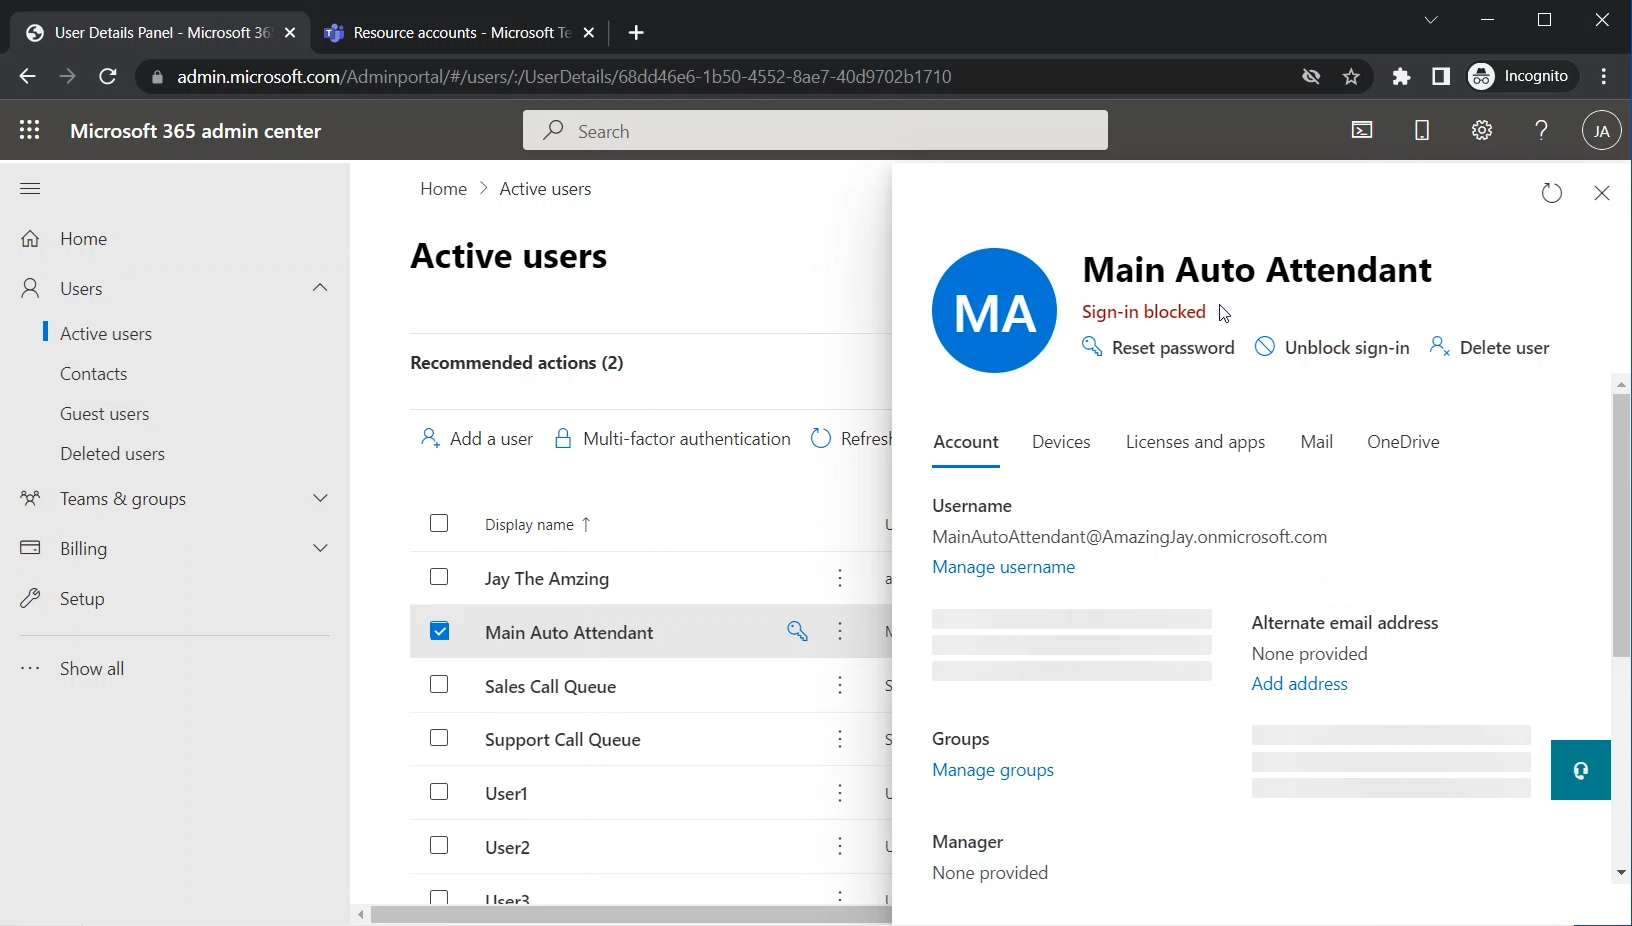
Click on the “License and apps” tab
The list of the licenses will be shown. Among these licenses, you will see the “Microsoft Teams Phone Resource Account” license (which we acquired in a previous step in this series)
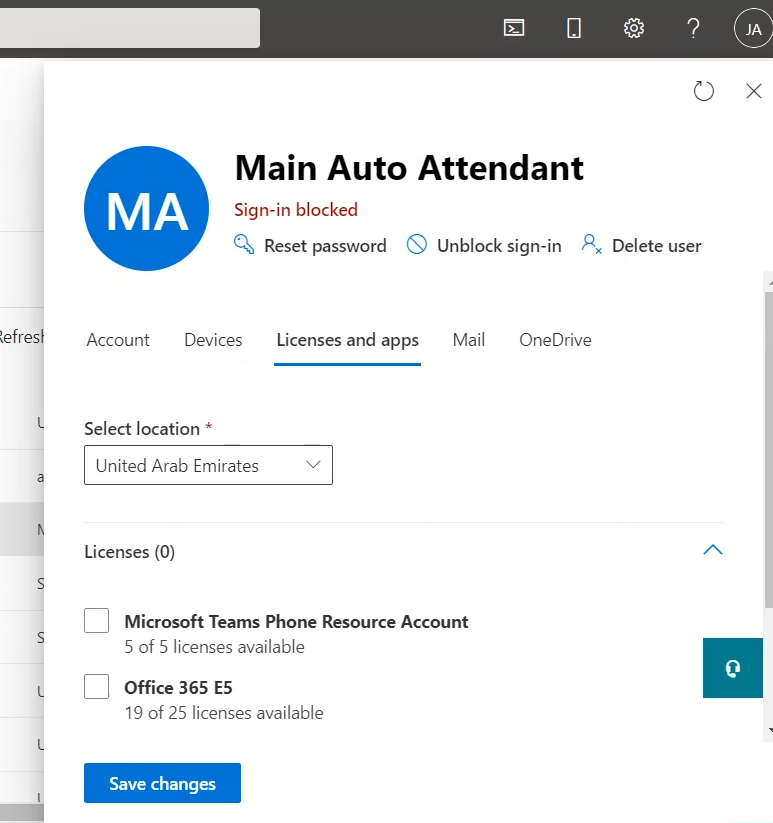
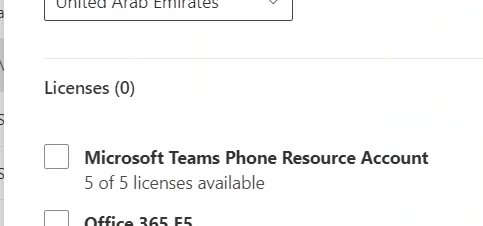
Select the “Microsoft Teams Phone Resource Account”
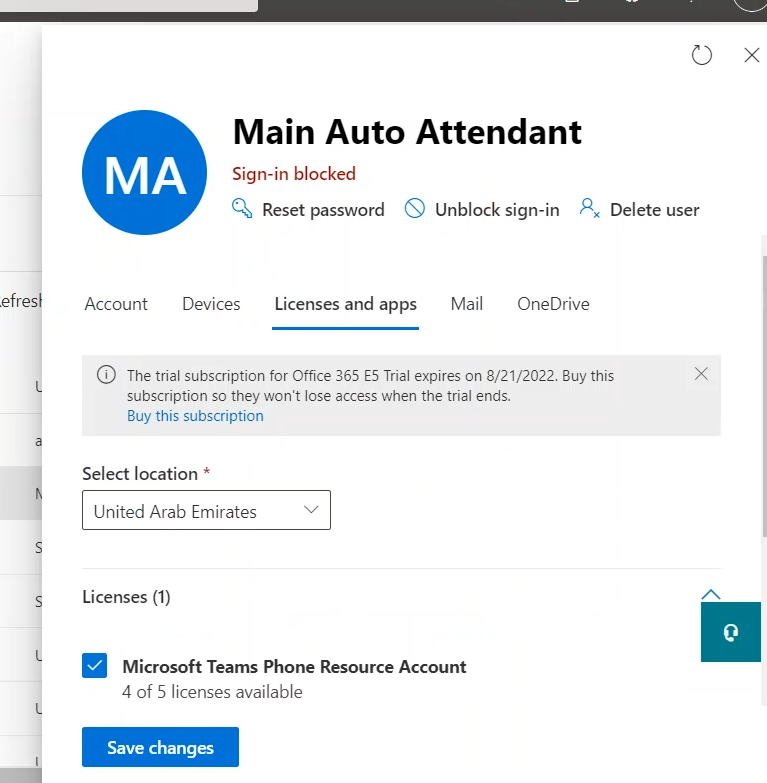
Click on “Save changes”