What Is Resource Account
Each auto attendant or call queue always needs a resource account that is assigned to it.
To call an auto attendant or a call queue using PSTN, The Resource account should be assigned a Teams telephone number. This telephone number could be a Direct Routing number or it could be a Microsoft Phone number.
What Is Resource Account License
Each resource account requires a license to make it work with auto attendants or call queues. The name of this license is “Microsoft Teams Phone Resource Account license”. This license is free and costs nothing. It is intended to be used only for Resource Accounts. After acquiring this license, you can assign it to a resource account, and it will appear as Microsoft Teams Phone Resource Account under licenses.
The below steps show how to obtain this license
Obtaining The Resource Account License
Open “Microsoft 365 admin center”

Go to
Microsoft 365 admin center > Billing > Purchase services
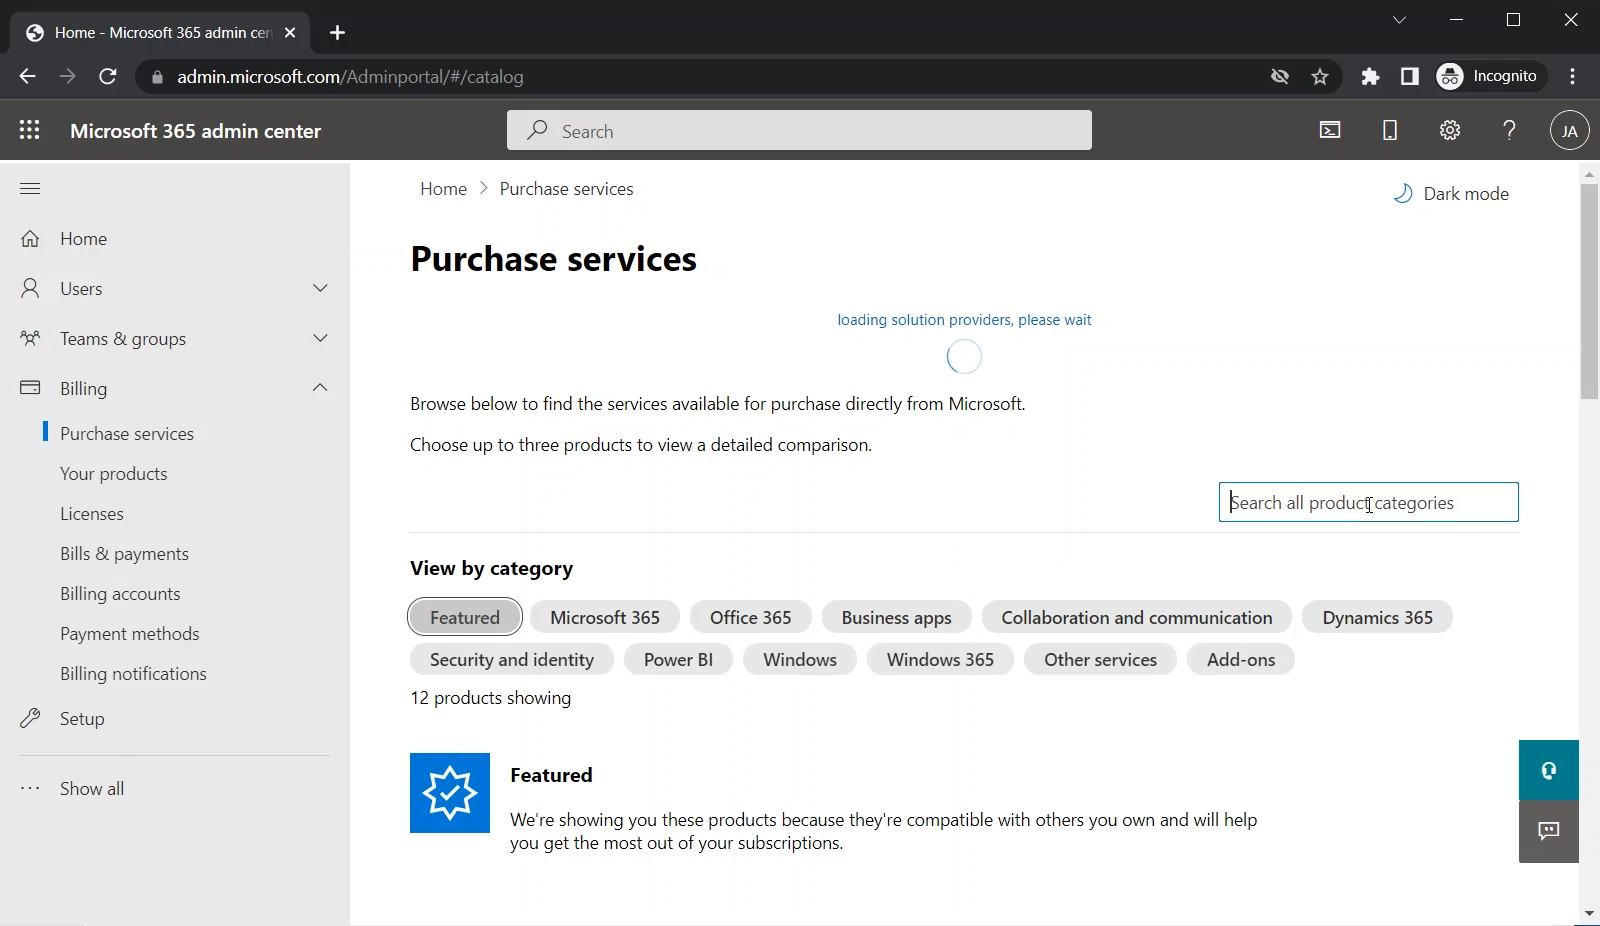
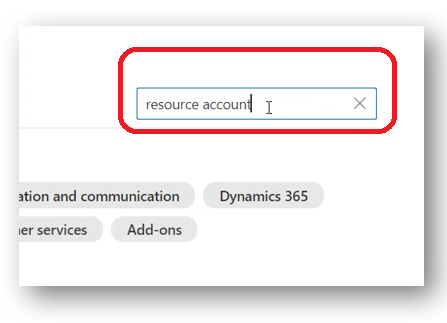
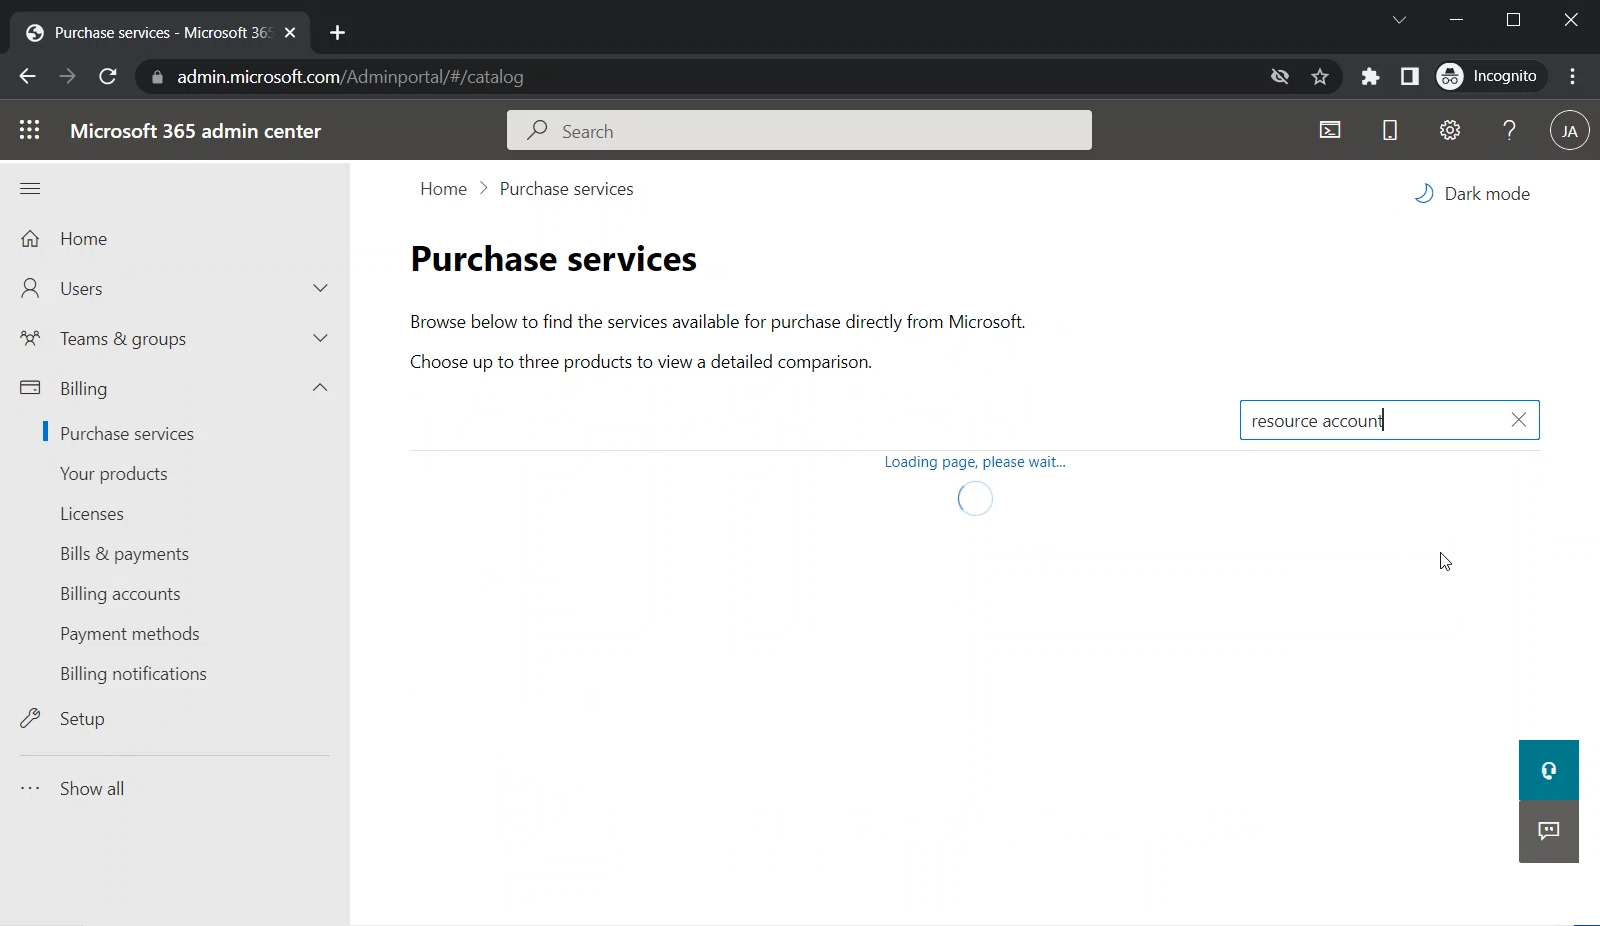
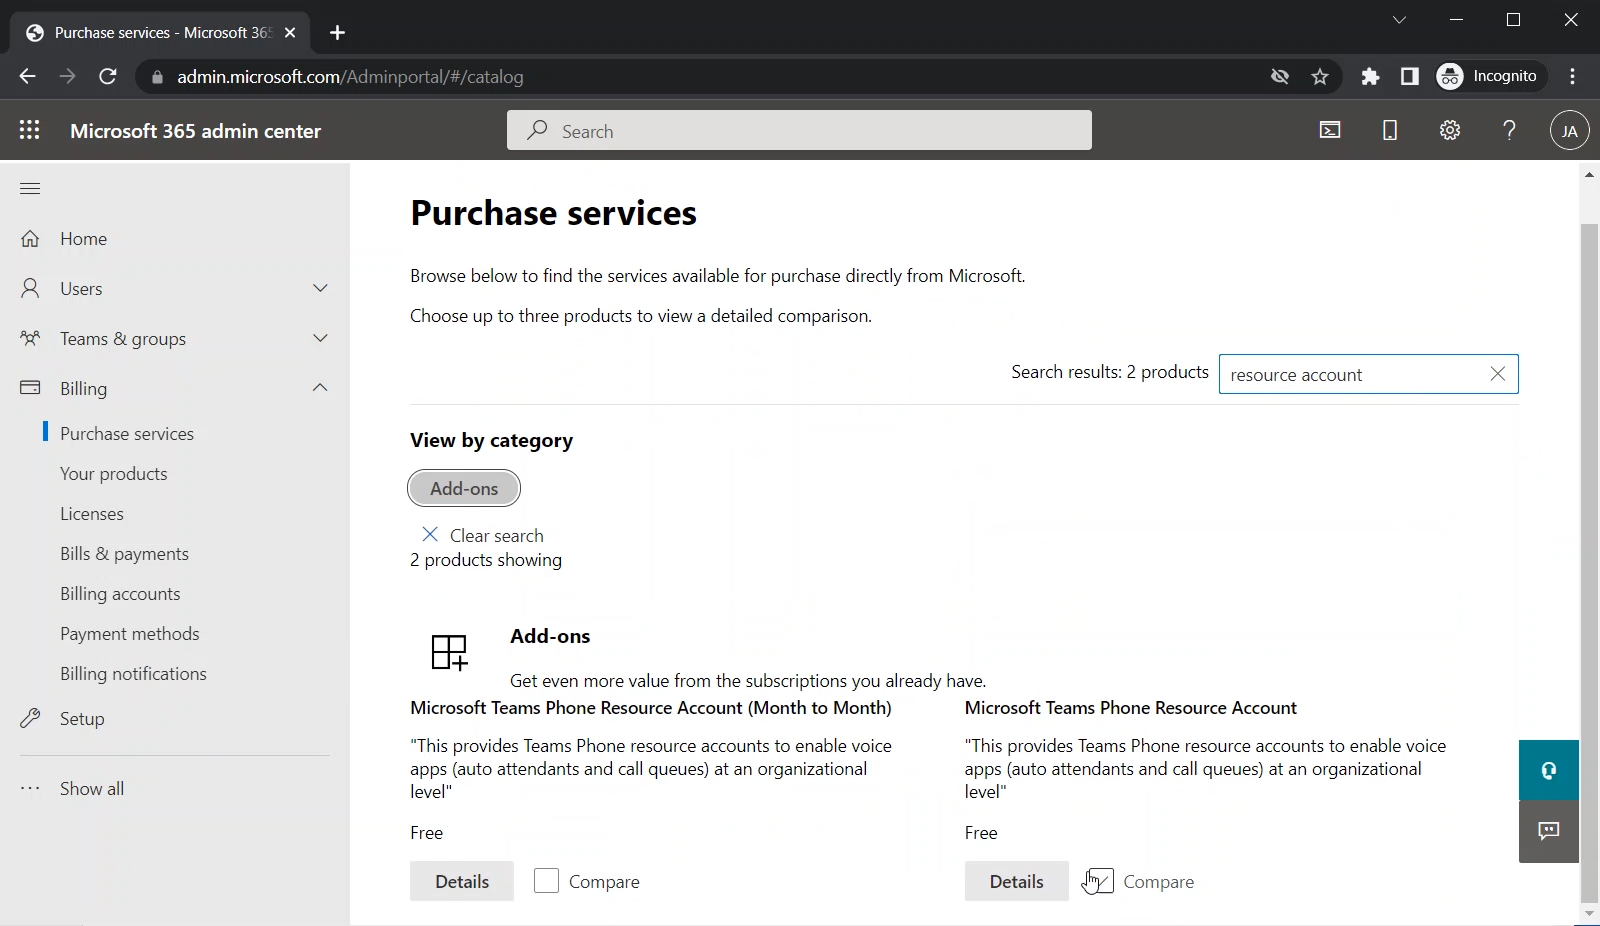
Under the “Search all products categories” box, search for “resource account”
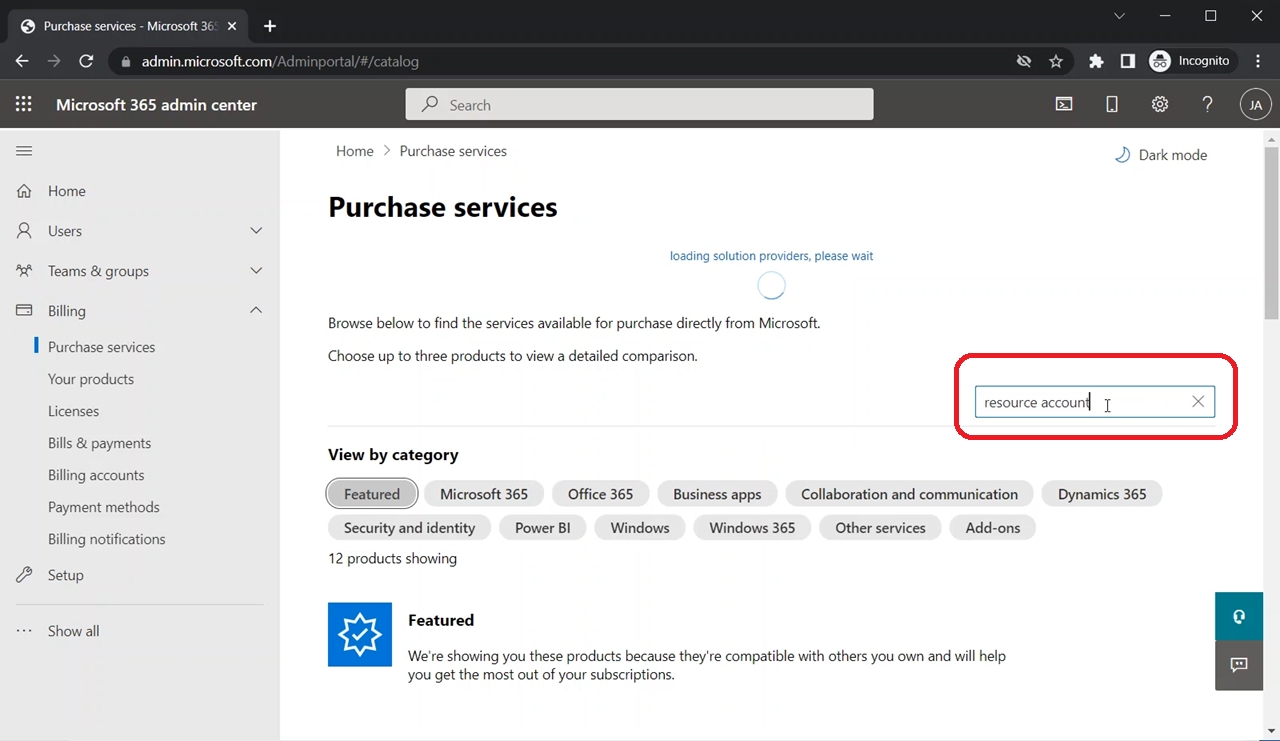
Wait for the results to appear
You will see “Microsoft Teams Phone Resource Account” among the results
![]()
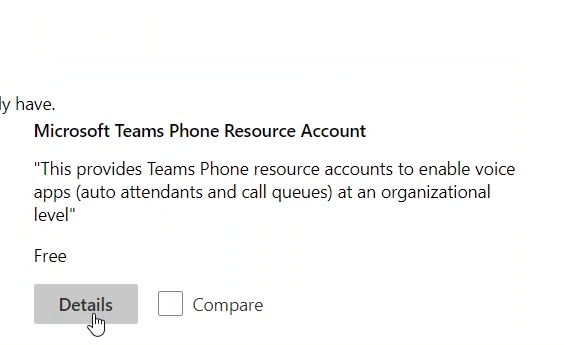
Click on the “Details” button of “Microsoft Teams Phone Resource Account”
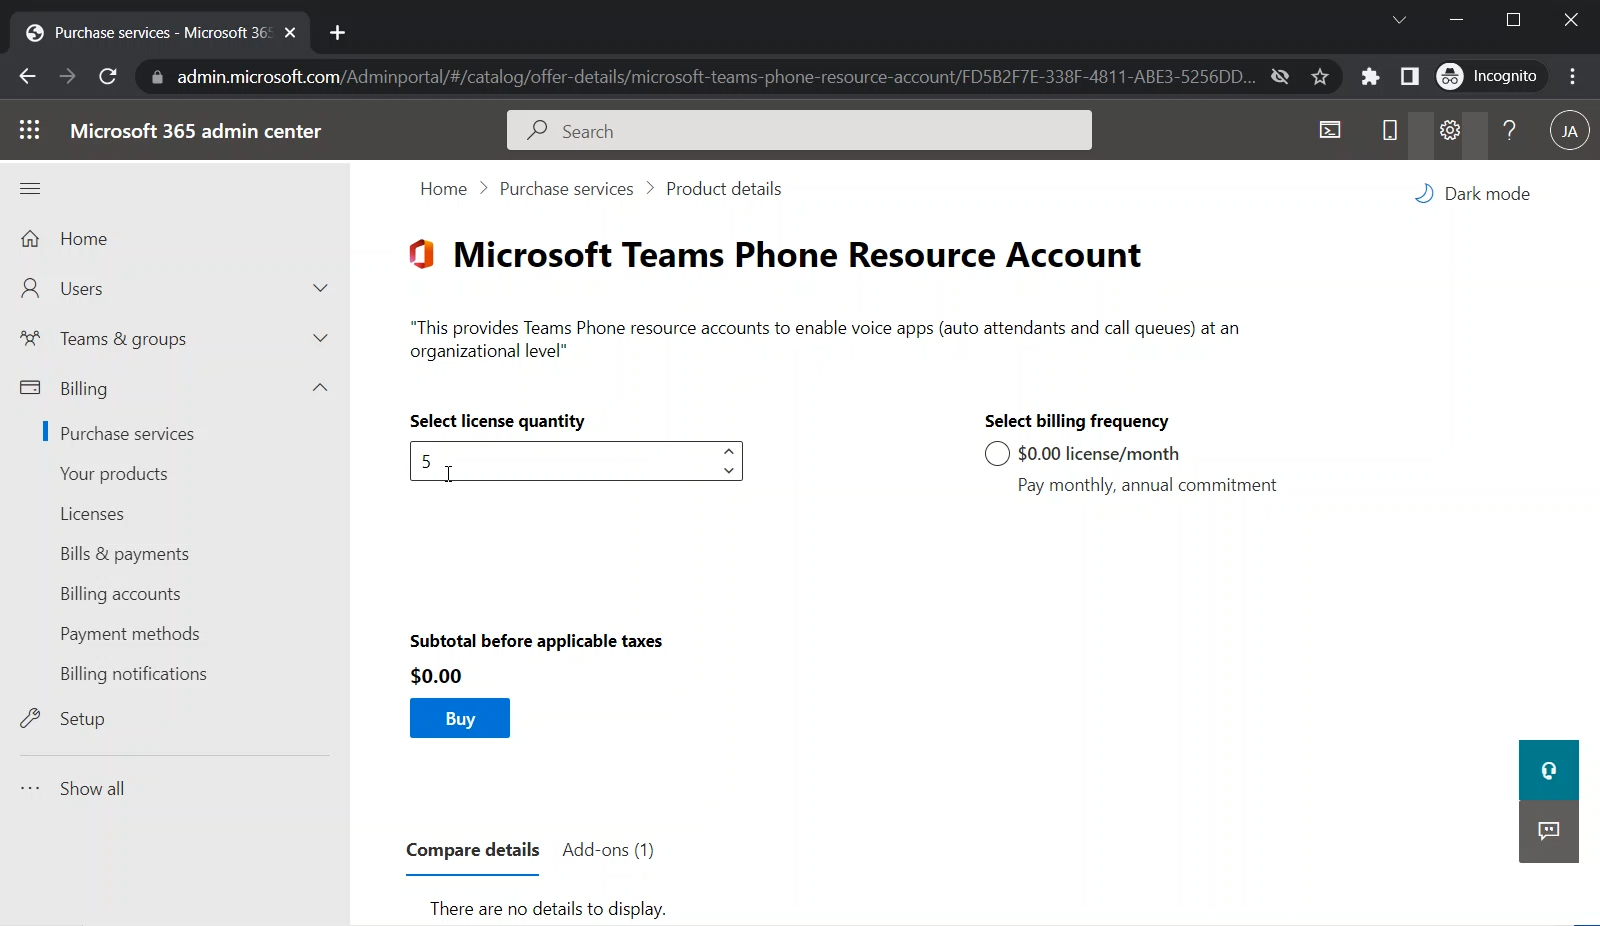
Under “Select license quantity”, put the number of licenses that you need (which is the number of your Resource Accounts that you are planning to have)
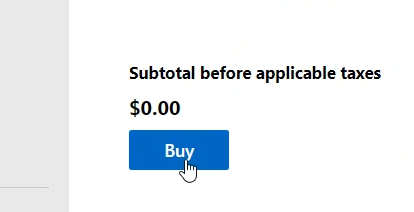
Notice that these licenses cost nothing

I have selected 5 under “Select license quantity”
I am scrolling down to see more details as the image below shows
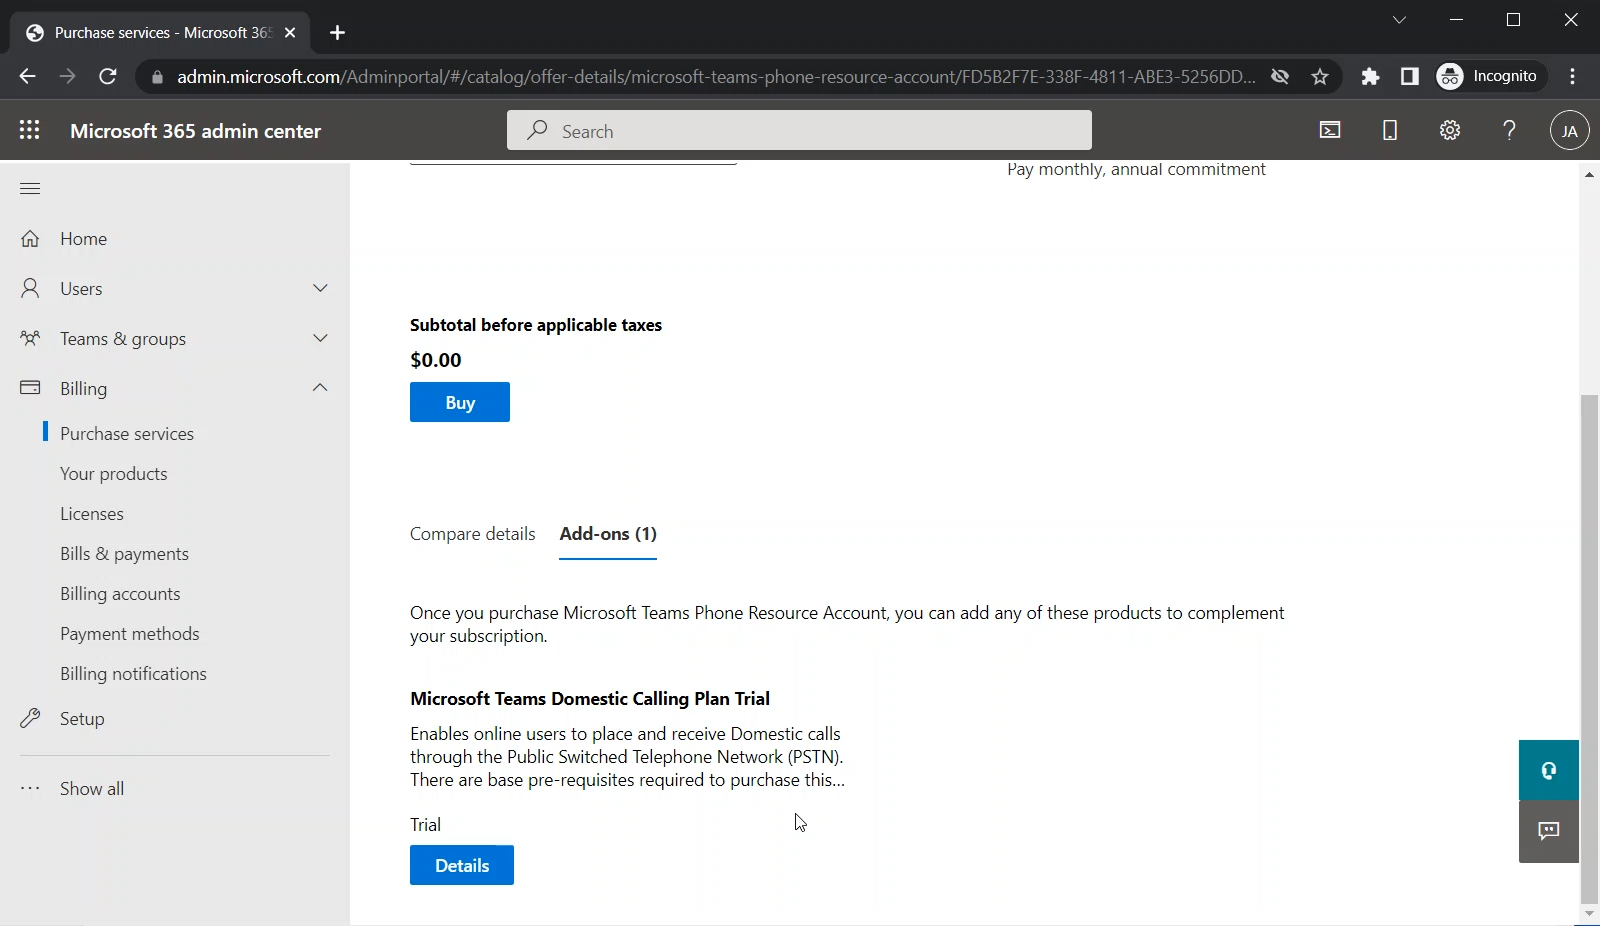
Click on the “Buy” button to acquire this special license

The Checkout page will appear
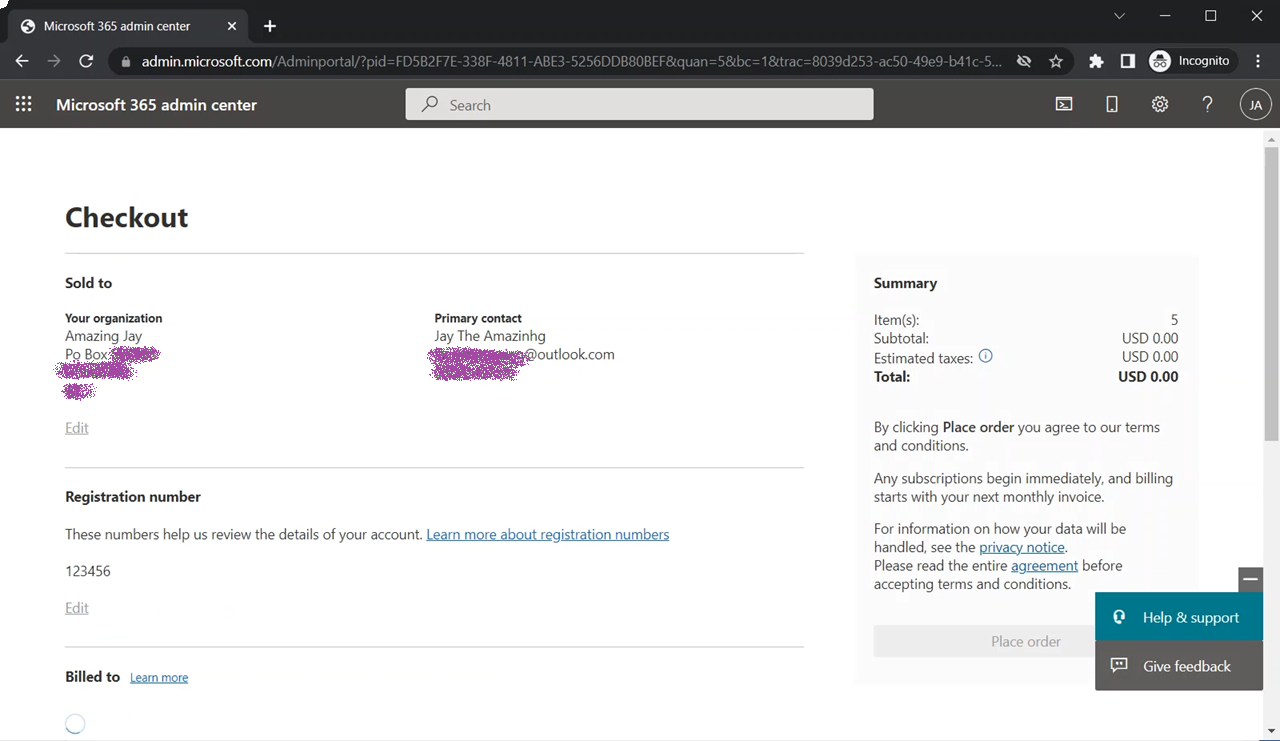
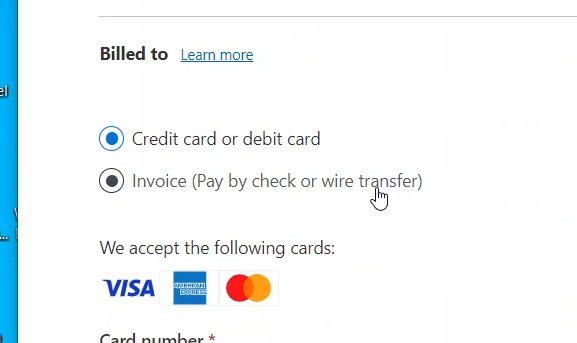
Scroll down to “Billed to”
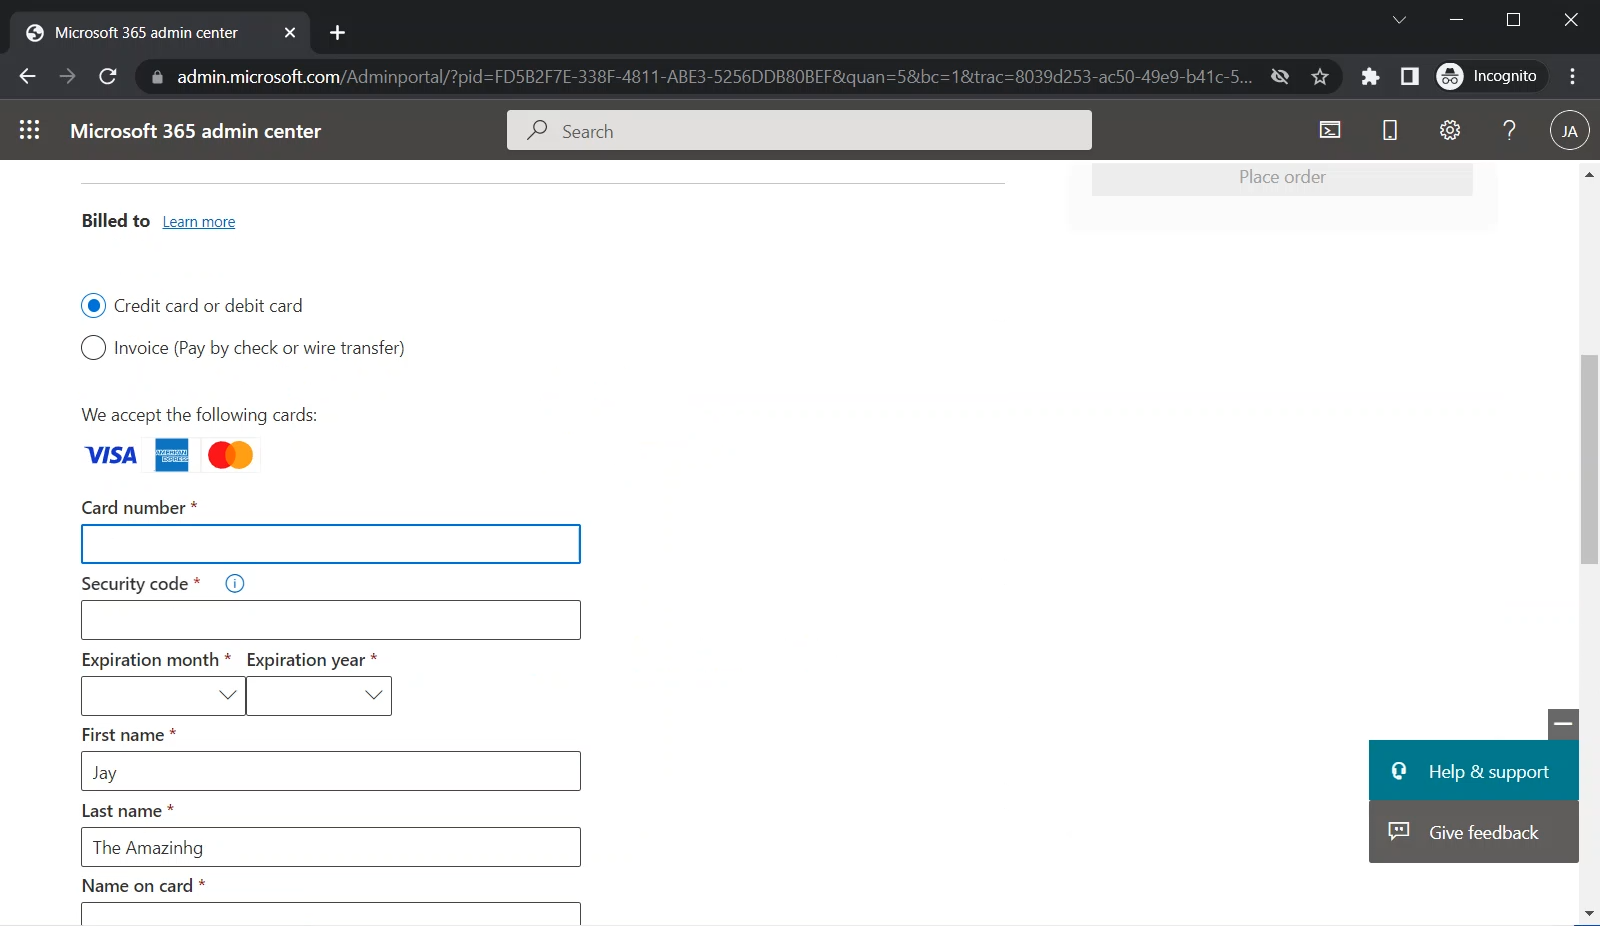
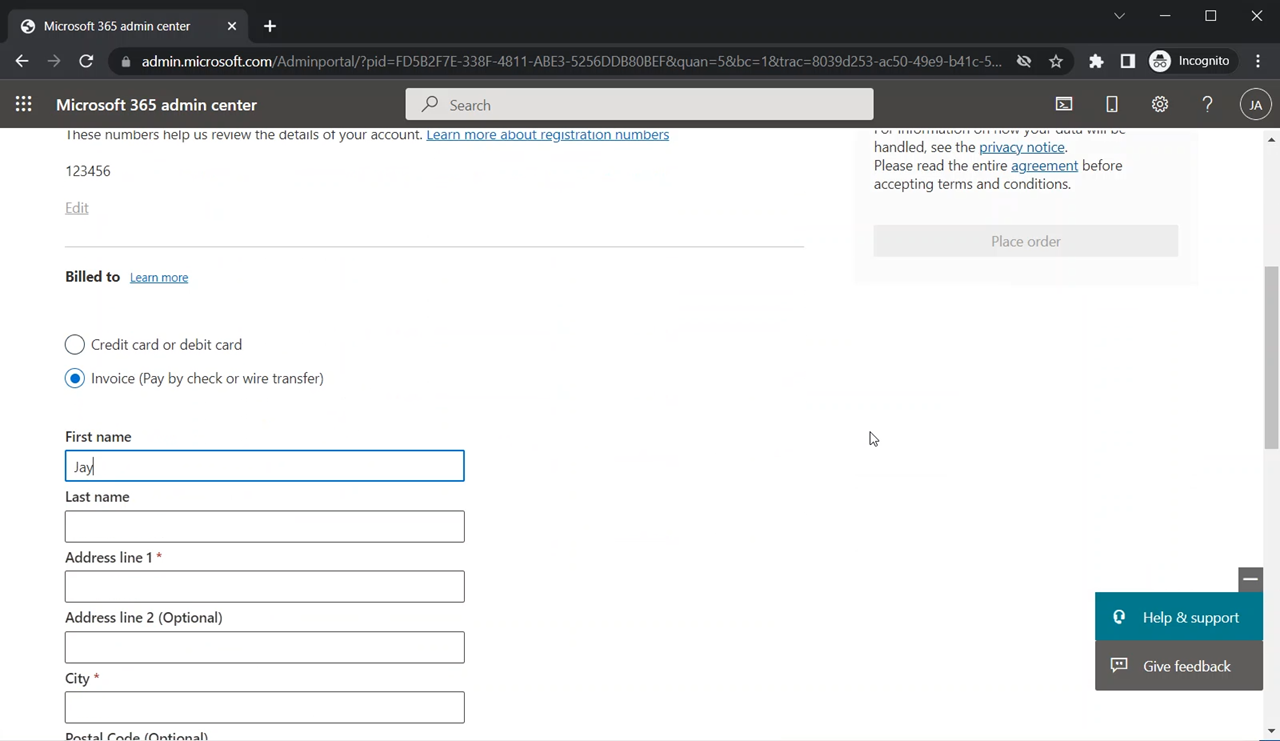
And select “Invoice” to avoid putting credit card information
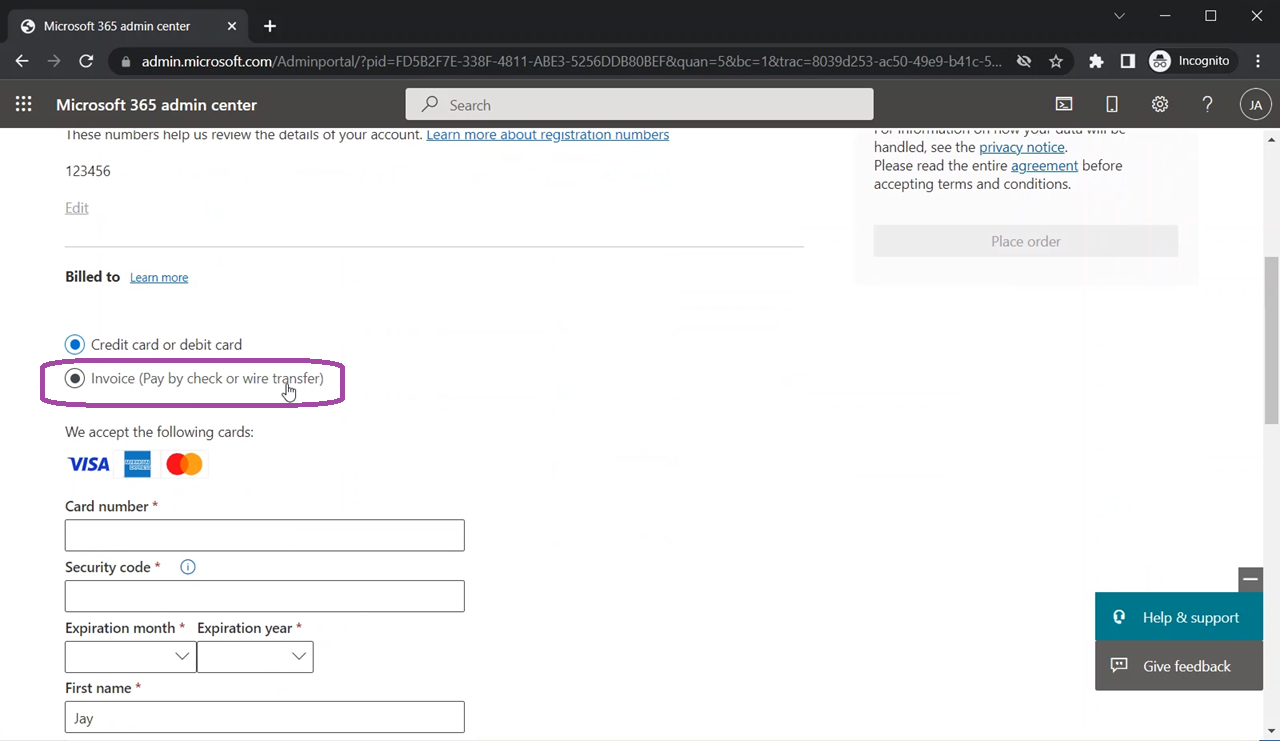
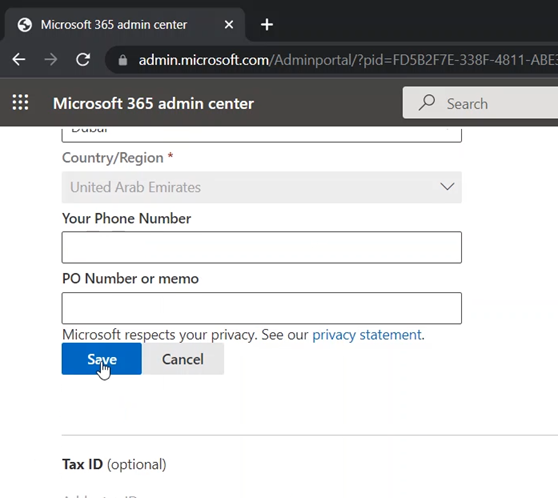
Fill up the information (name and address)
Click on the “Save” button
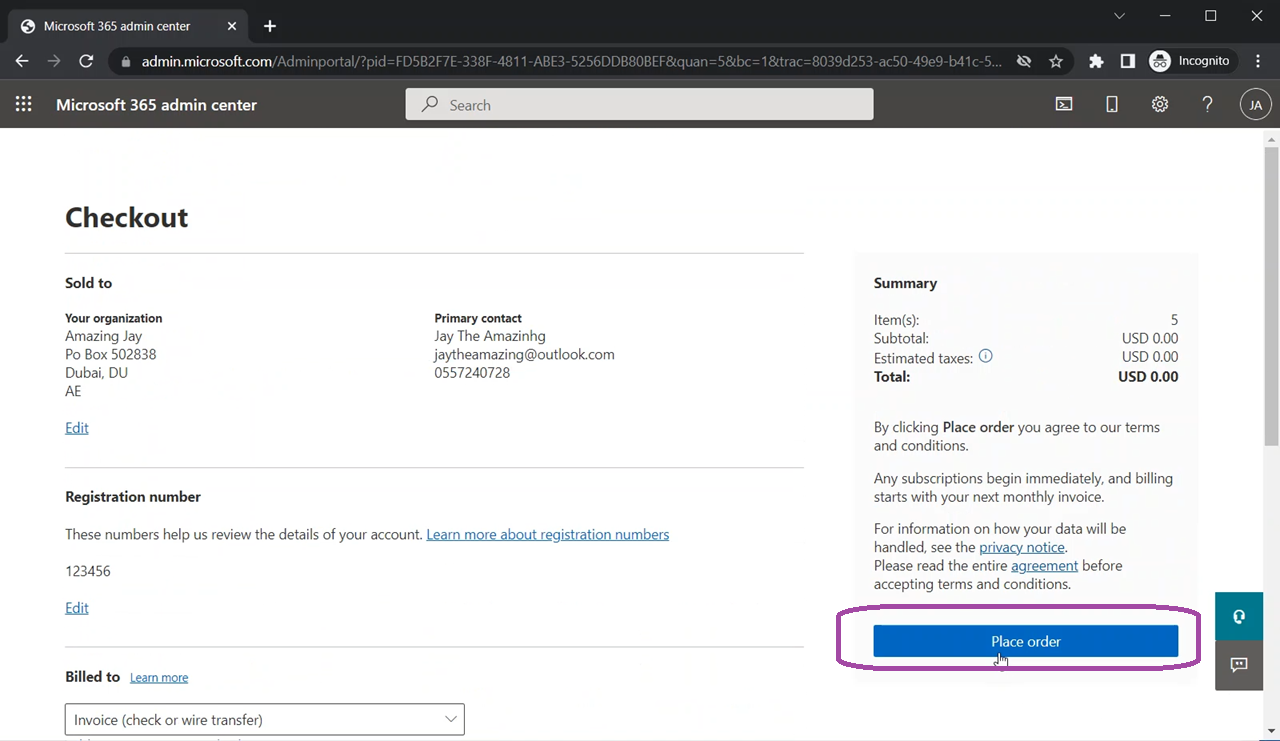
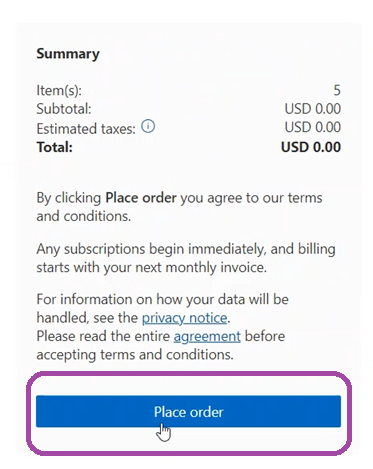
The Summary section will appear on the right side of the screen
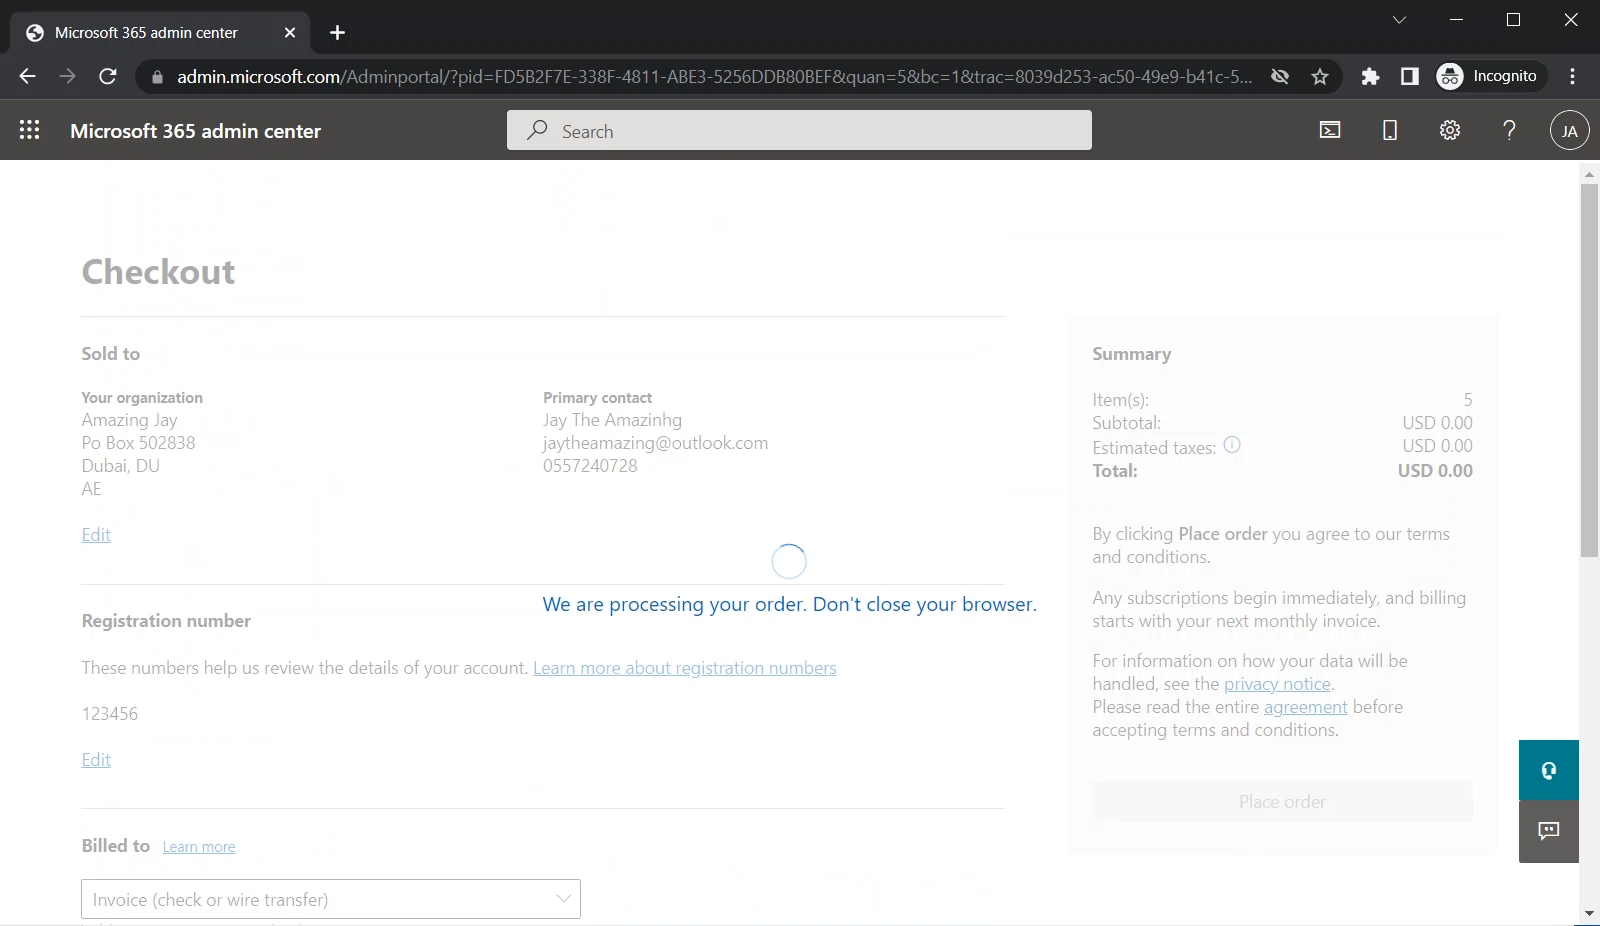
Under Summary, click on the “Place Order” button
The order will be processed

When it is done, you will get the “You’re all set!” message

Now you can assign these licenses to your Resource Account