Configuring Direct Routing Local Media Optimization for Single-Site and Single SBC (Using Teams Admin Center)
You can use Local Media Optimization with a single site with a single SBC only. This is useful for keeping media traffic inside the internal network (without using Media Bypass). In a previous post, I explained how to configure such a setup using PowerShell. In this post, I will show how to do such configurations using the Teams Admin Center.
My previous post is found on:
Direct Routing Local Media Optimization for Single-Site and Single SBC – Jay’s Lab (jayslab.online)
How Teams Client Determines Whether It Is Going To Use Local Media Optimization
When a Teams Client starts, it will do the following:
- It will try to determine if it is external or internal by checking if its public IP is in the list of Trusted IPs
- If it is internal, it will try to determine to which site it belongs to based on its subnets
- It will communicate with the internal interface of the SBC for the audio of PSTN calls
The last is based on the following note:
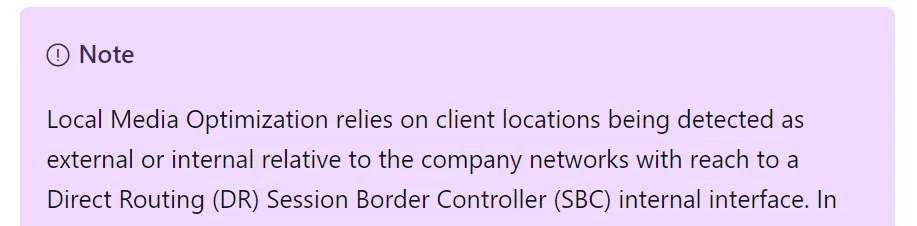
Which is from the following Microsoft link:
Configure Local Media Optimization for Direct Routing – Microsoft Teams | Microsoft Learn
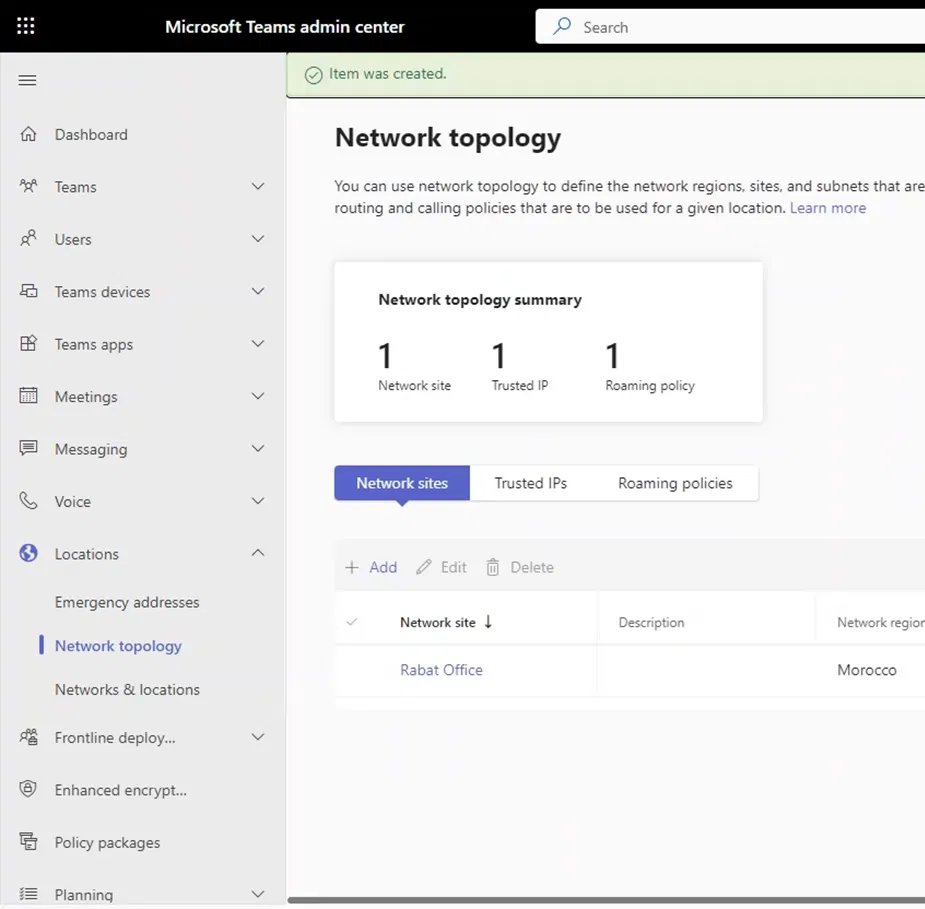
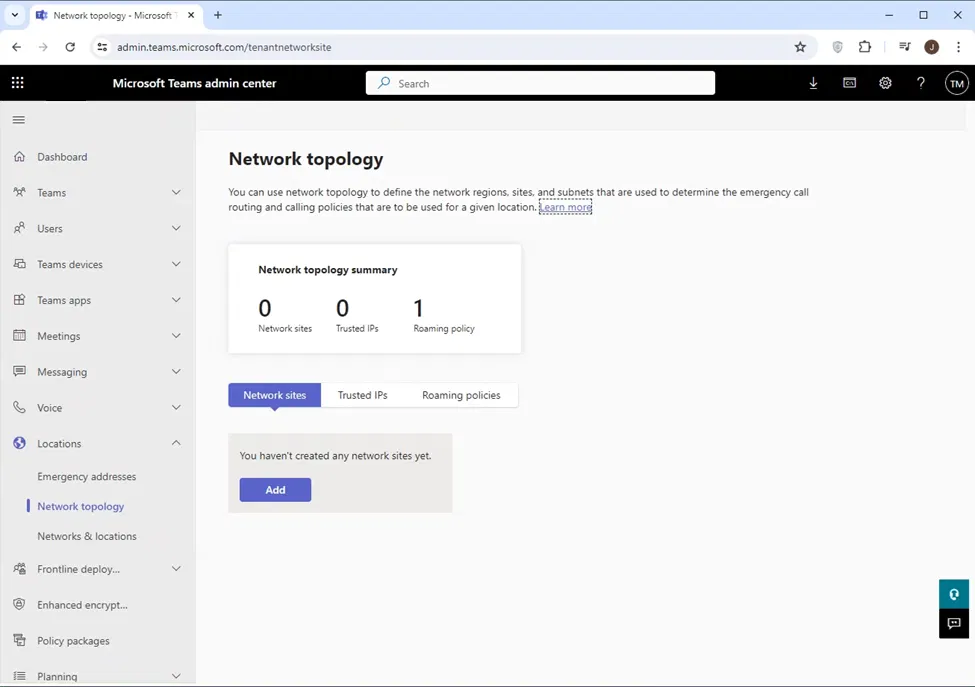
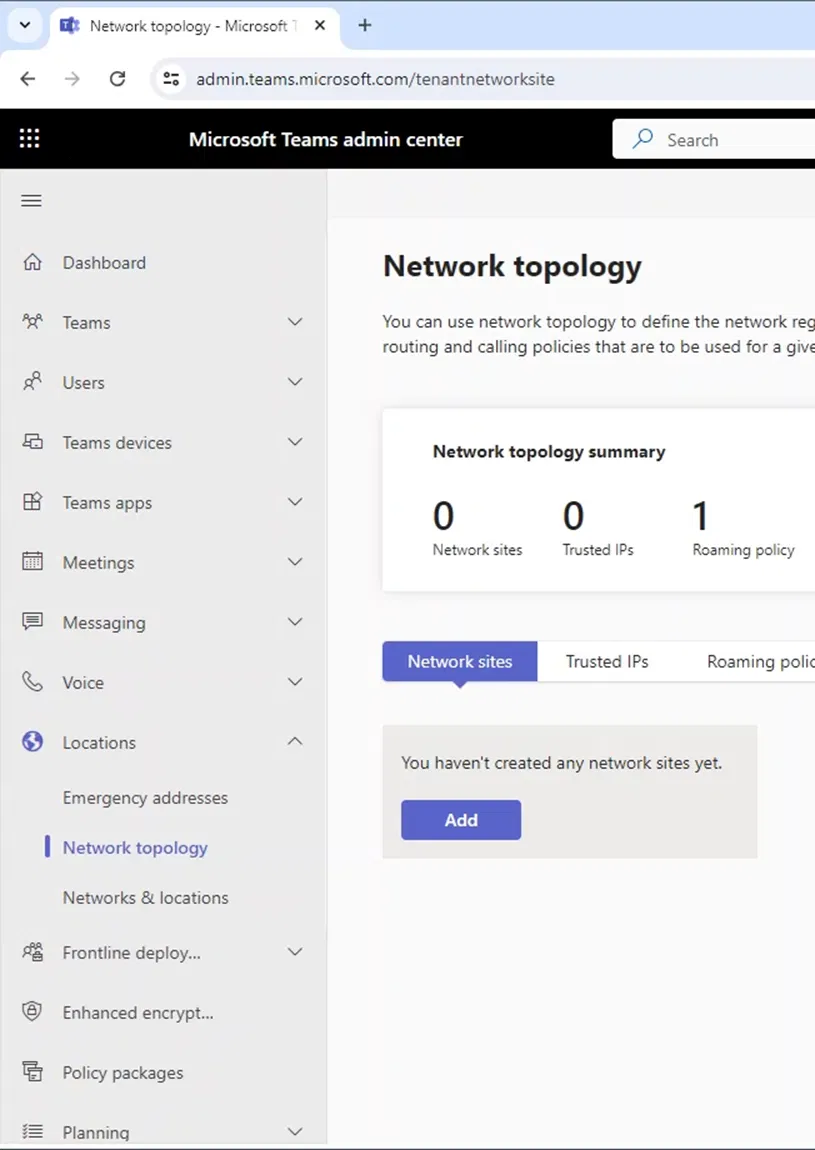
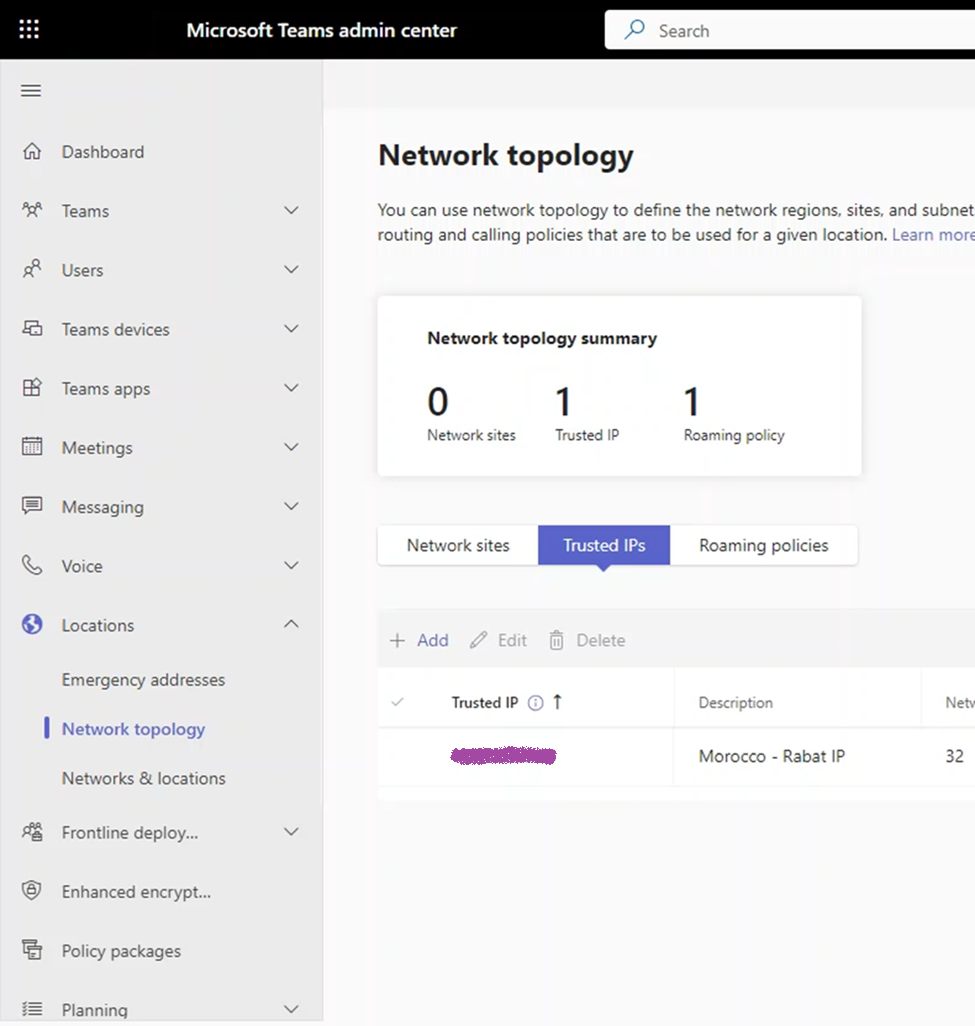
Network Topology Page
Configuring Trusted IP, Region, Site, and Subnet is done under the Network Topology page.
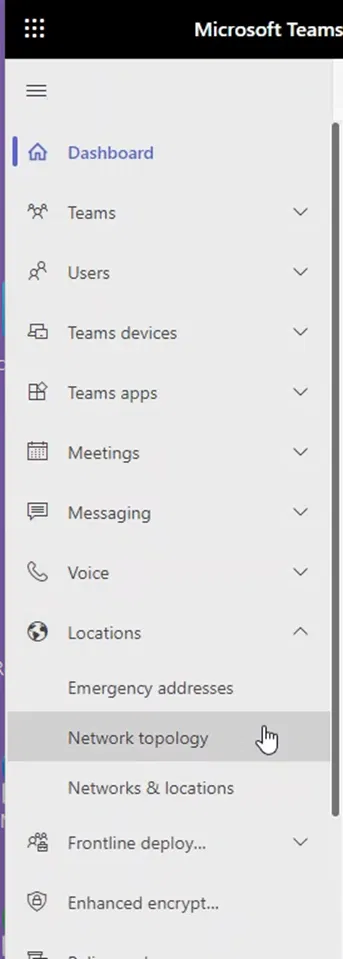
Network Topology page can be accessed through Teams Admin Center > Location > Network Topology.
Go to Location > Network topology.
The following shows the Network topology page.
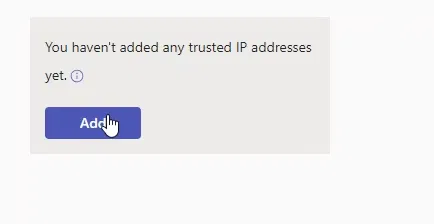
Adding a Trusted IP
Trusted IP is the fixed IP that clients use to access the internet. It is used by Teams to determine if the client is inside the internal network. Local Media Optimization will be utilized by the client when it determines that it is connected to Microsoft servers using a Trusted IP. If you cannot have a fixed IP to access the internet, you will not be able to configure a Trusted IP and in this case you can use Local Media Optimization.
To configure a Trusted IP, on Teams Admin Center go to Location > Network topology and click on Trusted IPs
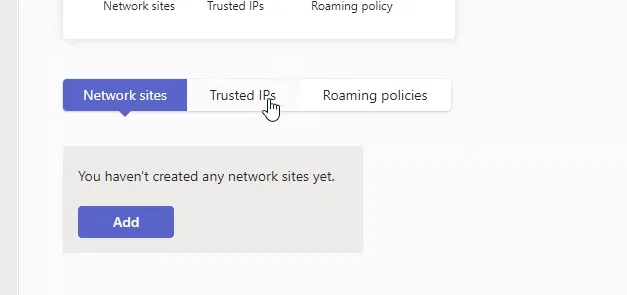

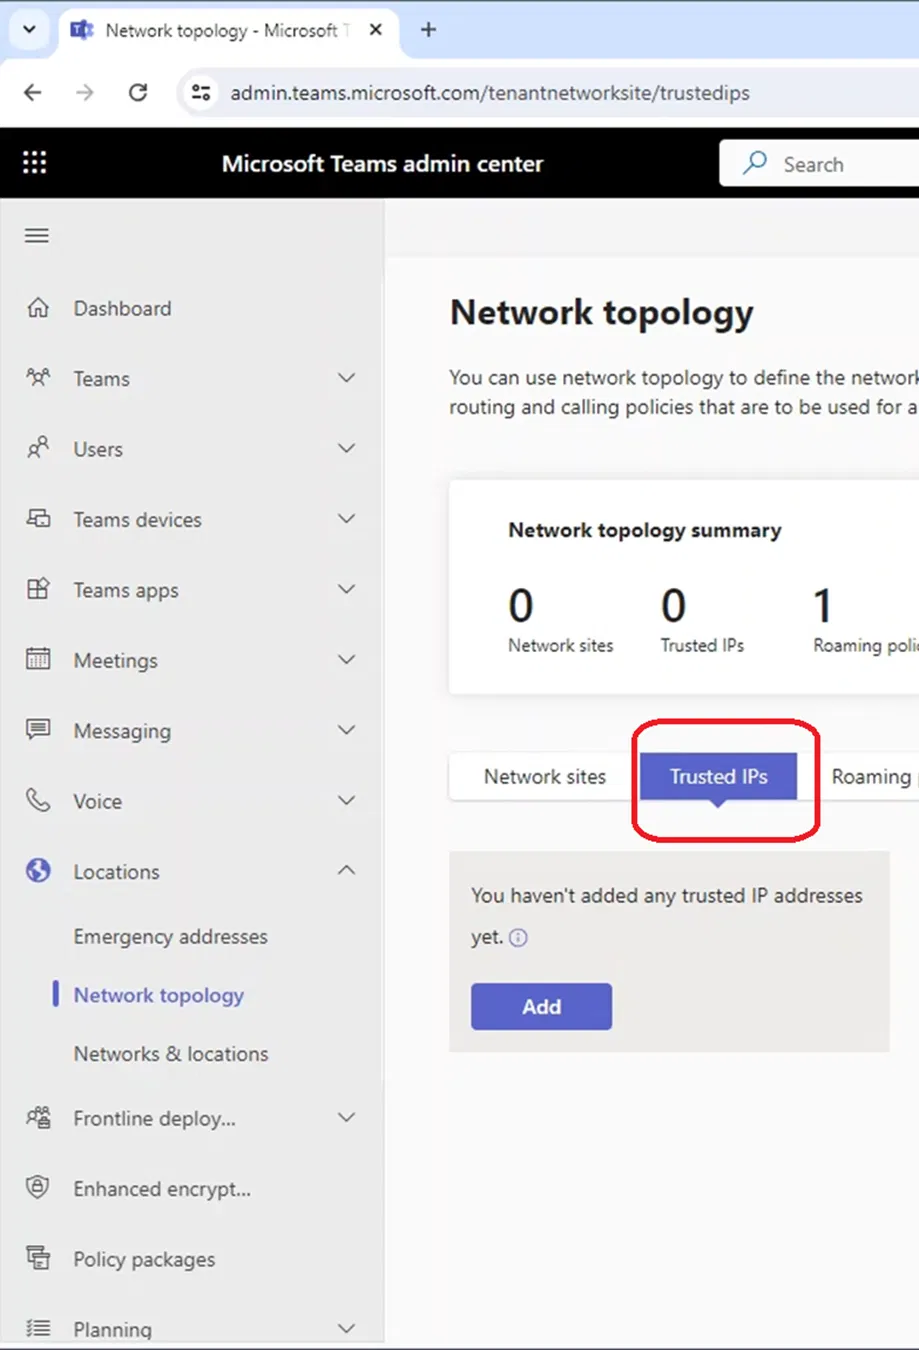
Click on Add
 `
`
The “Add trusted IP address” pane will appear on the right side
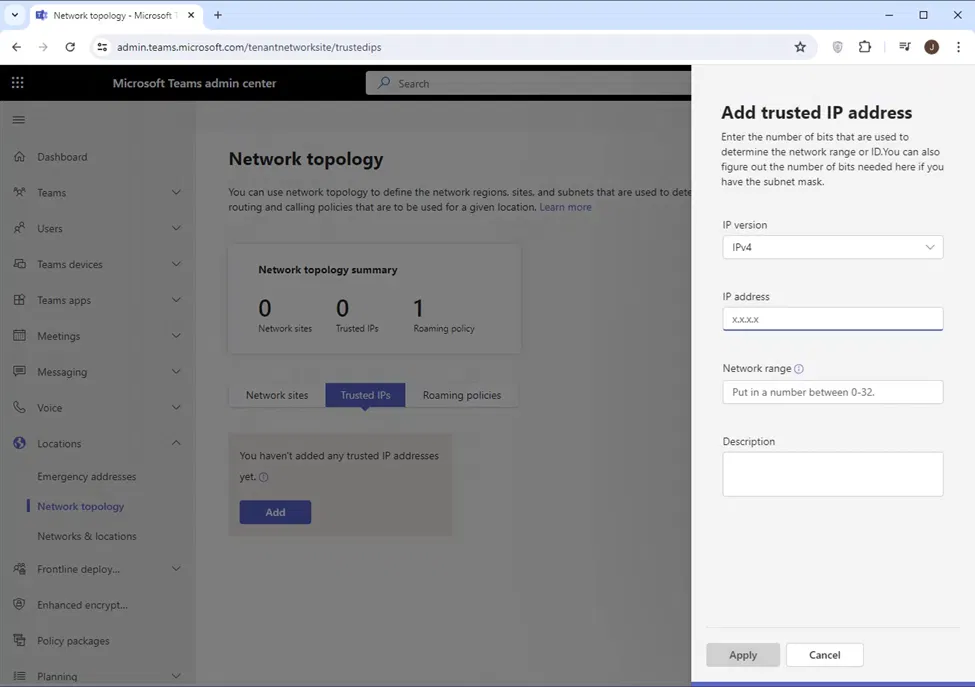
Add the IP address, network range (number of network bits), and description for this IP. Note that the network range is 32 if it is a single IP (which is more of the cases)
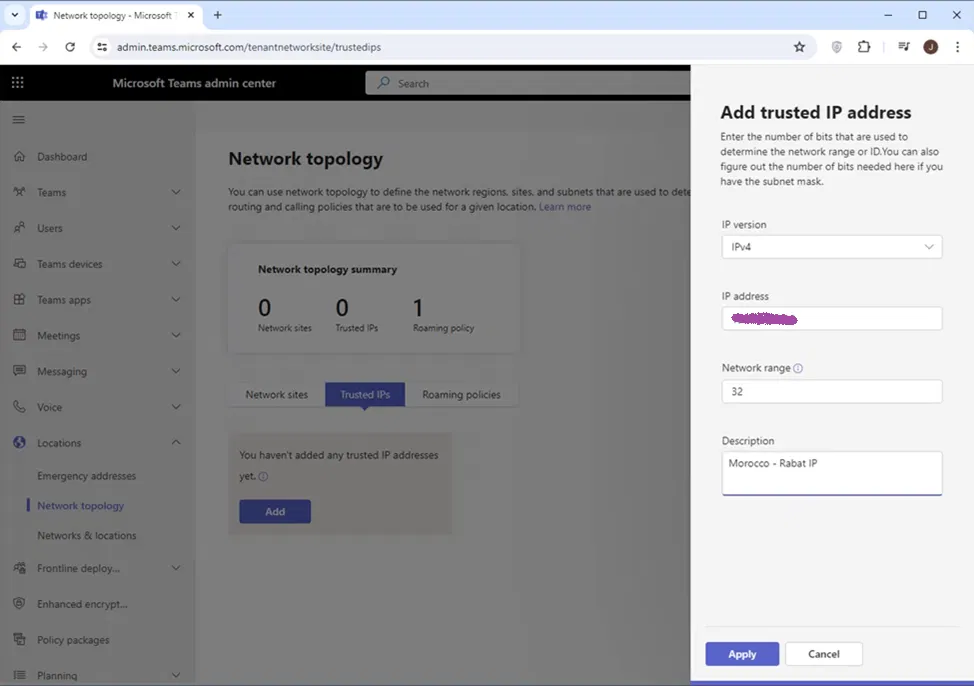
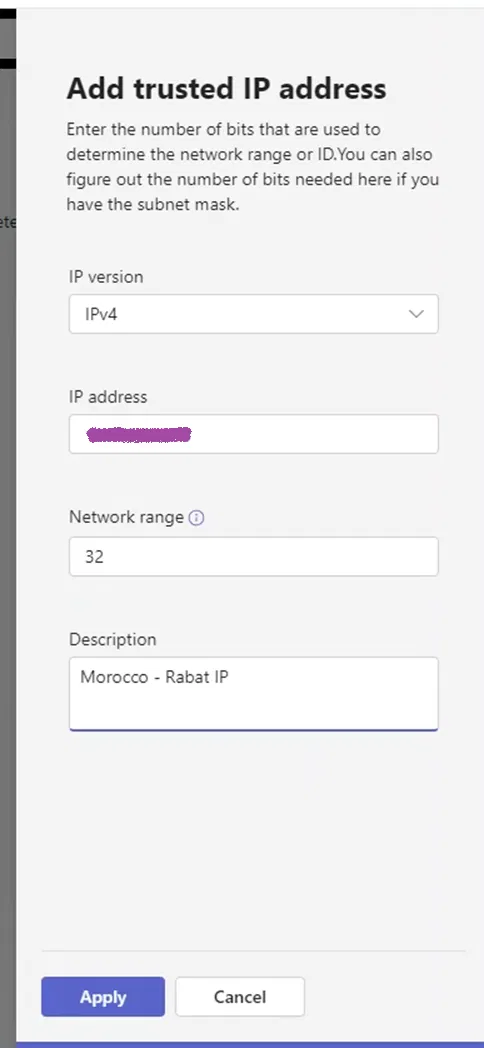
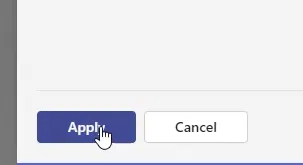
Click on Apply
The newly configured Trusted IP will be under the list of Trusted IPs
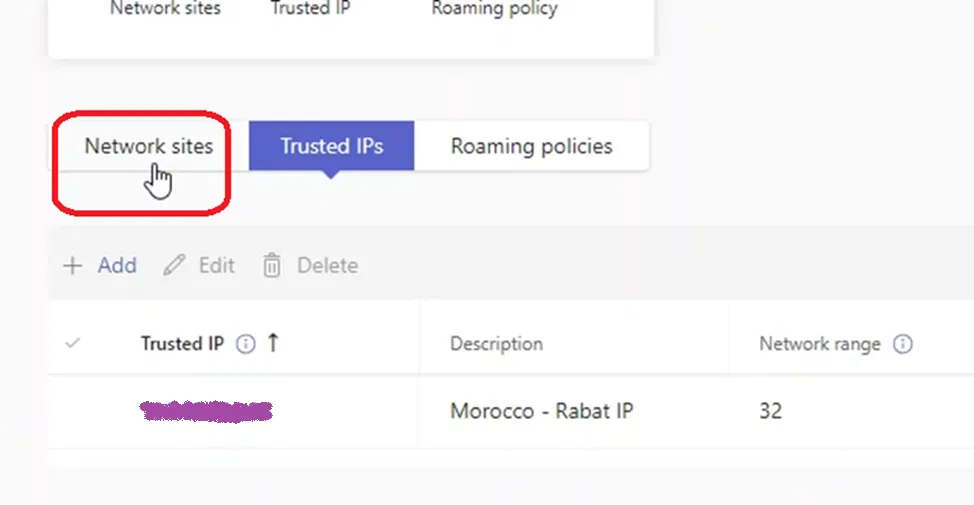
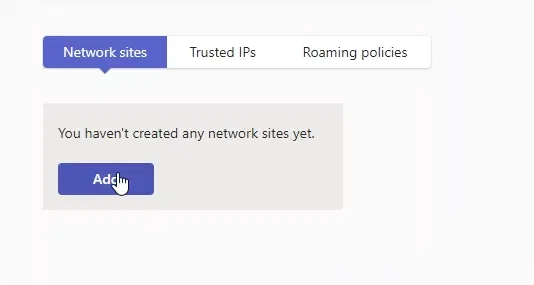
Adding and a Network Site
When Teams Client stats and it notices that it is internal (communicating with Teams servers using a Trusted IP), it will try to determine to which sites it belongs to (by checking it is in one of the subnets of that site)
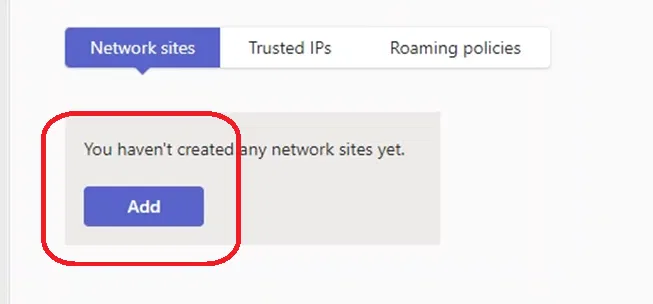
To configure a Trusted IP, on Teams Admin Center go to Location > Network Topology, and click on “Network sites”

Click on “Add”
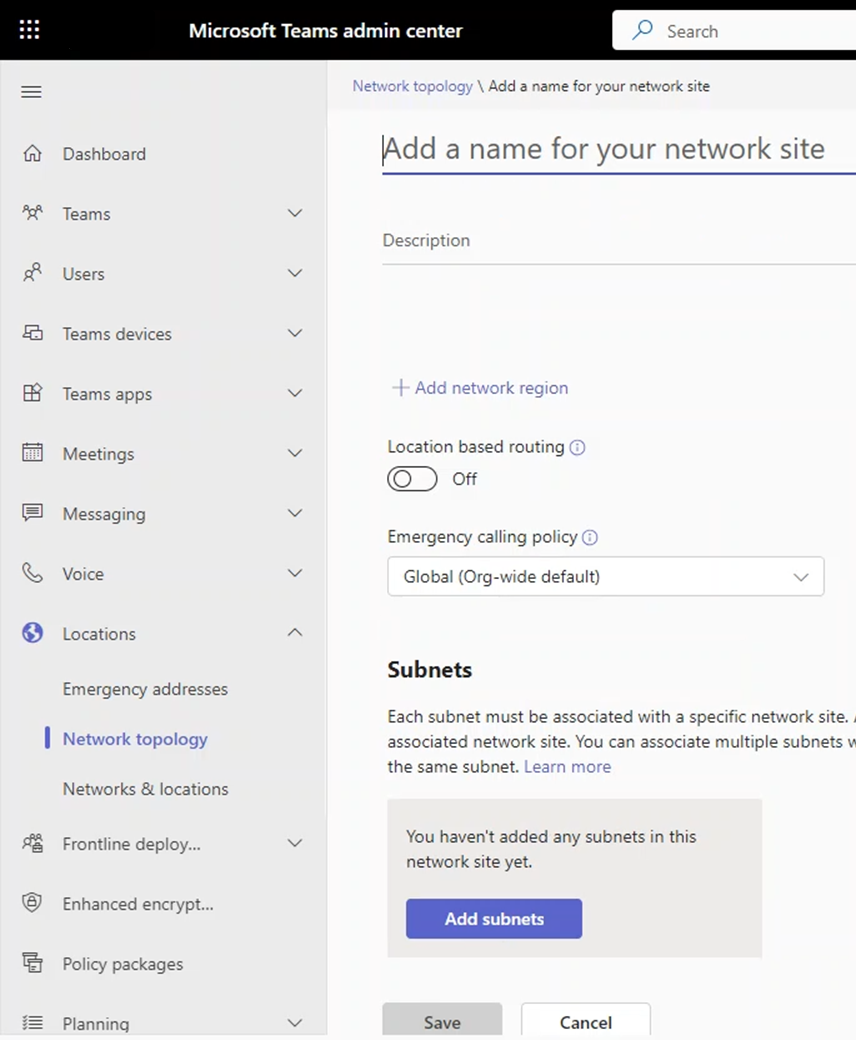
Type the name for the network site you ar creating

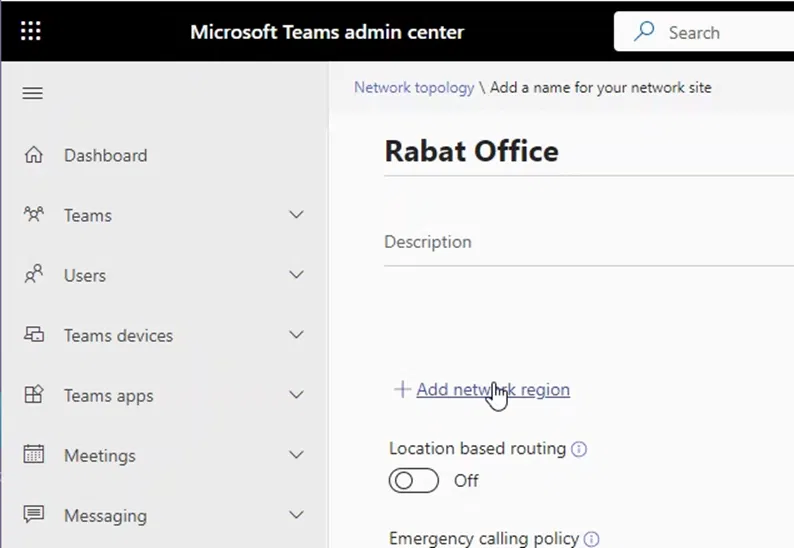
Adding A Region and Linking It to The Site
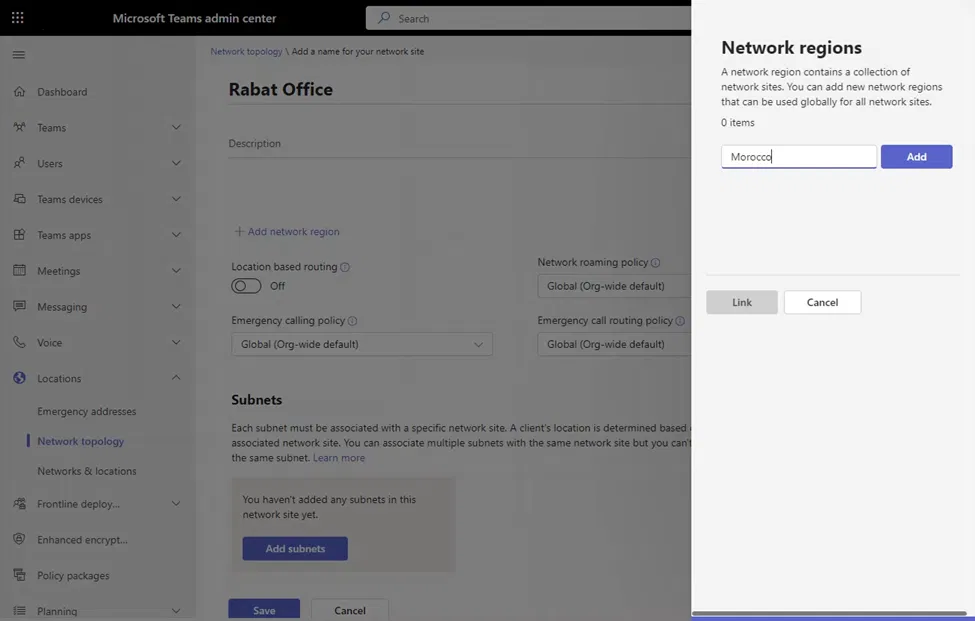
Each site should belong to a region. A region is a geographical location that contains multiple site. You can associate the site you are creating to a region or add a new region as shown below
To add a new region to the network site, click on “+Add network region”

The “Network regions” pane will appear on the right side
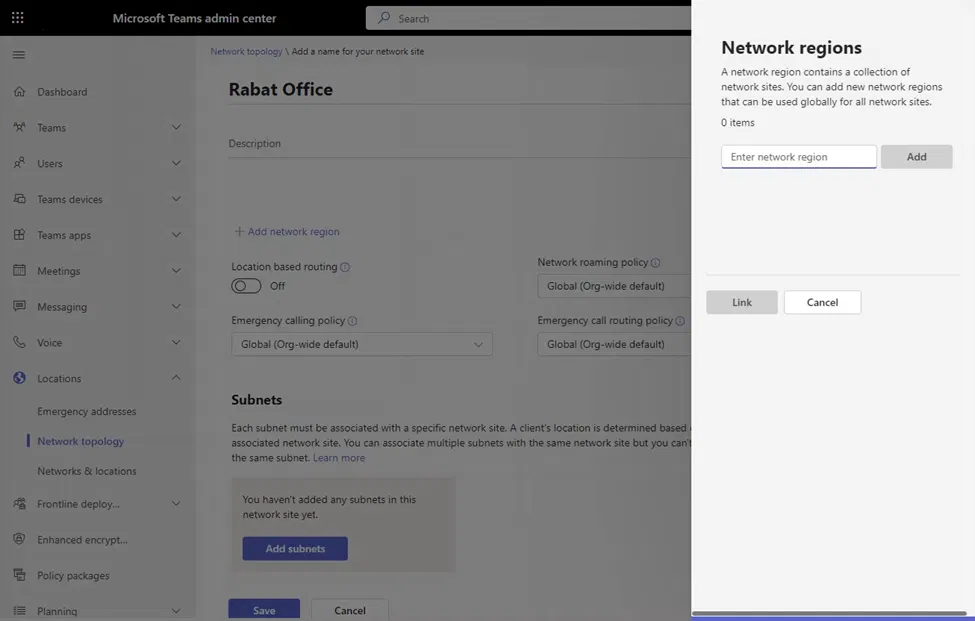
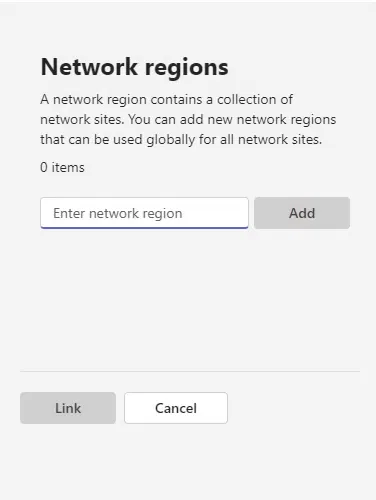
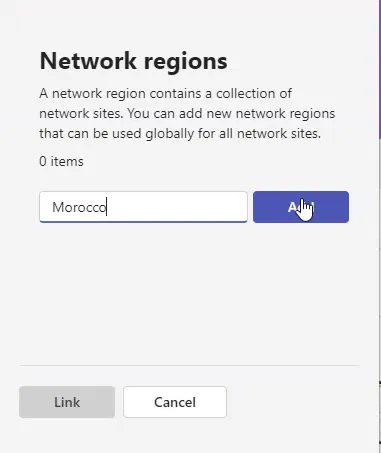
Type the name of the region
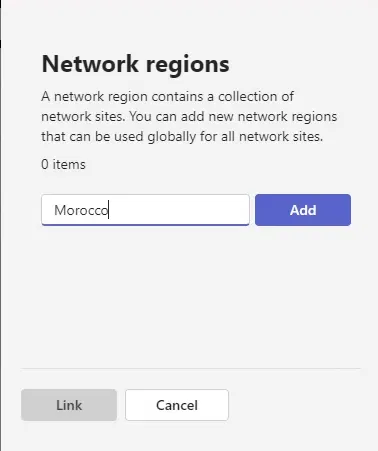
Click on “Add”
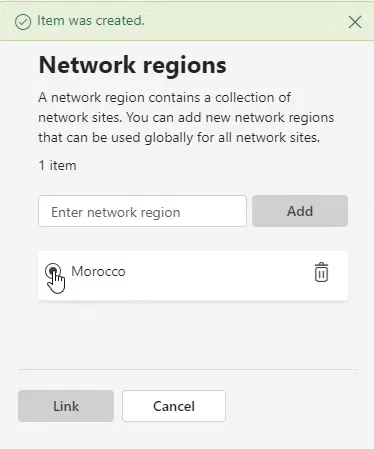
After that, you will see the name of the newly added region. Click on it to select it (this is the list of all network regions in the environment)
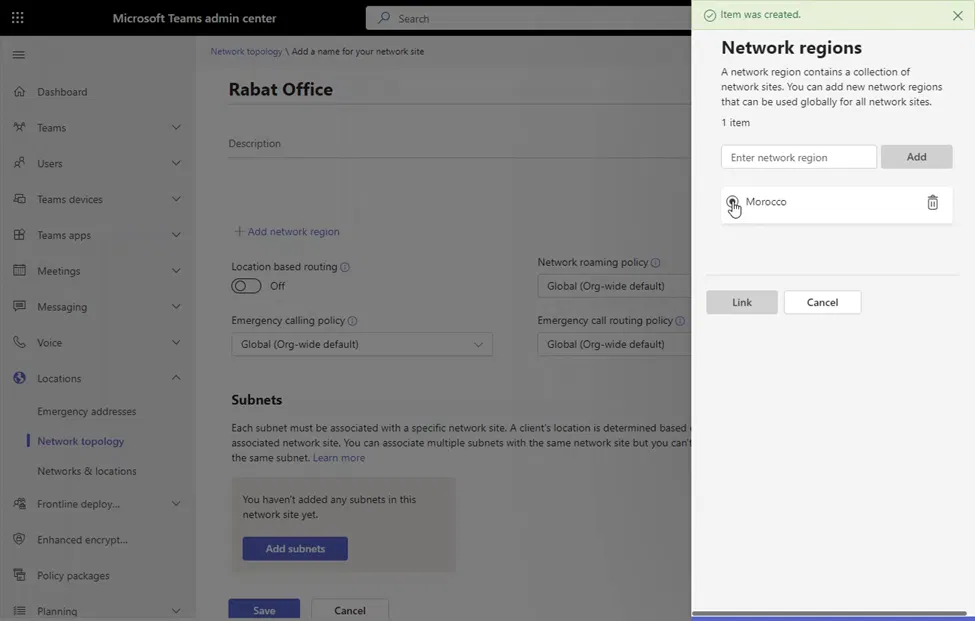
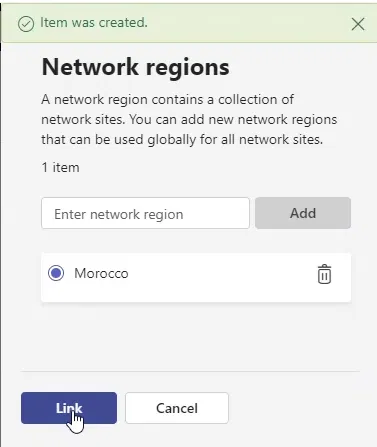
After making sure that you have selected the region, click on “Link” and that will link your site to the region and close the “Network regions” pane
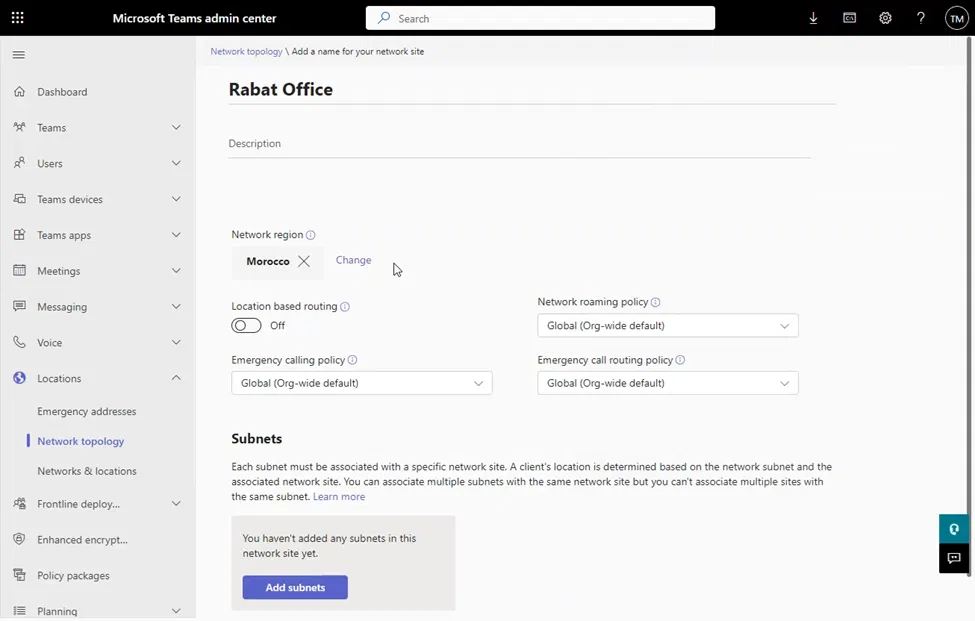
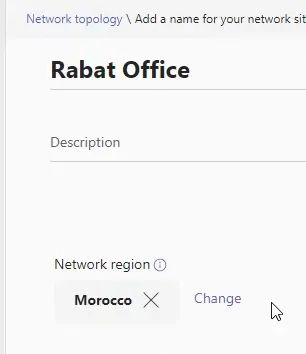
The newly linked network region will be shown under the details of the site
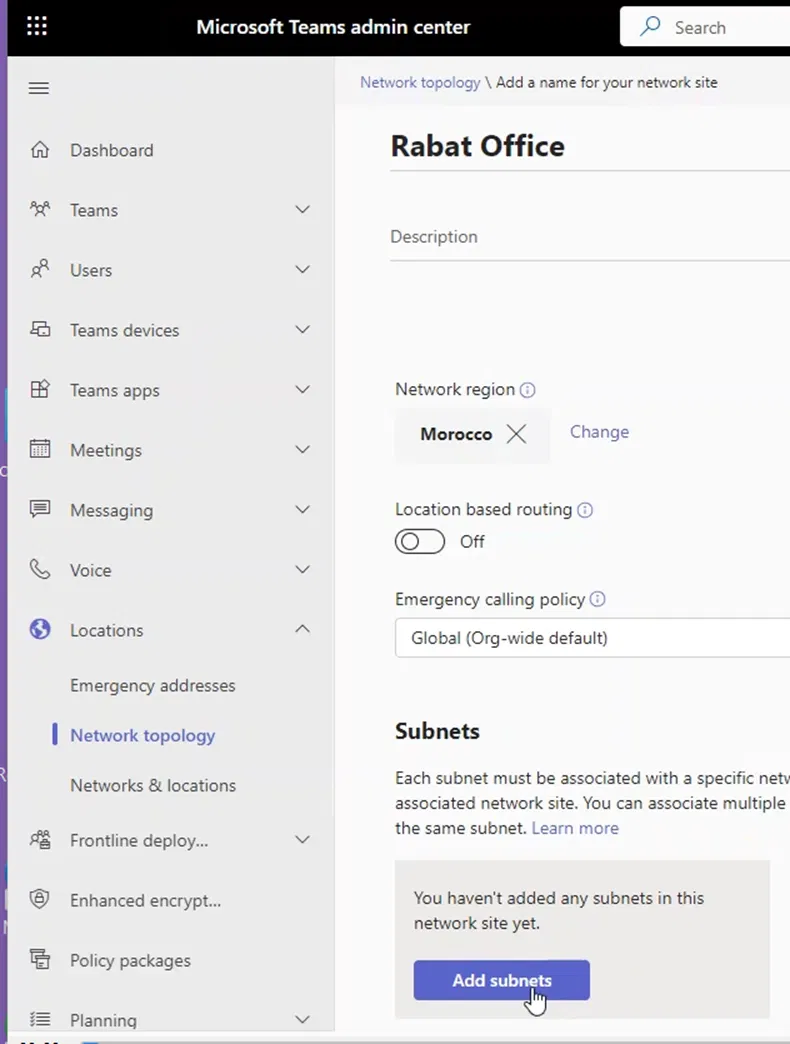
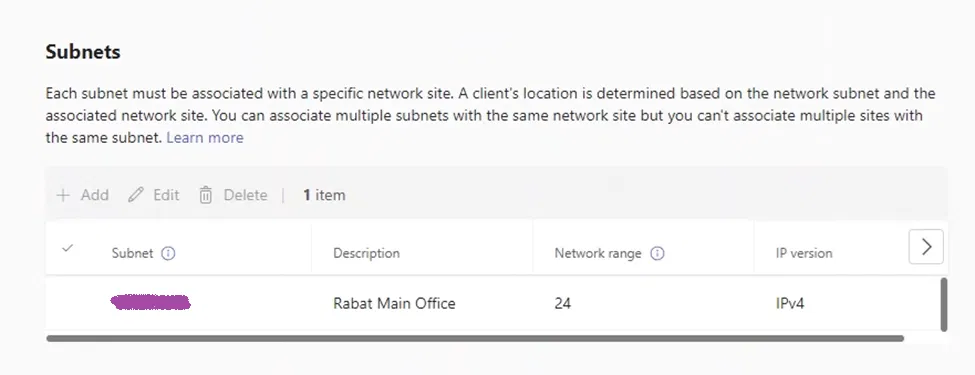
Adding a Subnet to The Site
Each site has subnets that belong to it. When a Teams Client starts and finds out that it is internal (based on Trusted ID), it will try to search to which subnet it belongs, and from that it will determine to which site it belongs
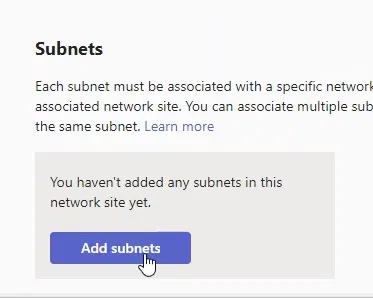
On the site properties page, under “Subnets”, click on “Add subnets”
A pane will appear on the right side that allows you to add a subnet
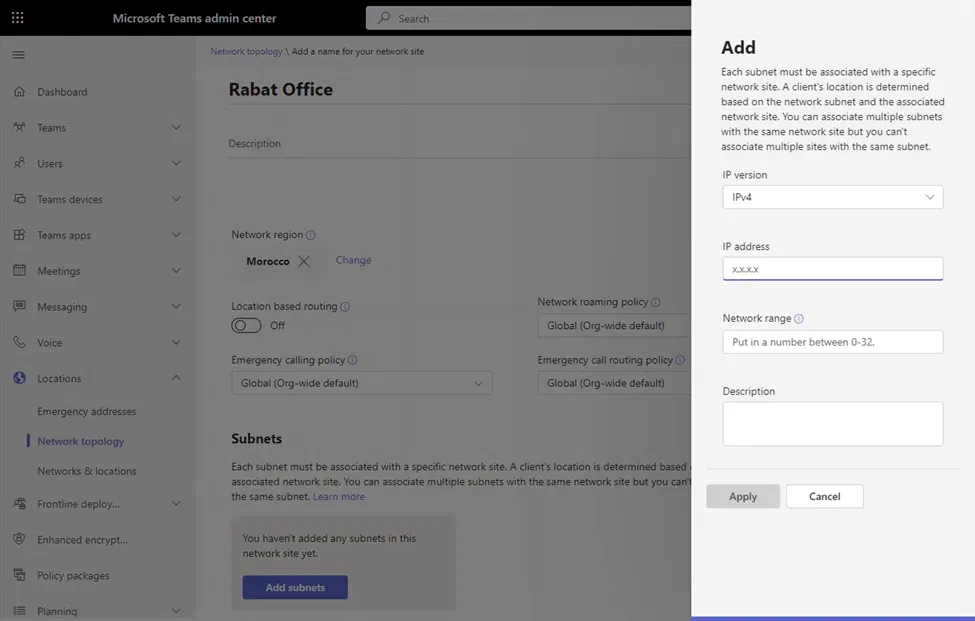
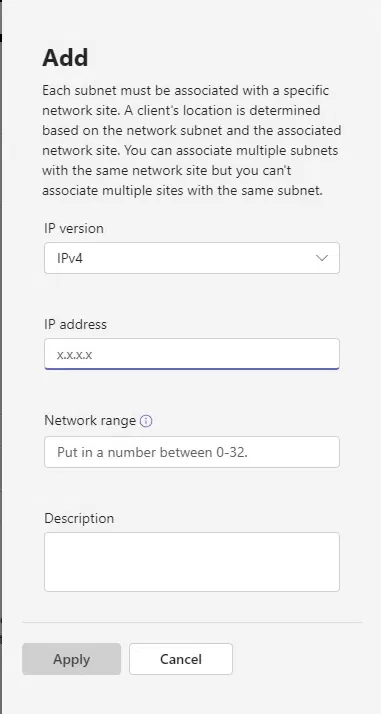
Add the IP address, network range (number of network bits), and description for this subnet
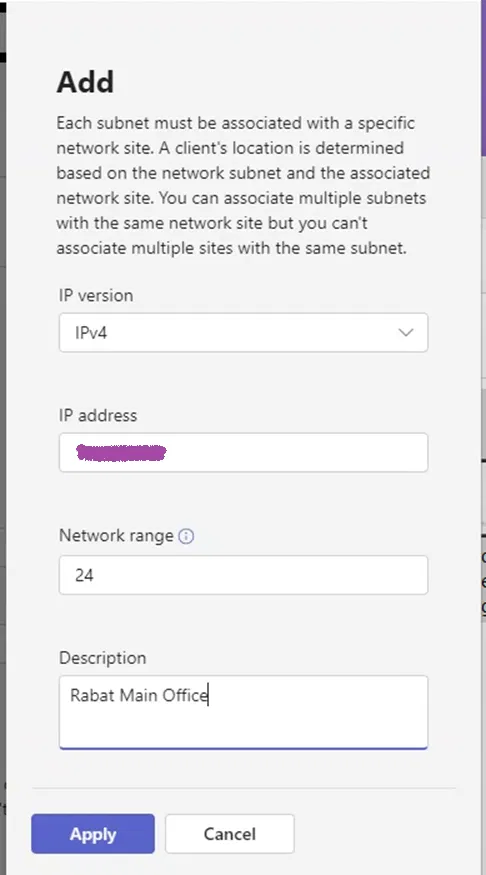
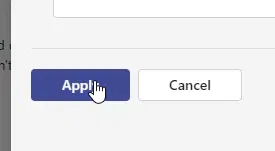
Click on Apply
The site properties page will show the newly added subnet
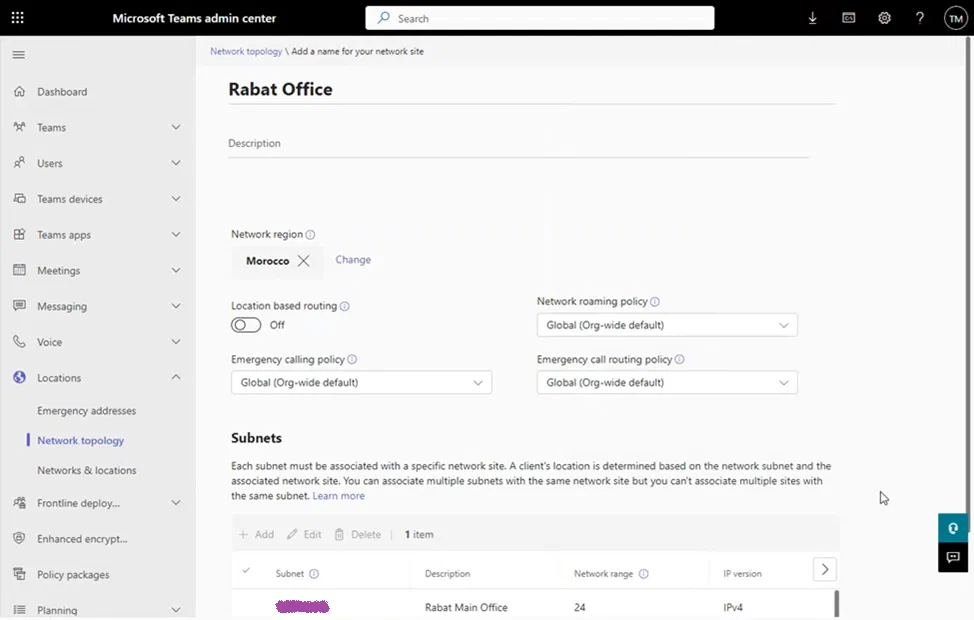
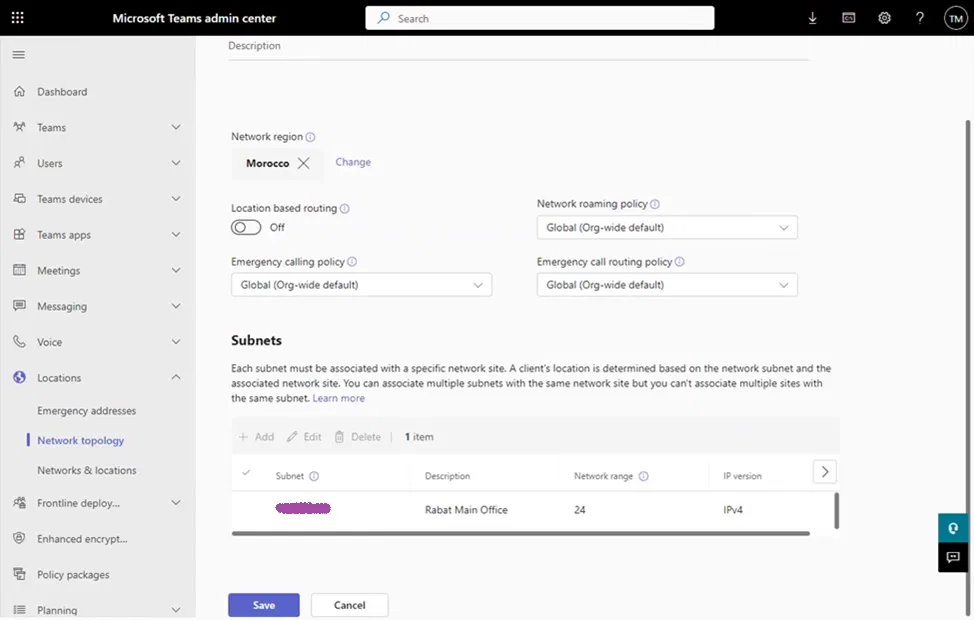
Click on “Save” on the Site properties page
You will get back to the main Network topology page and it will show the newly created network site