Teams’ Call Queues and Auto Attendants – Testing Using Teams Client
You can use Microsoft Teams Client to test the Auto Attendant or the Call Queue without the need to use the telephony (PSTN). With this method, you bypass the telephony (PSTN) settings. This is useful if you are unsure if the issue is with Auto Attendant / Call Queue or with the telephony settings such as the SBC Gateway. Or even the telephony settings are not configured or implemented yet.
I am illustrating these steps with elaboration and using detailed screen captures.
Calling Auto Attendant or the Call Queue Using Teams Client
On Teams client, go to the “Calls”
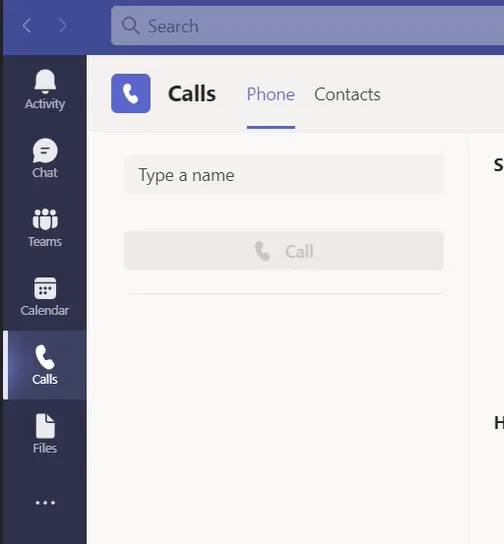
Select “Type a name” box

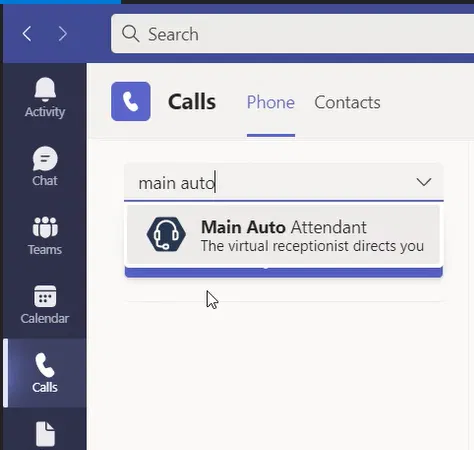
Type the name of the Auto Attendant or the Call Queue you want to test or type the first few letters of its name
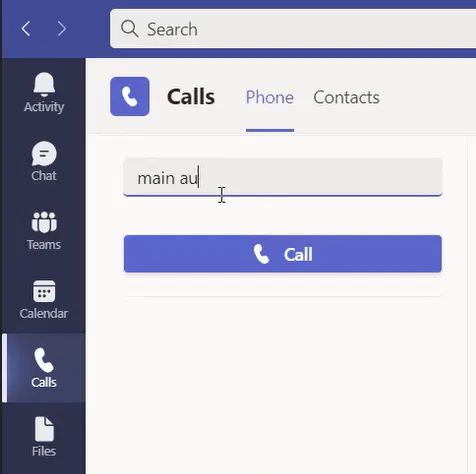
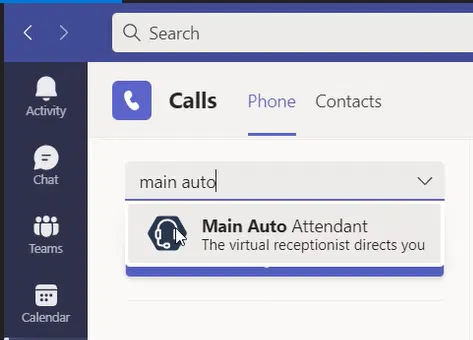
The full name of the Auto Attendant or Call Queue will appear below the “Type a name” box
Select the name of the Auto Attendant or Call Queue
The name of the selected “Auto Attendant or Call Queue” will appear under the “Type a name” box which means you can call it
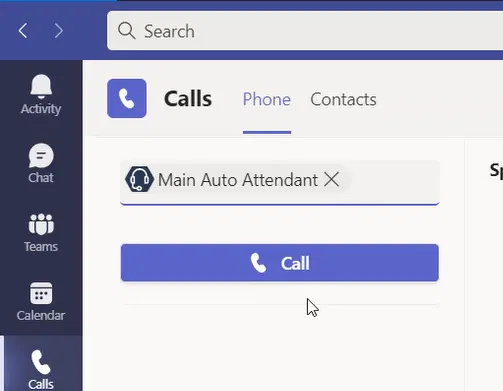
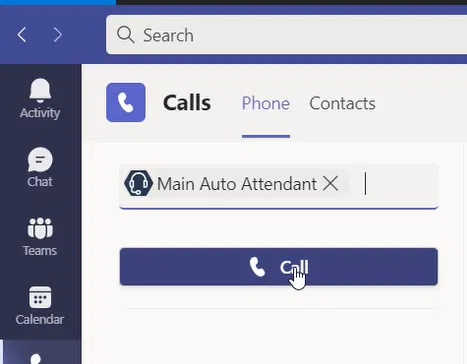
Click on the “Call” button
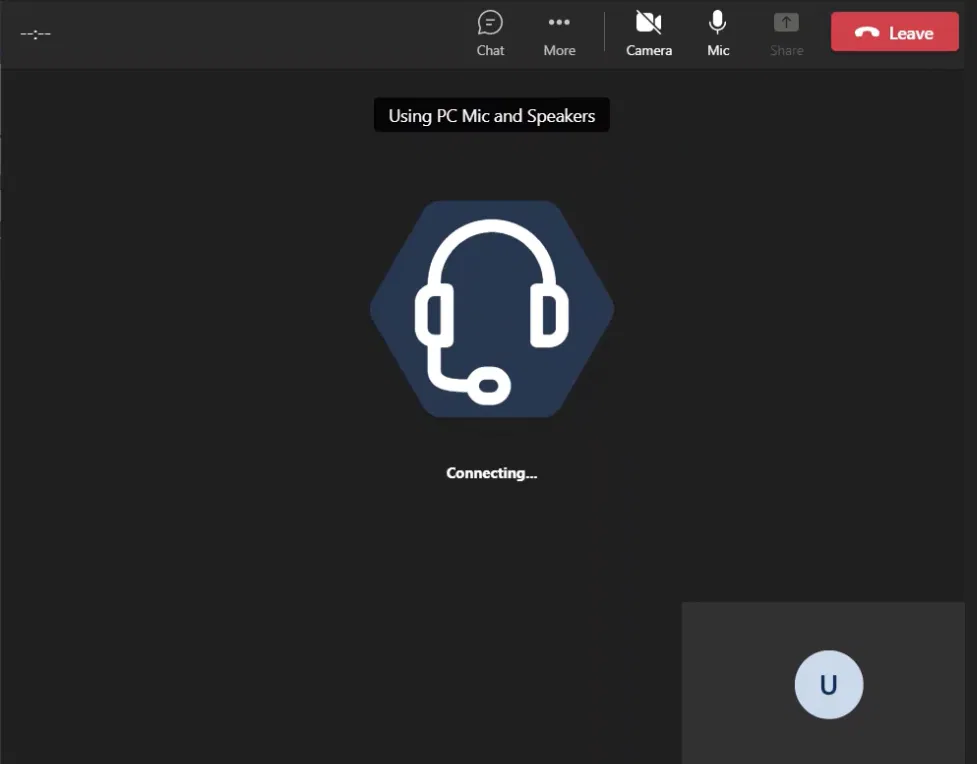
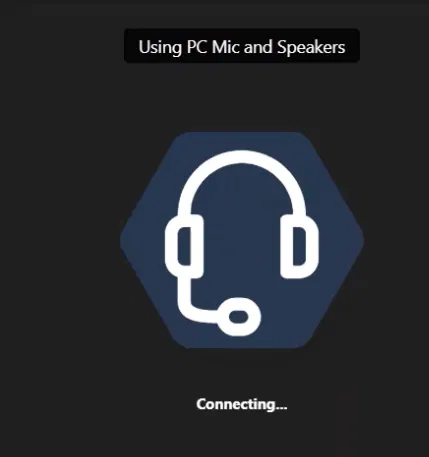
A new window will show you the call to that “Auto Attendant or Call Queue”
It will start with “Connecting” like any other regular call as the image below shows
The blow shows a connected call to the Auto Attendant
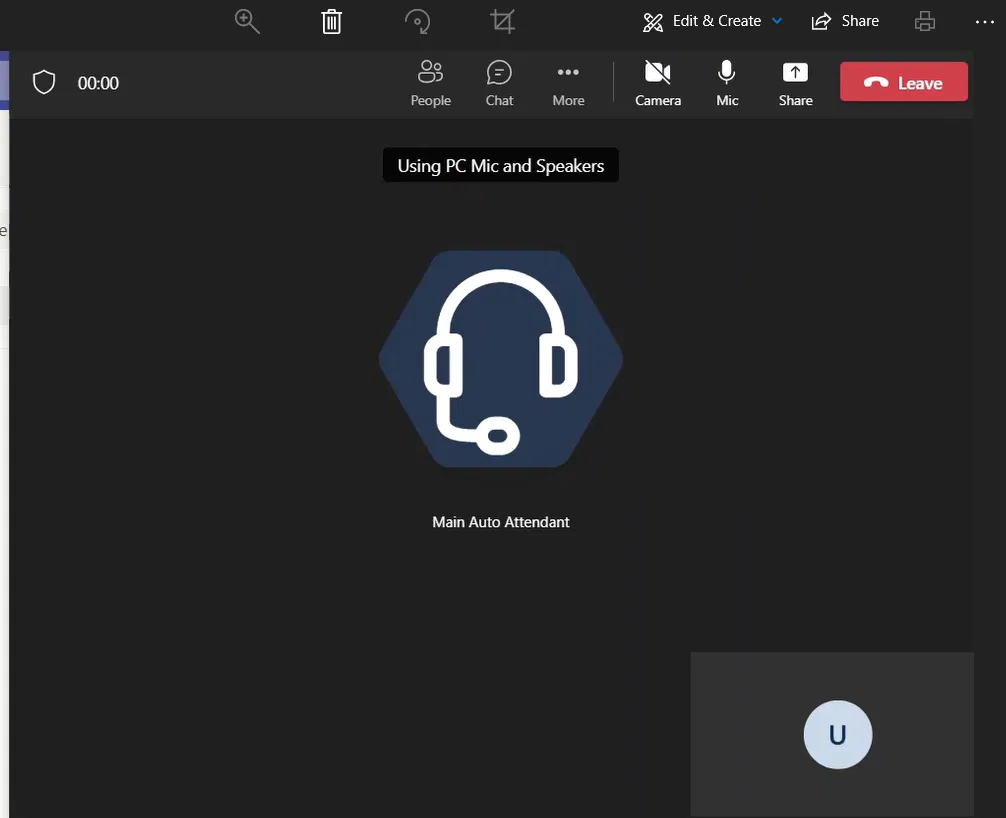
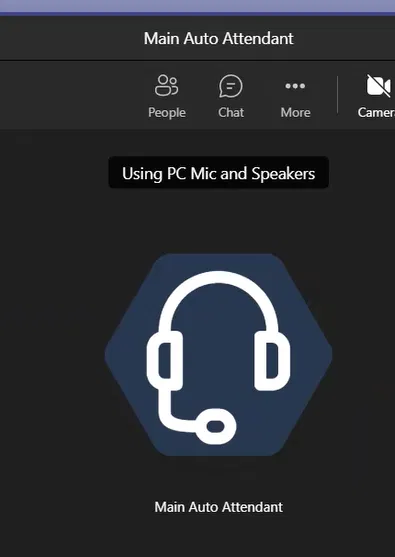
You should be able to hear the greeting message and menu options message on your PC
Accessing Dial Pad
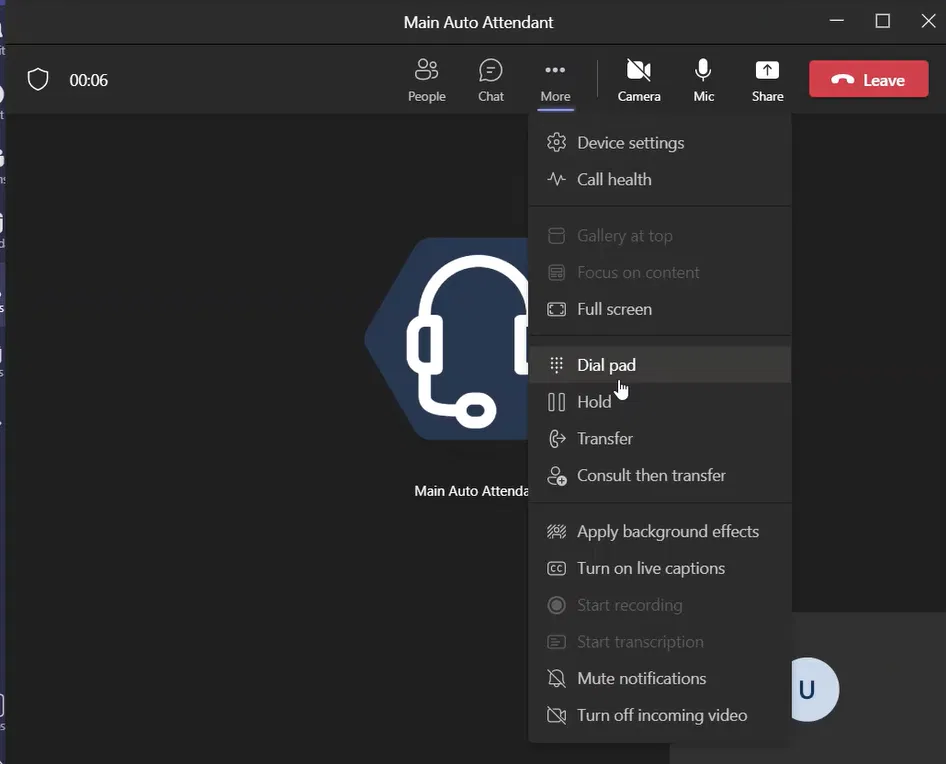
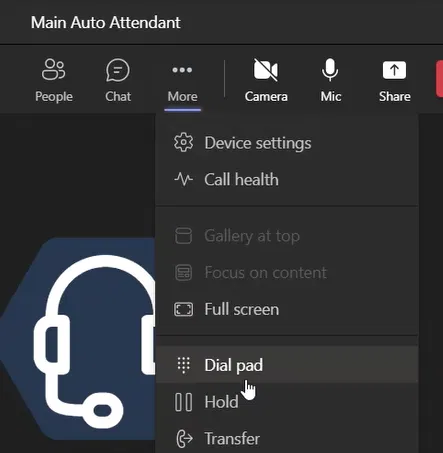
In order to access the dial pad to select the menu option, on the call window, click on more as the image below shows
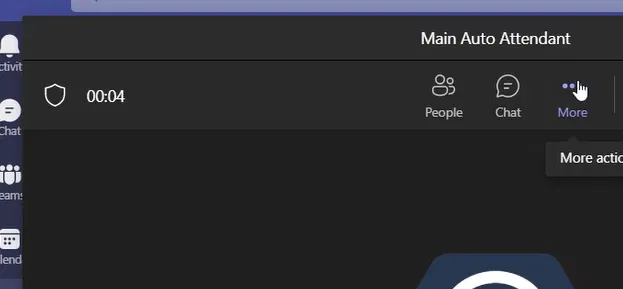
Under the menu that appears, select “Dial pas”
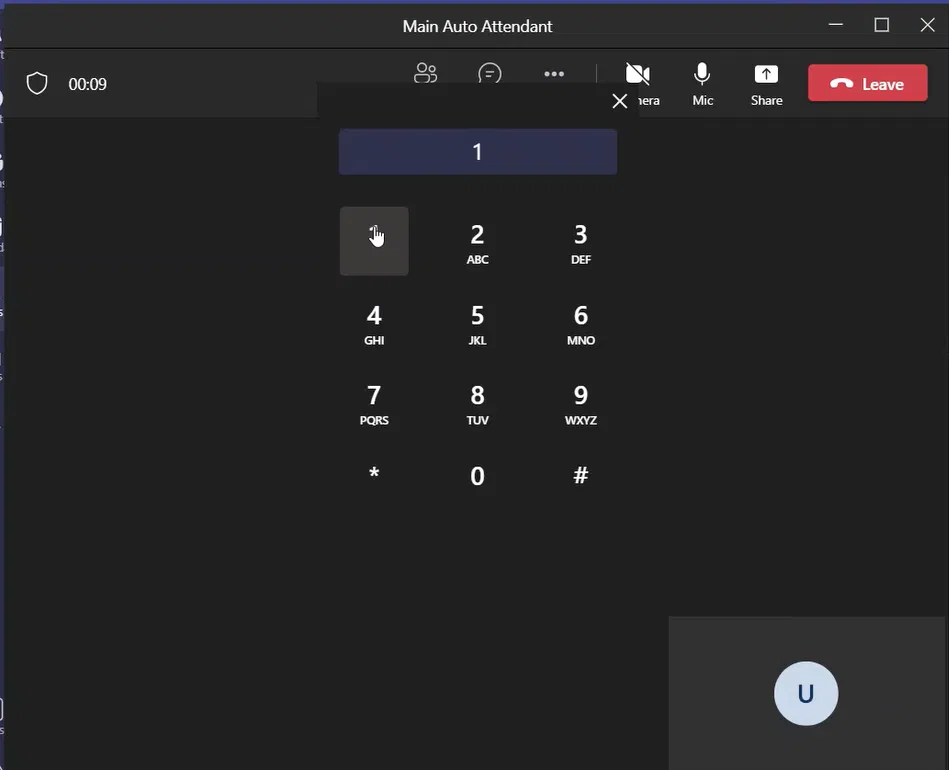
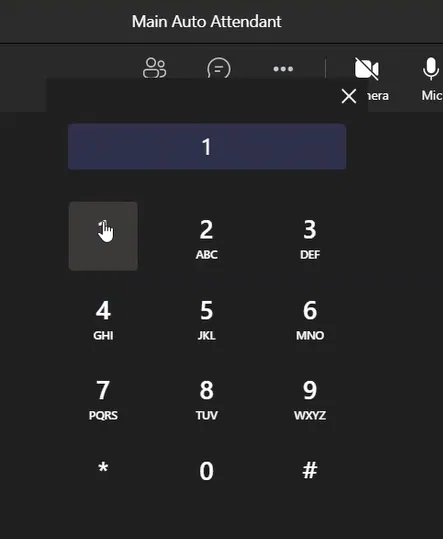
The dial pad will appear
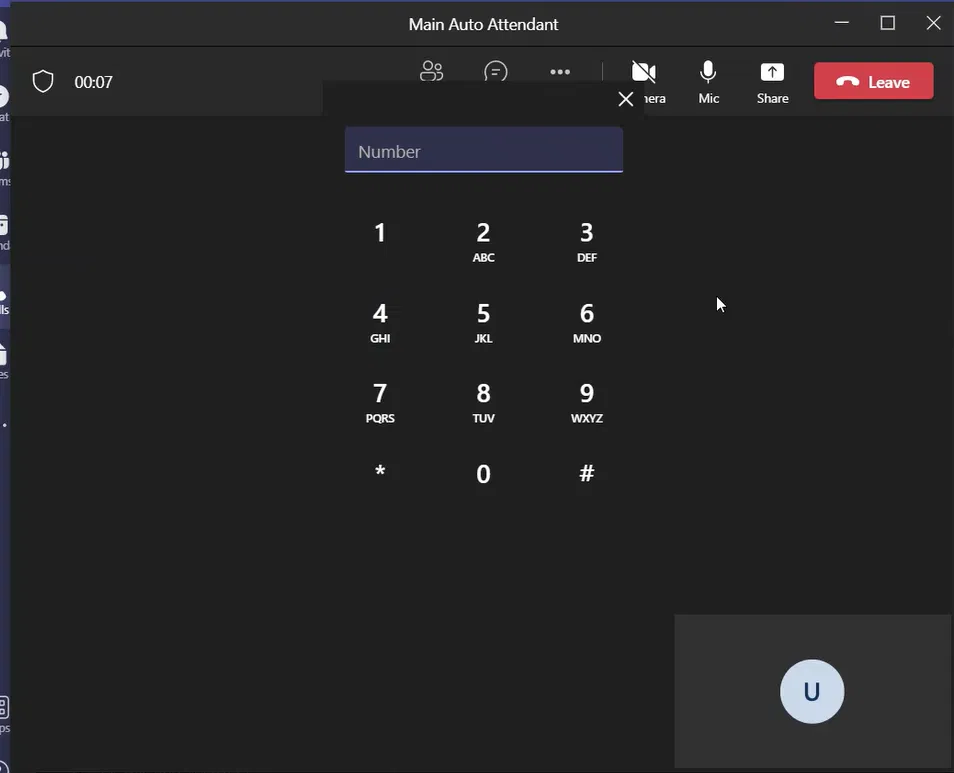
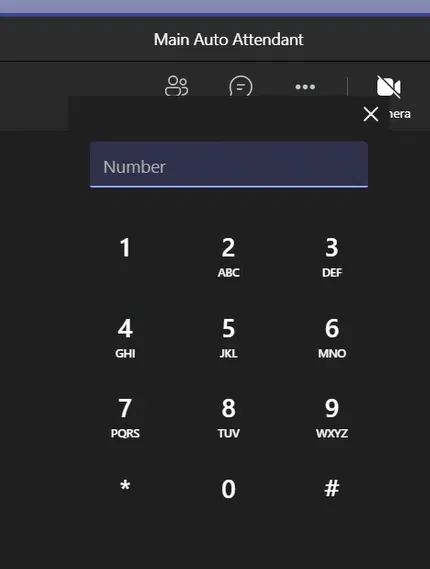
Click on the dial pad to select the option you want to access